
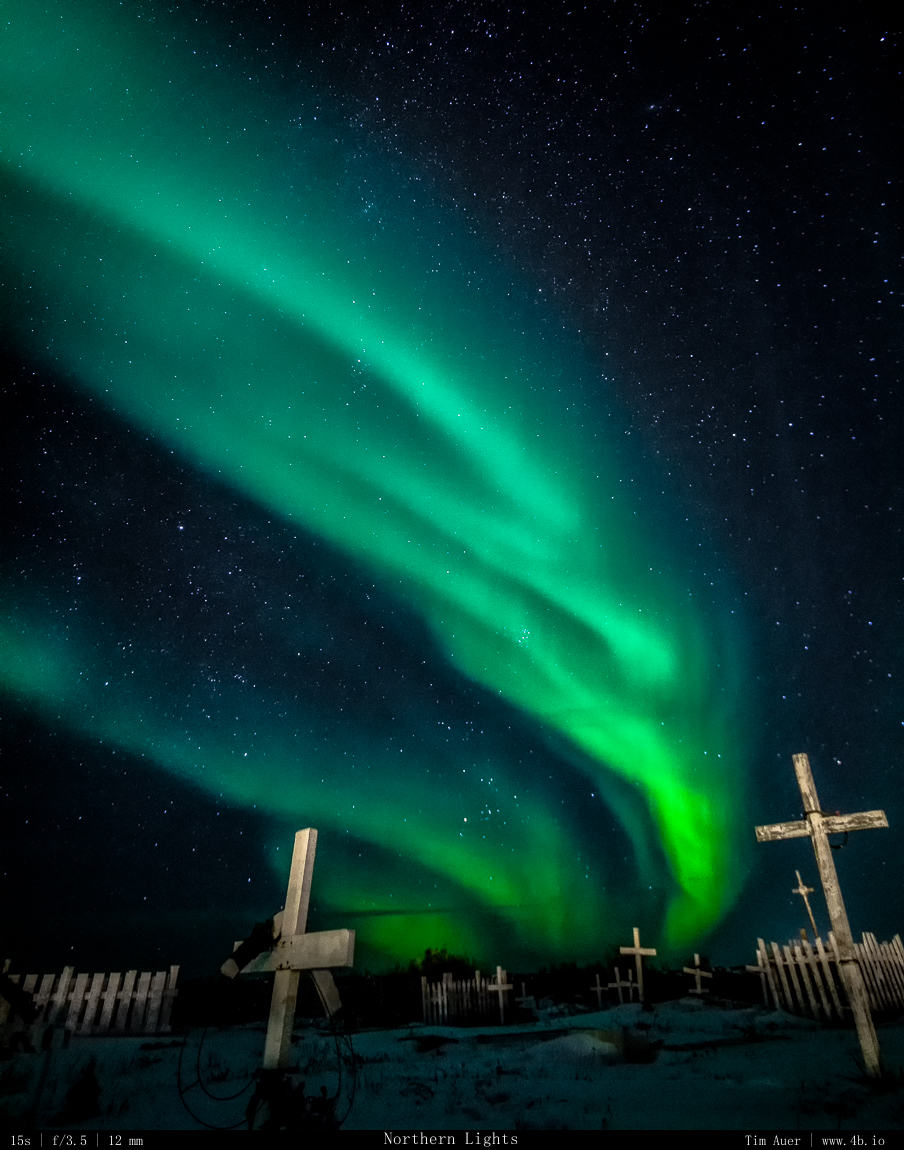
Northern Lights
A first for me on this trip was seeing the aurora borealis. November is cloudy in Churchill and the up-to-minute solar forecasts for the Churchill area indicated minimal activity, so we knew the chances to see the aurora was quite low. Nevertheless, we prepared our gear each night that it was clear and went out looking for the lights. We fortunate to have ignored the solar wind forecasts, because at the hour (23:30) the activity was supposed lull, we noticed some faint flickering high above. Meril was driving, so I rolled my window down, leaned out, and trained my eyes straight-up and slightly to the north.
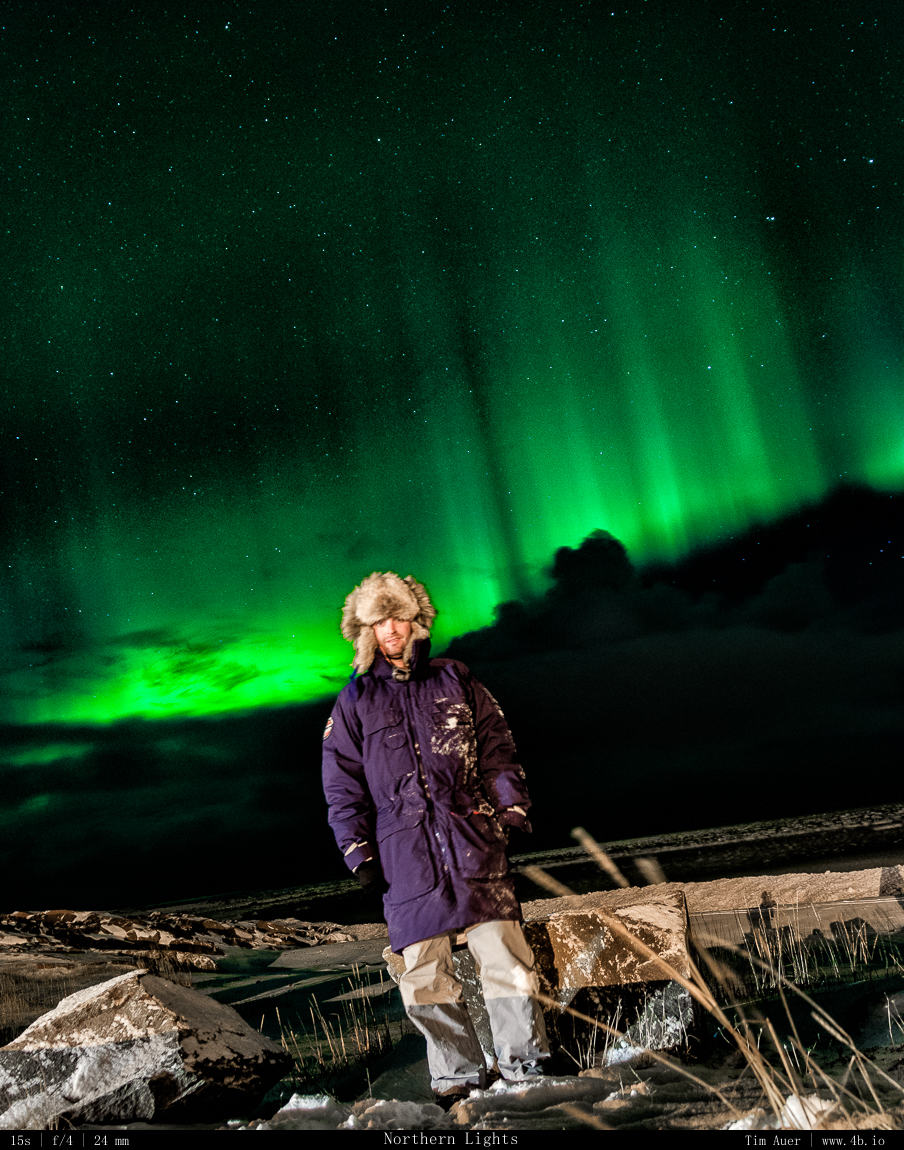
The first time seeing something that you’ve wanted to see for as long as you can remember is truly an incredible feeling.
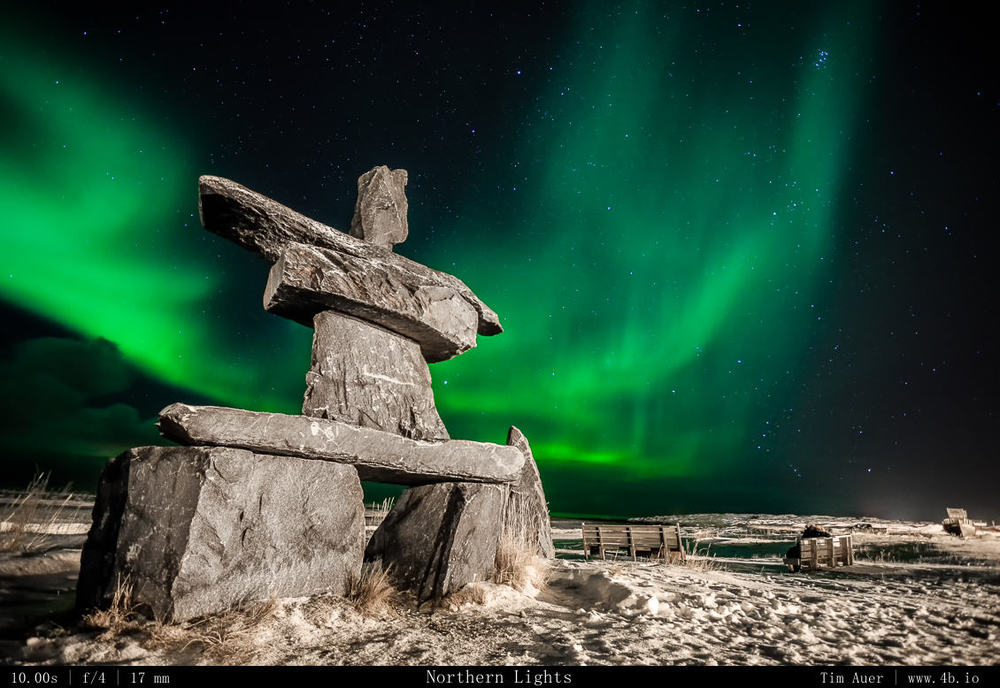
There before my eyes was the solar wind, flickering and undulating in magnificent green waves. As my excitement increased, so did the intensity of the aurora. We were at the edge of town along the Hudson Bay near the Inuksuk, and thought this was as good spot as any to do photography. The show continued to intensify over the next 30 minutes, I was able to set up three cameras, two on tripods and one floater supported by a beanbag. During the most intense activity, Meril and I were the only two people in the area, and our experience (and photography) was not interfered with. As the display began to diminish, the crowds of people began to arrive. We weren’t in a remote location, just a short walk from the town center, but the previous night’s polar bear mauling served as a stark reminder of how very dangerous it is to walk the Churchill streets in Oct/Nov at night. But the people did come, and in numbers that would likely frightening away the most inquisitive polar bear. I could have found this irritating, and yes the guy who set up his tripod in front of everyone else was a bit clueless, but I found it to be enjoyable, witnessing the excitement It was the same excitement that I had felt 45 minutes prior. Plus I was in a good mood because I had already gotten my shot.
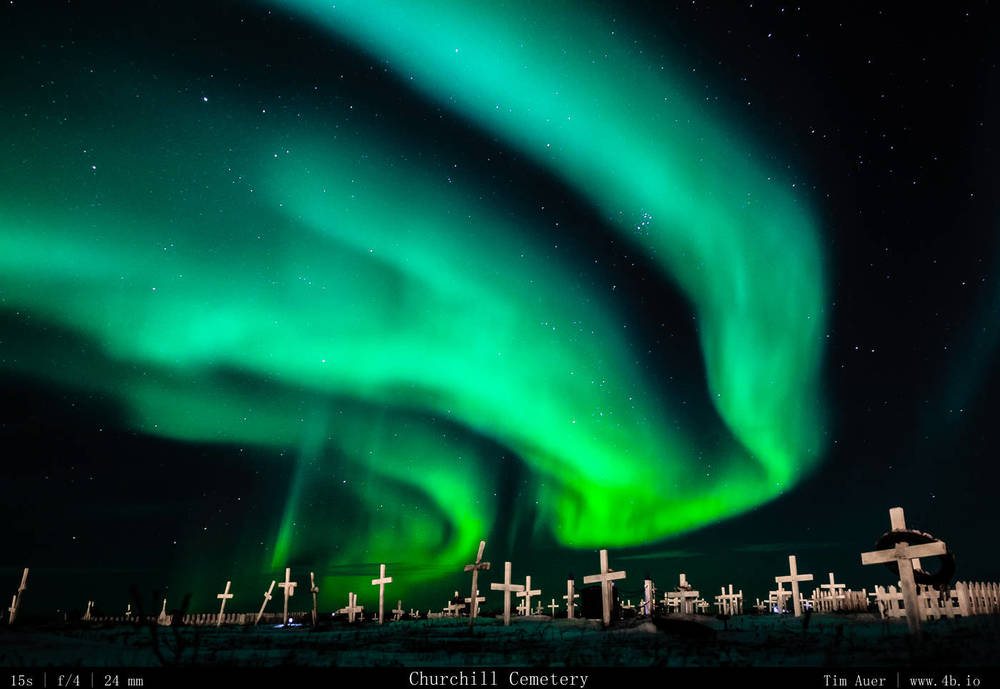
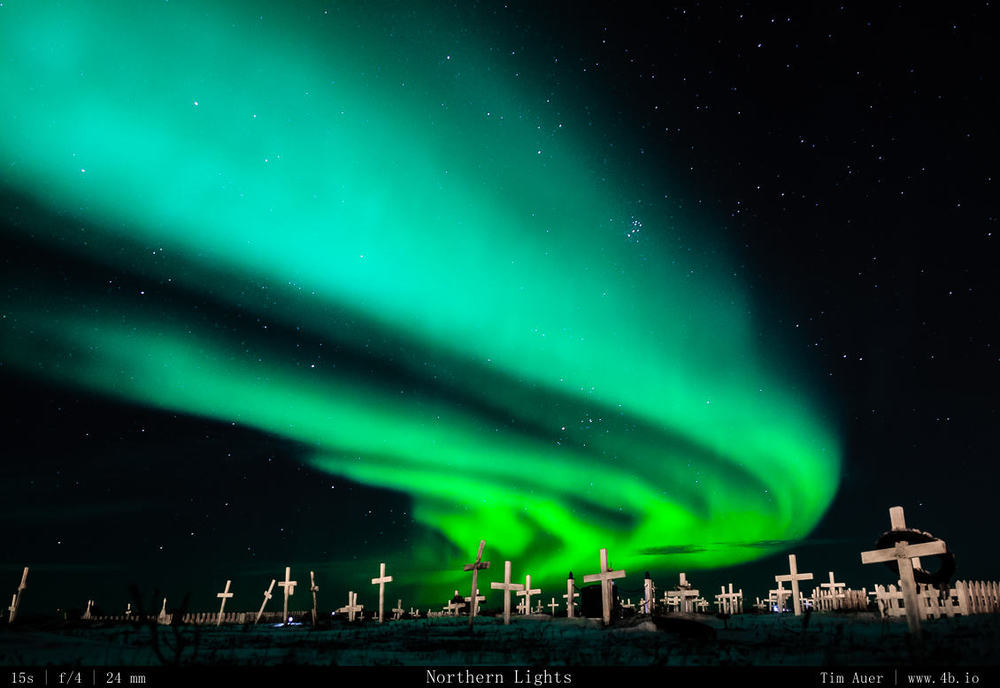
The next night was also clear on land (a massive cloud bank could be seen hanging over Hudson Bay and growing in size but not coming any closer. The weather system on land was doing a good job at keeping the clouds at “bay”. We expected the arctic air mass would eventually prevail and spread its clouds over Manitoba and the rest of north central Canada at any point. But it didn’t appear to be happening this night, so we went looking for the aurora again. Throughout the day, we were scouting possible locations to shoot from. We decided on the cemetery, which backs up right along the shore of Hudson Bay a mile or so out of town. This location has its pros and cons. It was a visually interesting spot for long exposure photography, far enough from the town center to avoid the crowds. But the narrow rocky beach separating the cemetery from the bay happens to be one of the more heavily traveled routes bears follow as they skirt past the town. And the only separation between the cemetery and that polar bear highway was a 4-ft chain link fence…we resolved to stay near the vehicle and not stray far.
As for auroral activity, the second night’s display was even more intense than the previous and lasted about two hours. I had a three camera set-up going again, and kept the exposures between 10-20s. At times, the sky was so bright with aurora, that if I used any longer of an exposure, the delicate waving curtains would be overexposed.
Method and Technique
Here are some things to consider when attempting to capture the northern lights. First, find a darkest spot/sky with interesting foreground early in the day, normally with northern exposure. If the moon is out, look away from it and use it to illuminate your foreground. Again, given your location, a full moon will typically follow a southerly path.
Start with the following Camera settings:
– Use your widest Lens. (READ not your fastest, this isn’t astrophotography, if you are doing Astrophotography you should use a combination of fast and wide!)
– Shoot in Manual mode, Shutter=15s, ISO 800, Aperture = Wide Open (F/2.8 or F/4…whatever is the widest open). Be ready to adjust these setting as needed.
Focus: At night and in the dark, your camera’s auto focus won’t work. You will need to use manual focus or focus the lens to infinity/hyperfocal before sunset. If you have trouble manually setting the focus, use the moon or any other bright object in the distance, such as far away city lights, a ship, radio antenna, or ever a bright star. TO focus on these faint objects, set your focus to the center point, wait for the focus confirmation, flip lens to MF and don’t touch the focus barrel. The focus is set to infinity/hyperfocal and should bring your entire frame into acceptable focus, especially the aurora.
Use a cable release! If you don’t have a cable release, use the 2-second self timer to minimize camera shake. This step is very important.
Set camera on a tripod (or beanbag or bag of clothes), compose your shot, and make sure it is as stable as you can make it.
…then click away!
Depending on how intense the activity is, you may have to make adjustments. If there is a lot of movement and big, bright aurora curtains, a 15s exposure may be too long and overexpose the image. Decrease shutter to 10s. If the lights are faint and resulting image is too dark, first bump the ISO to 1600, then 3200 (depending on the body there will be increased noise, but nothing that unmanageable). If the image is still too dark after doing that, increase the shutter speed to 20s. Again. the area of concern here is that you want to preserve the movement of the aurora in your exposure.
As the aurora likes to reveal itself near the Earth’s poles, when it is dark, frigid temperatures seem to go hand in hand. So here are few more tips to keep in mind:
- Bring extra batteries to cycle in and out. Store unused batteries in inside pocket to rewarm with body heat.
- Prevent your front element (lens) from getting frosted. Hold your breath while your face is near the lens to prevent moisture freezing on the front element. If it drops below dewpoint, use a rubberband and handwarmer to keep the front element from getting frosted.
- And remember to dress warmly.
- http://cleardarksky.com/c/FairbanksAKkey.html?1


