August 9 – 11, 2013
*Gallery at bottom*
Another August, another Perseid Meteor Shower….the 2013 edition. Not including the weeks of research and my previous scouting trips, I began my search for the Perseids late Friday evening for what was an astonishingly grueling three night photo epic to the dark skies of the Eastern Sierras…
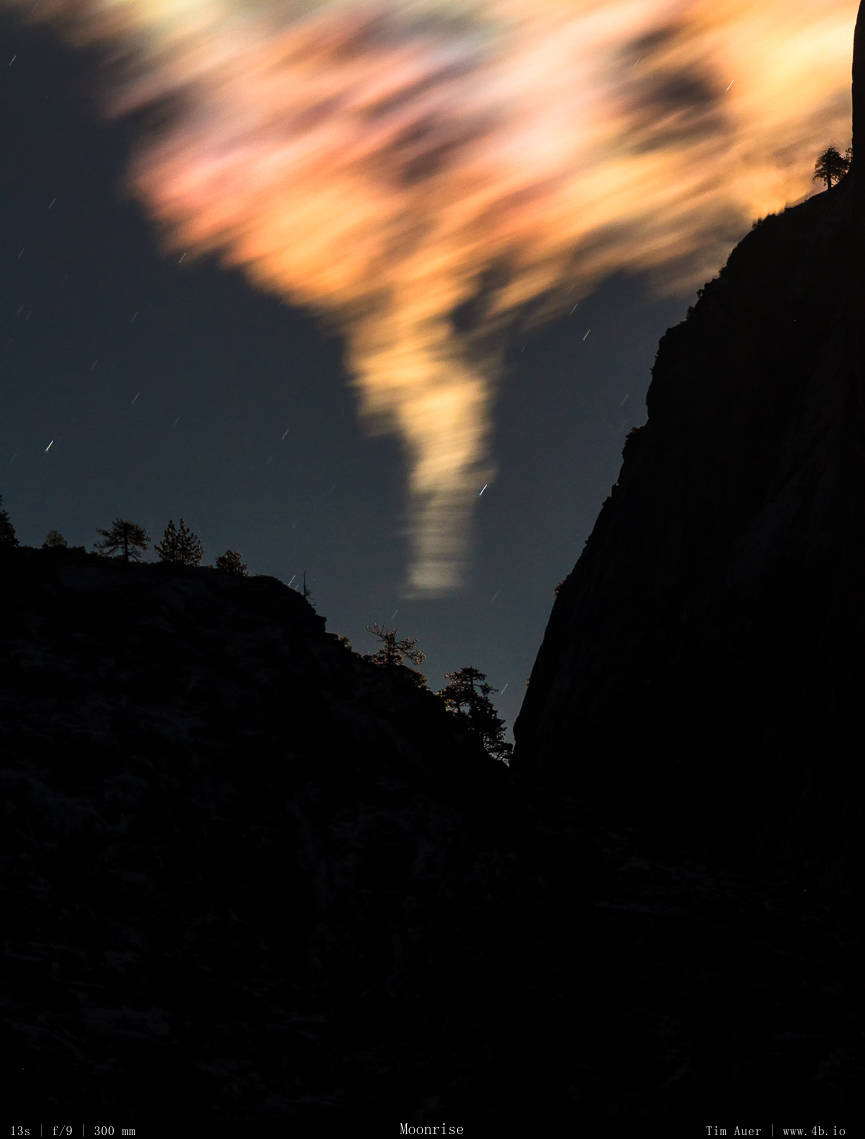
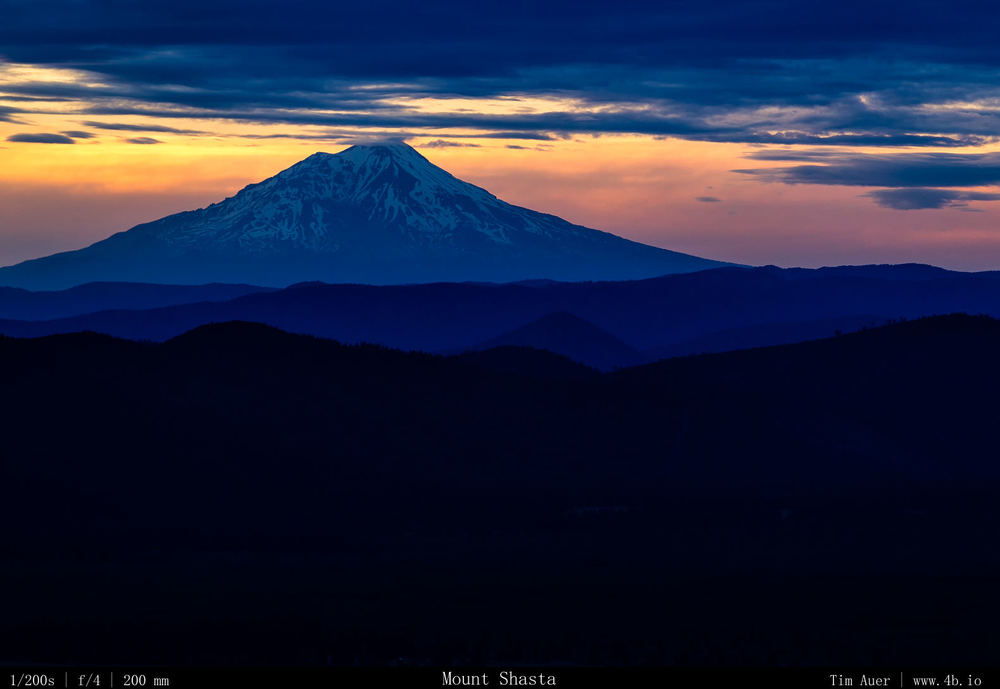
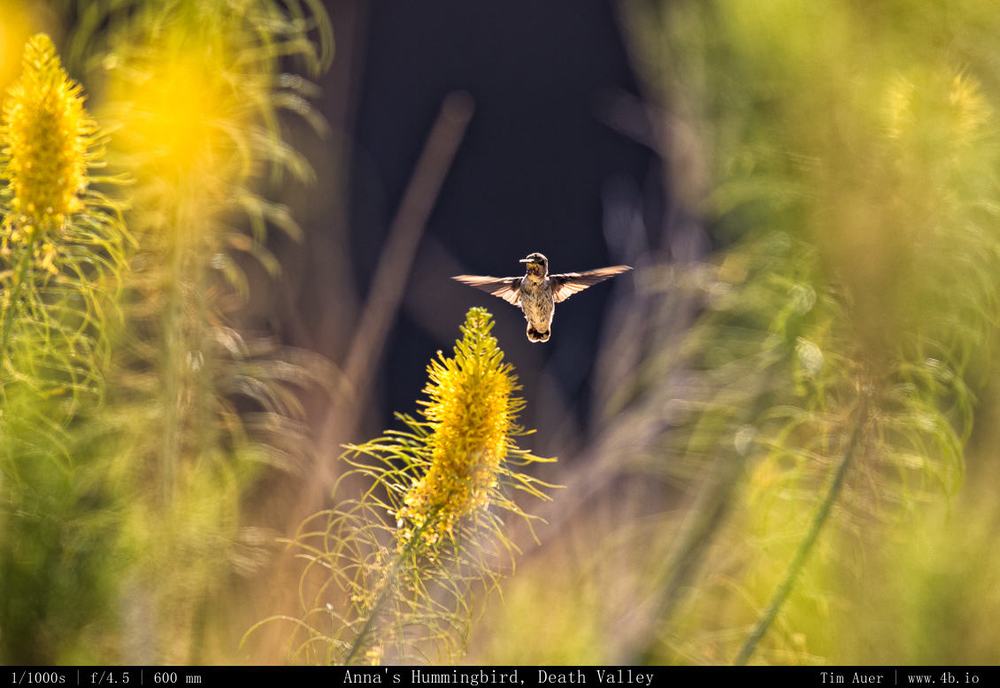
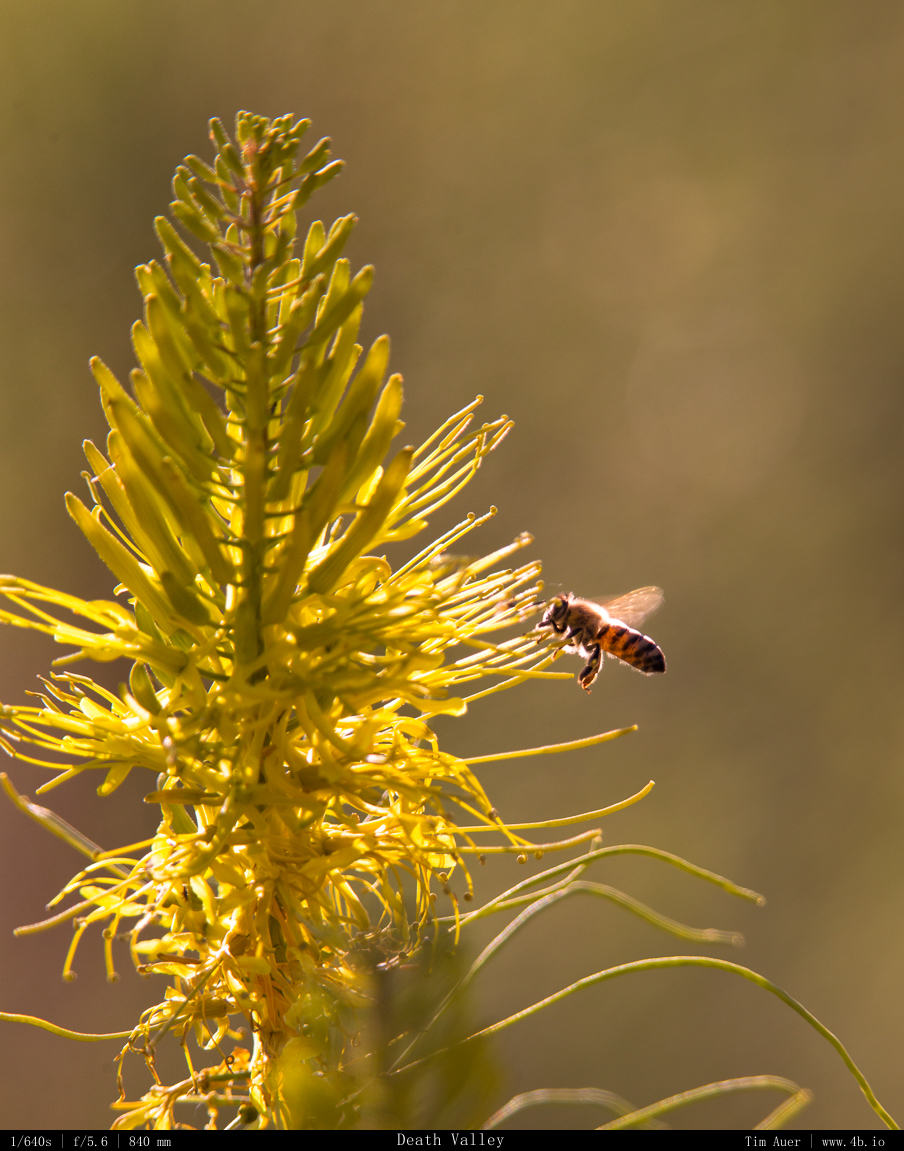
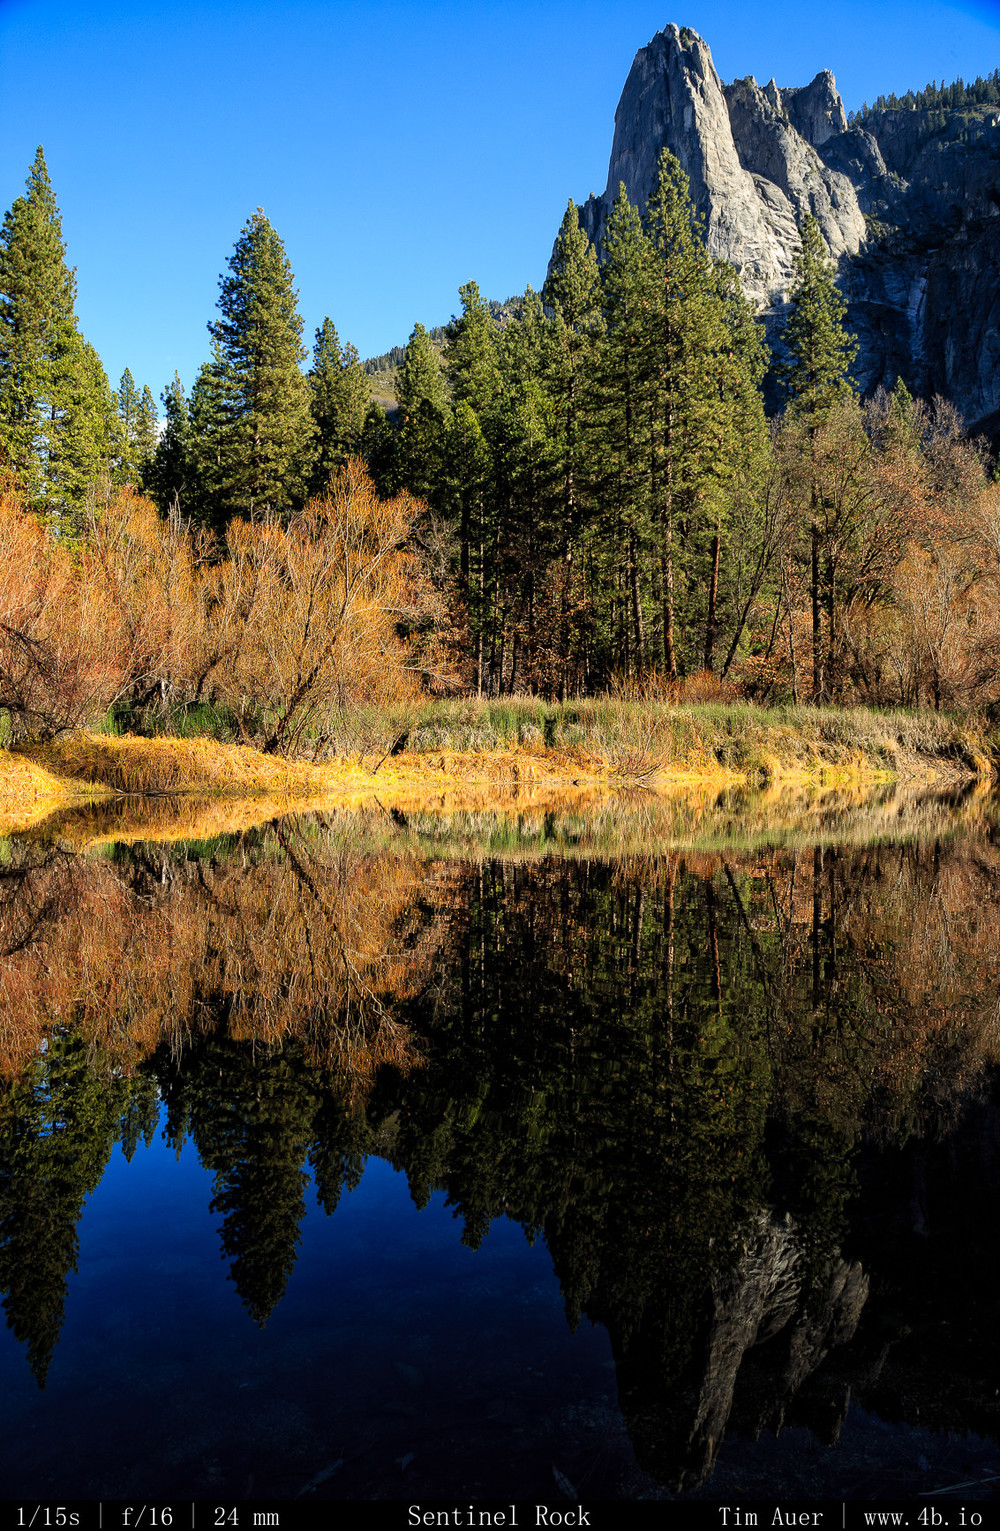
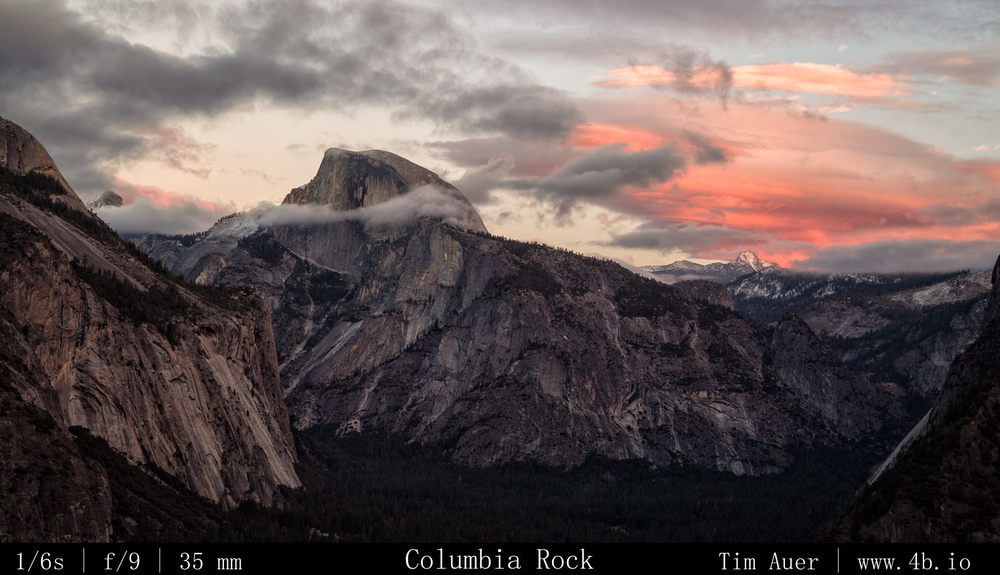
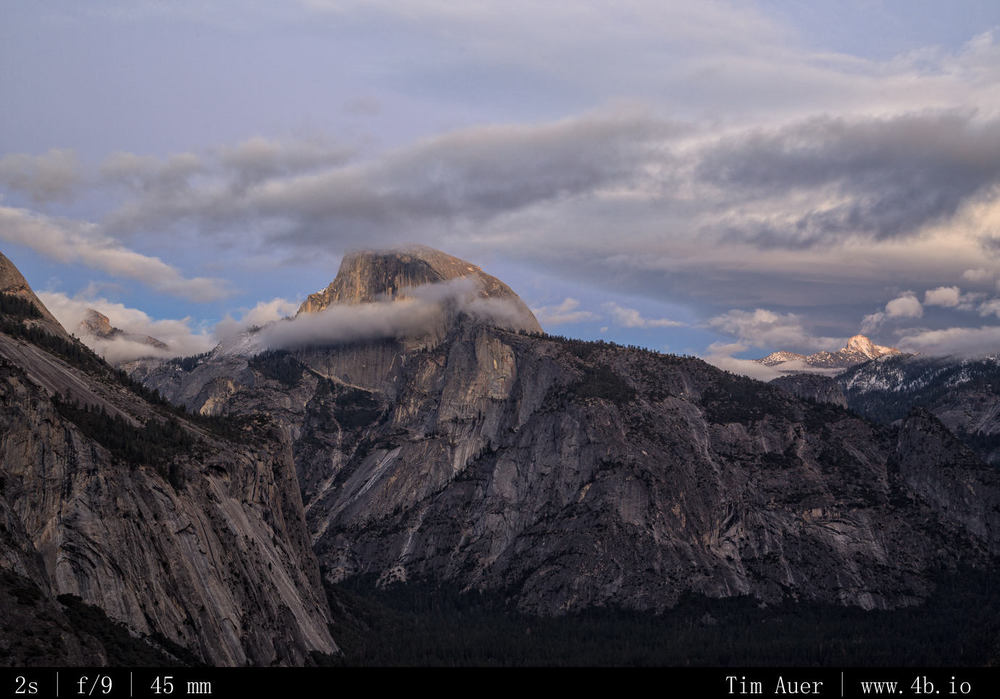
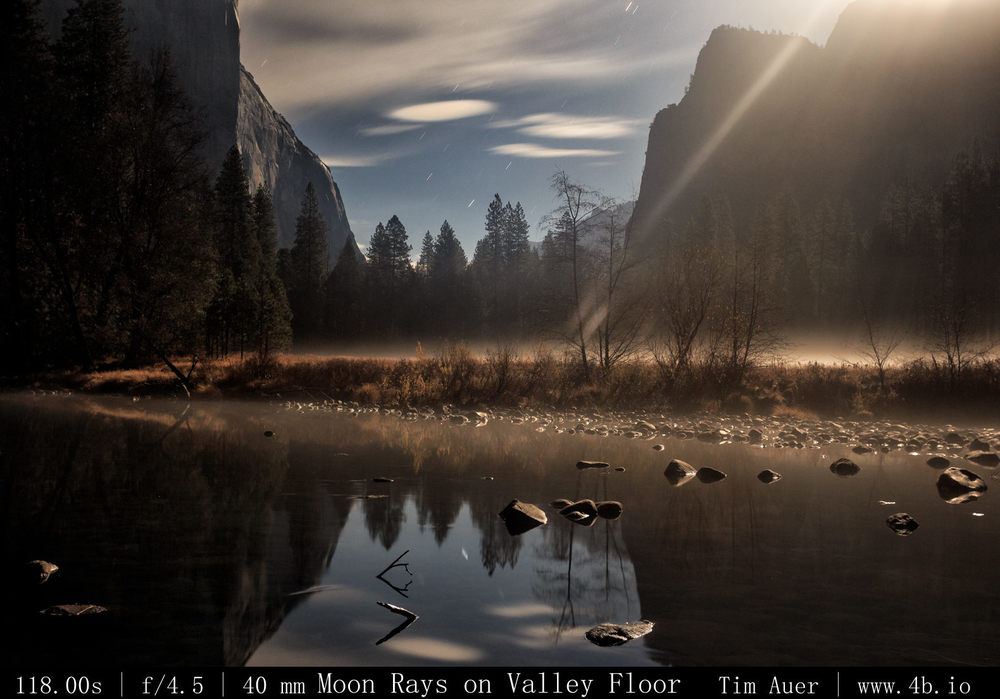
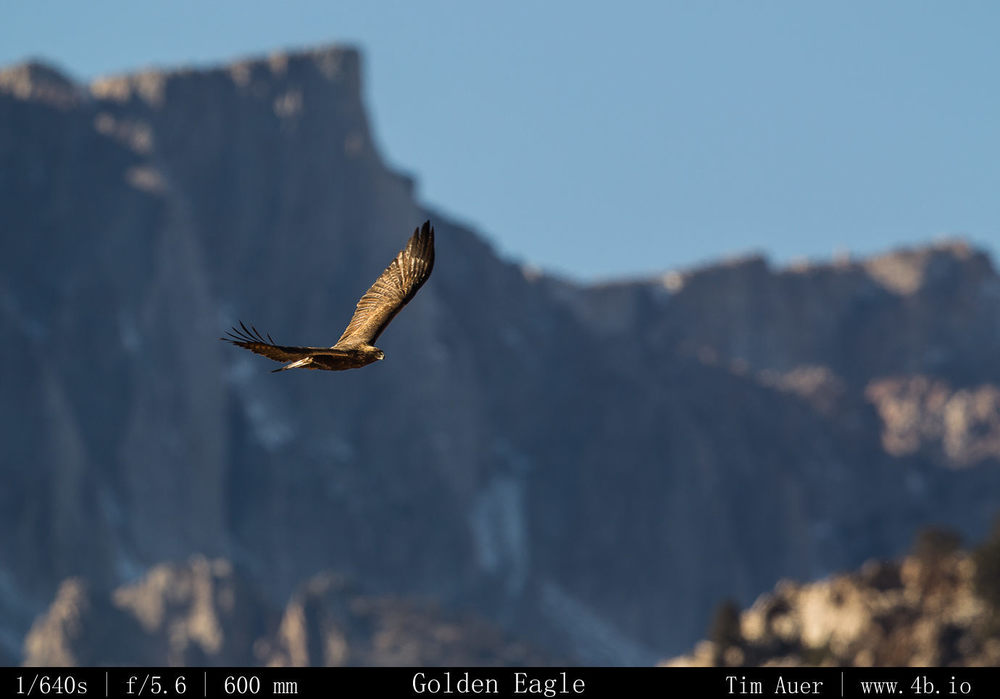
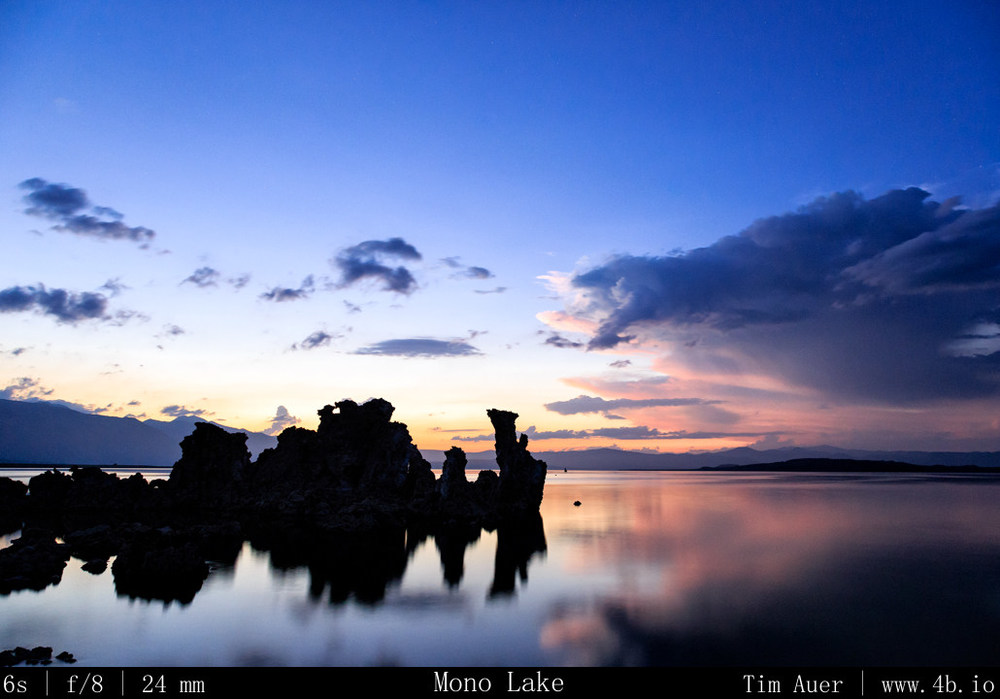
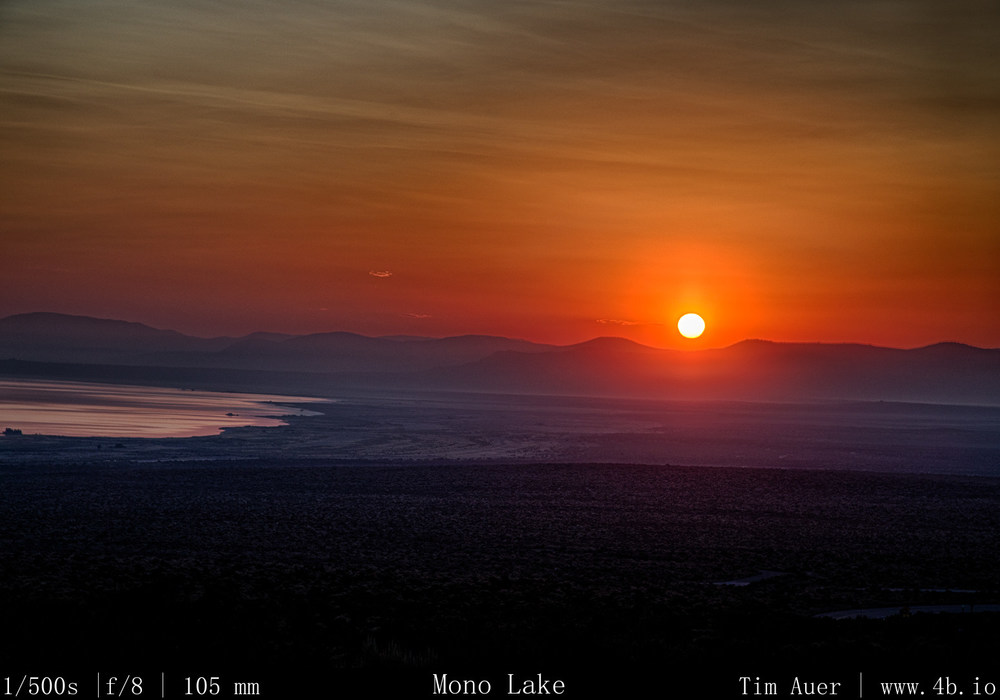
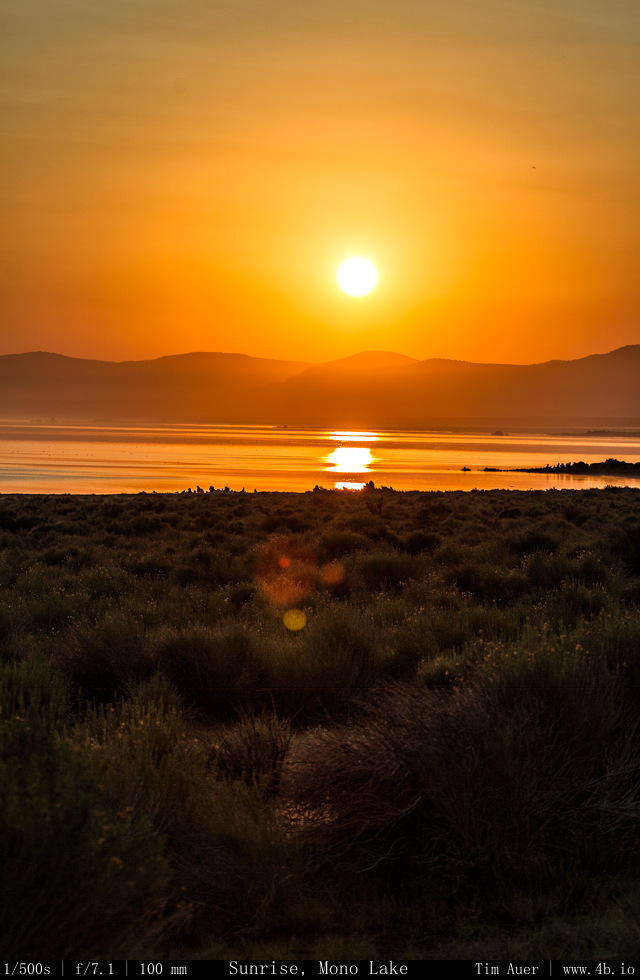
 Golden red morning light
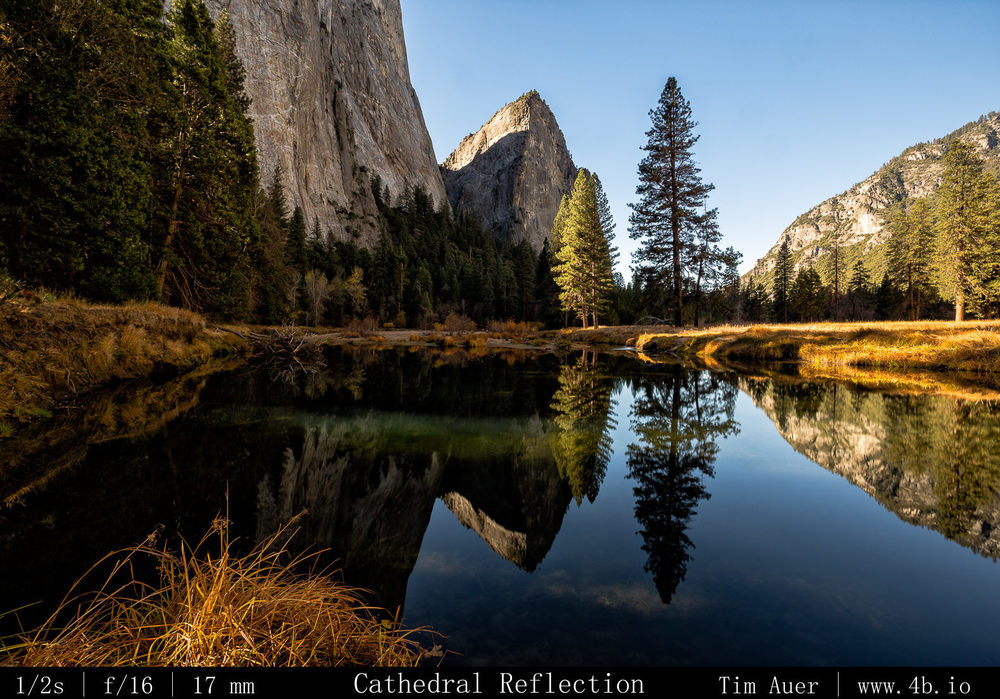
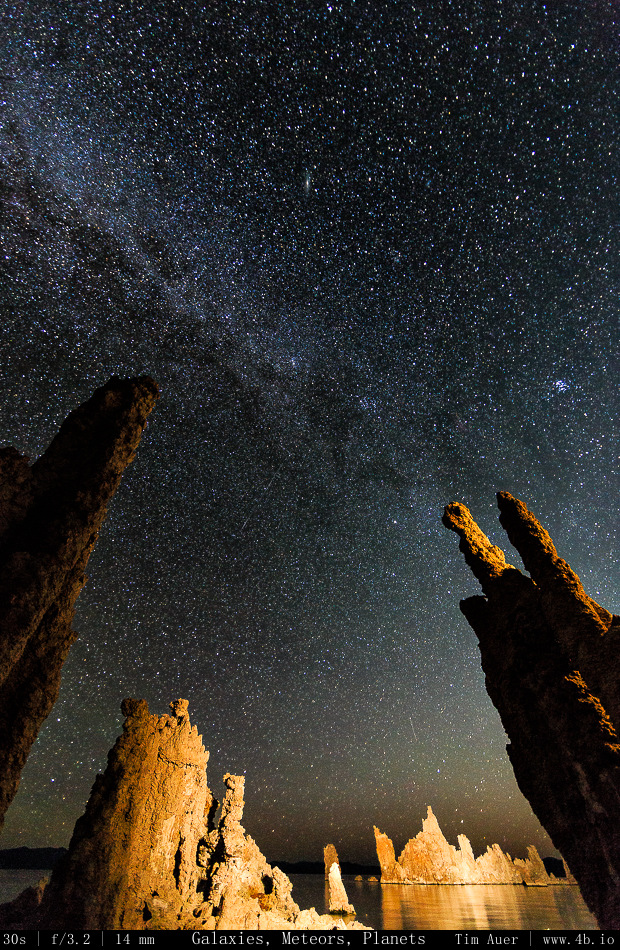
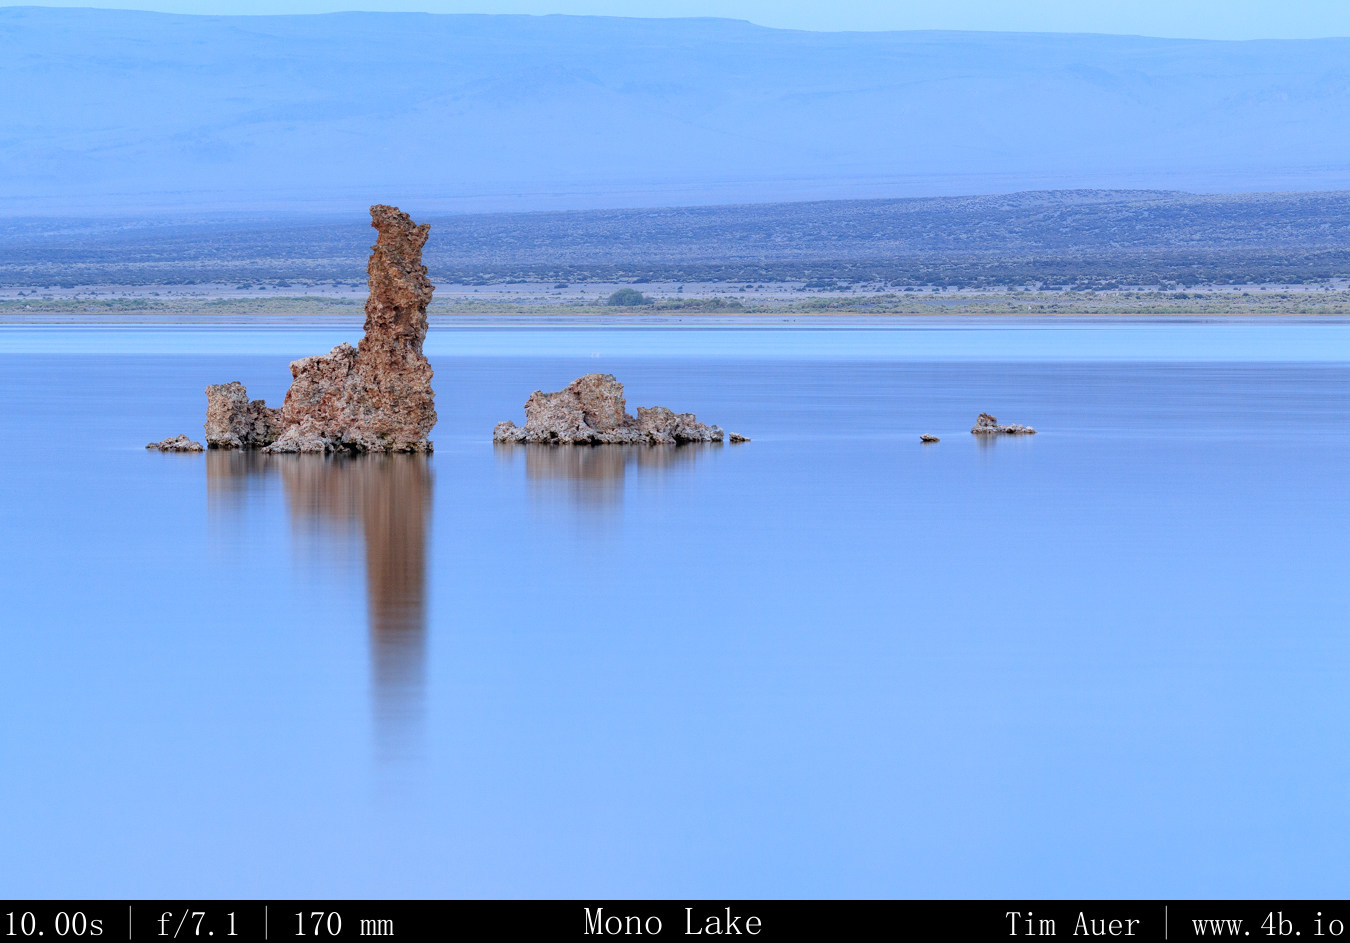
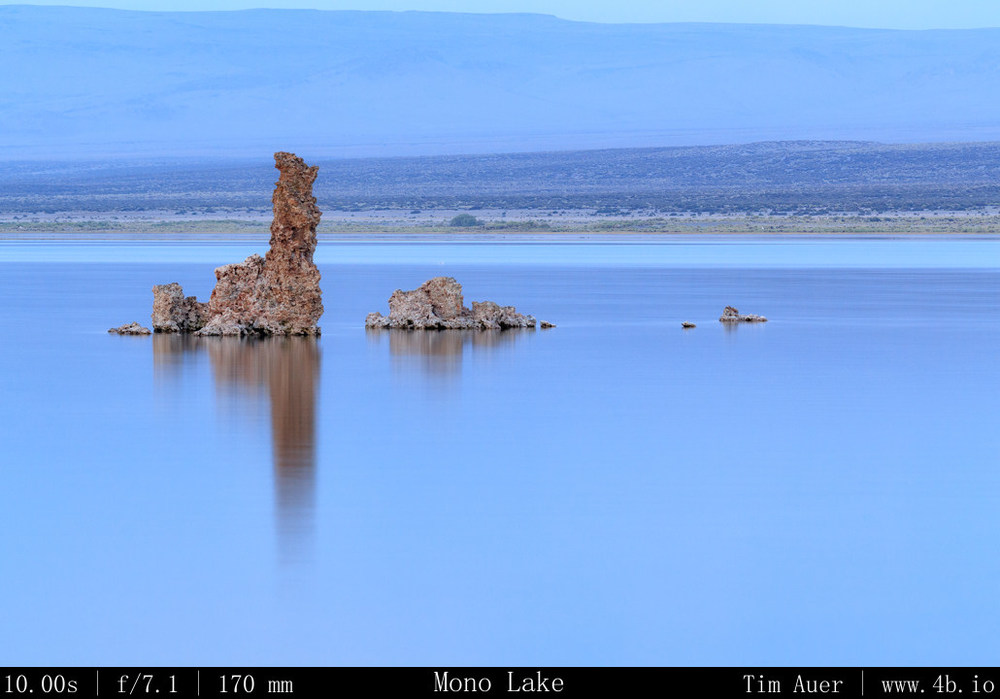
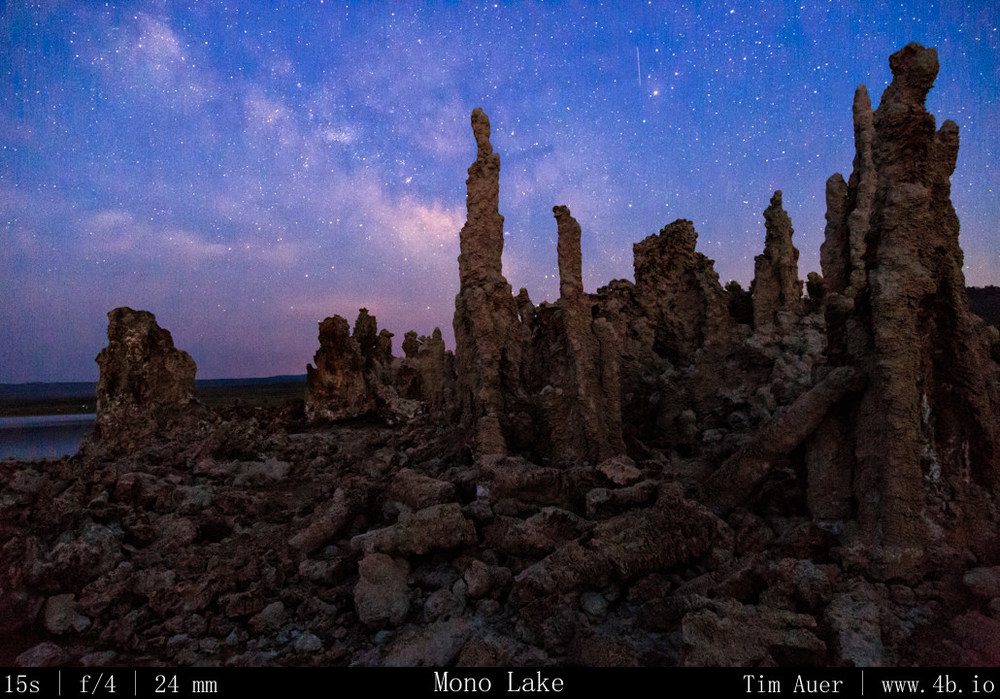
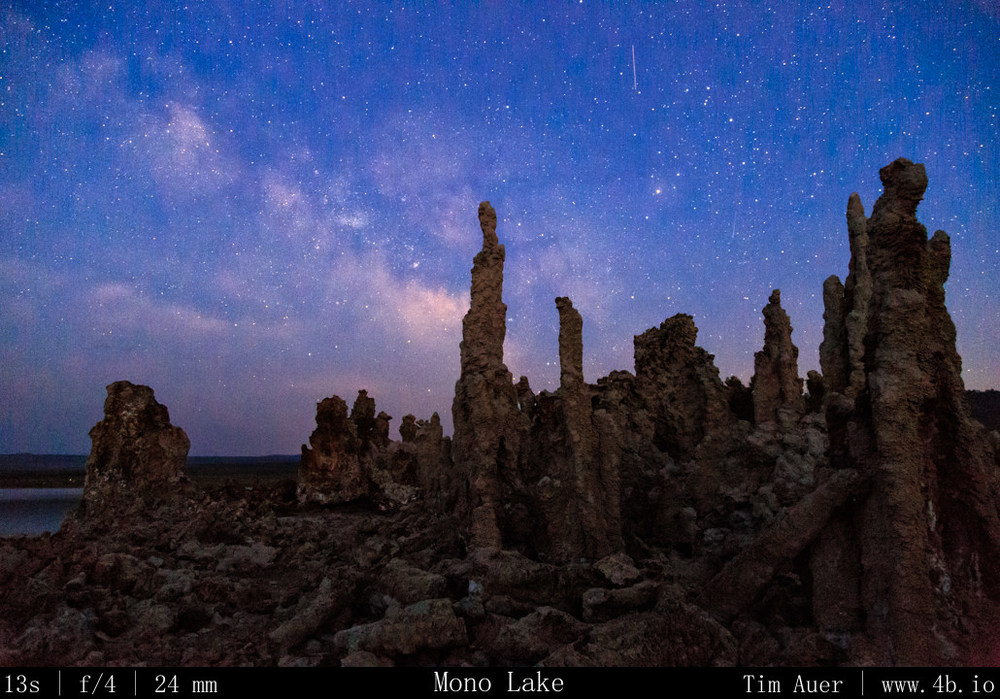
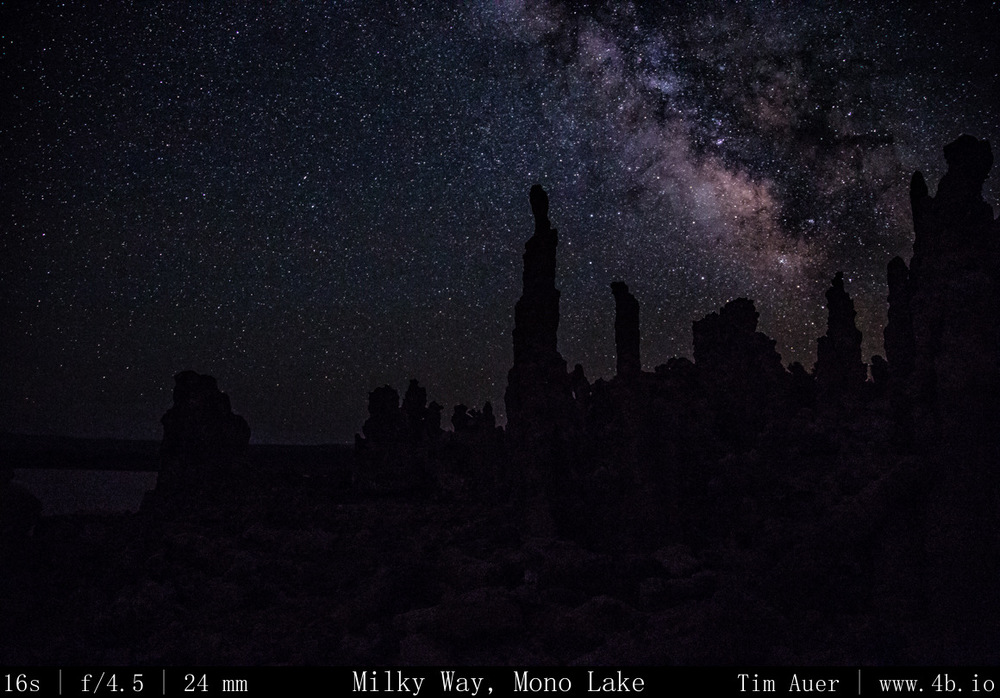
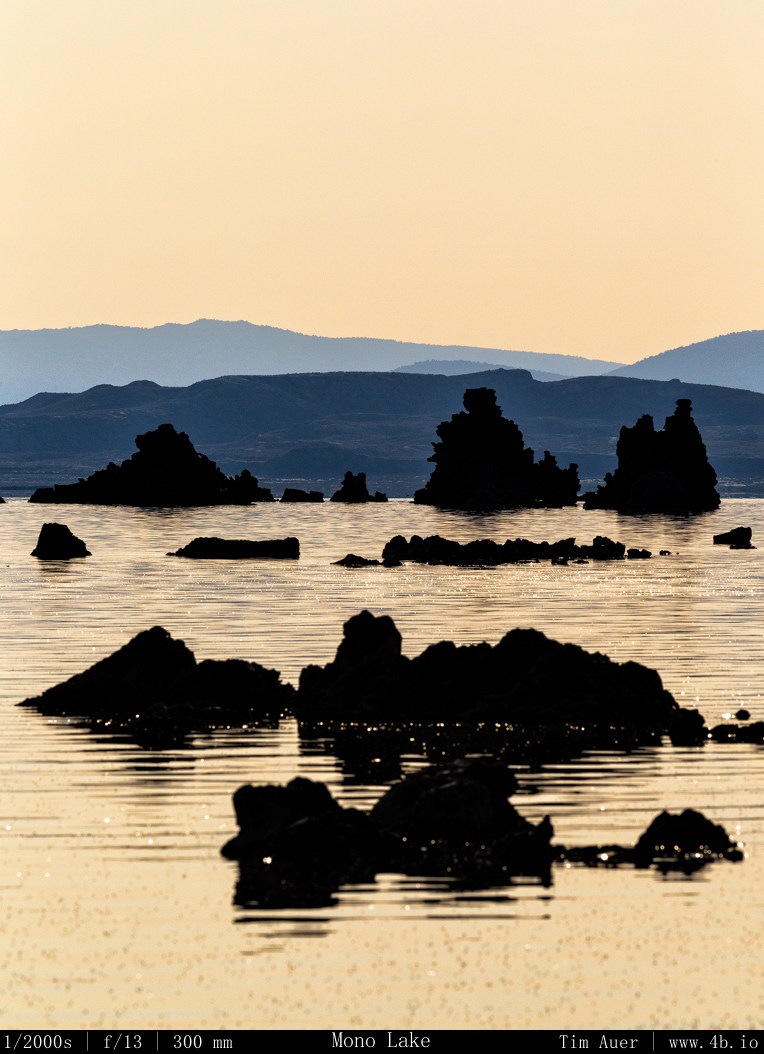
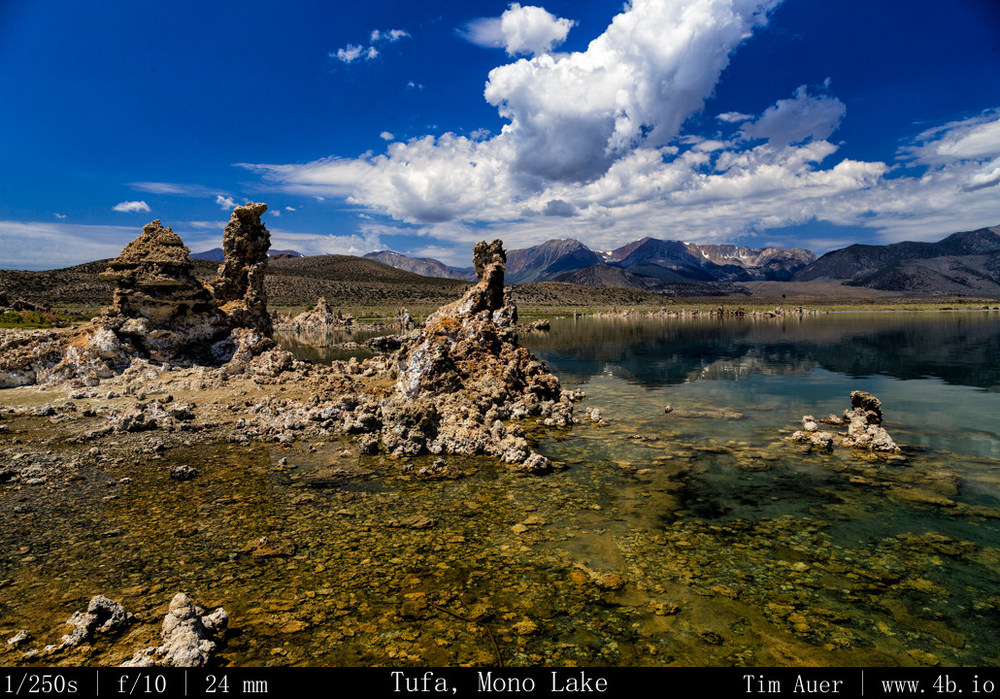
Leaving my house in Mountain View at 21:00 on Friday evening Aug 9, I began my drive East. As Friday blended into Saturday, I reached the Big Oak Flat entrance of Yosemite National Park. According to the weather board at the entrance gate, the daytime temperature for the high country of Tuolumne Meadows that day was 90F. I continued on Rt. 120 through the park towards Tioga Pass. At 01:00, made a brief stop at Olmsted Point, where there was access to a vast and clear sky. I snapped a few photos in the direction of Tenaya Lake, and caught glimpses of my first Perseids of the season. High up in the Sierras, the temperature had plummeted from its daytime high of 90F, and hoovered at the 28F mark (according to my car thermometer). After making my way over Tioga Pass and through the East Entrance of YNP, I began my descent towards Mono Lake. The temperature warmed gradually as I lost elevation. Arriving at the South Tufa Area at 02:30 Saturday morning.
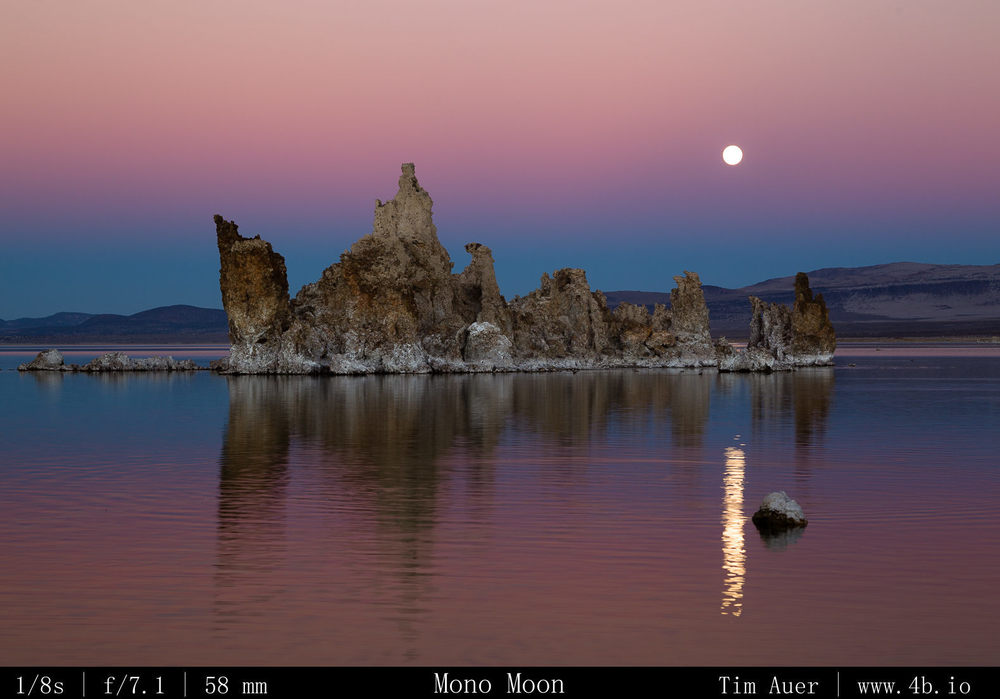
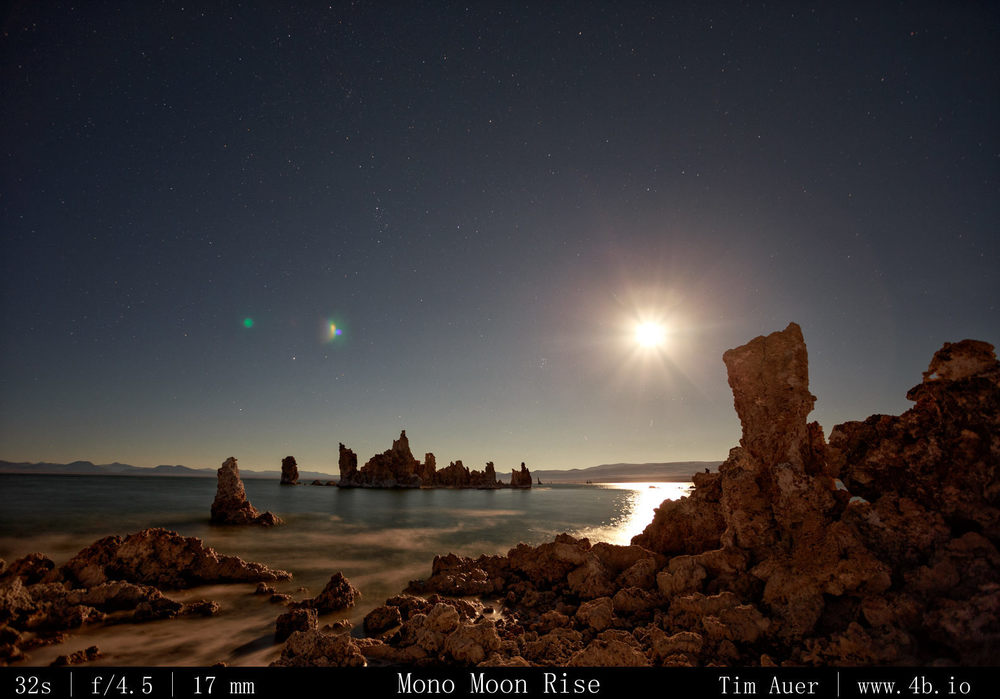
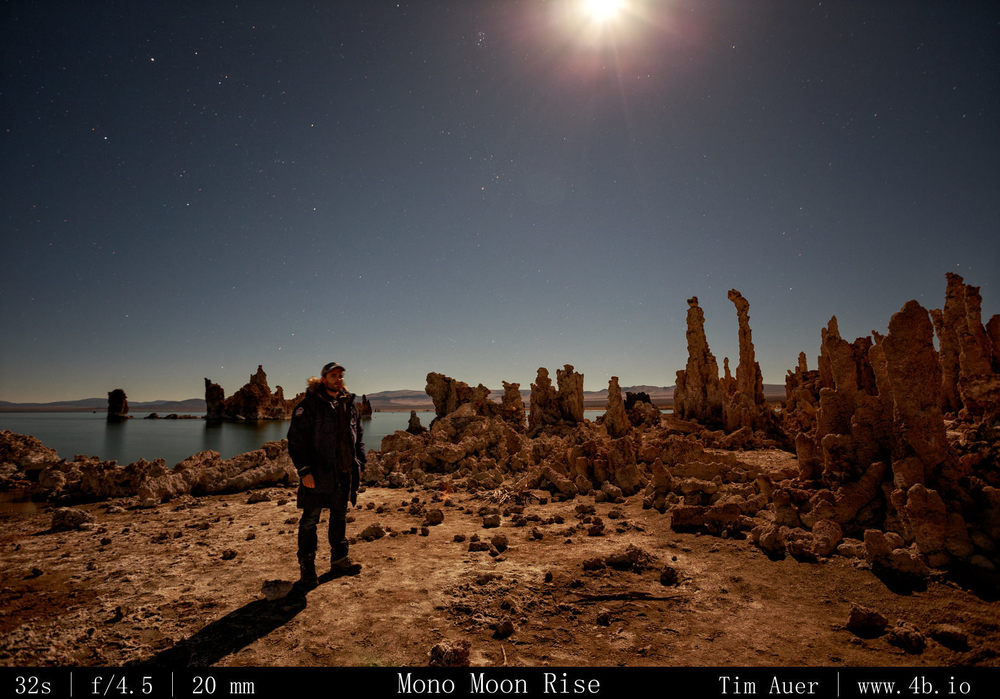
There was only one other car in the parking lot. The car belonged to another photographer who happened to be wrapping up his session for night. While I thought him nuts to be leaving as the meteor activity began to peak, I had the entire Lake to myself. I was feeling relaxed and excited. Bats whizzed around my head, owls hooted, coyotes howled. I was even able to see an Owl silently flying 10-20 ft above my head. I was startled by its “shadow” and pointed my Surefire light at the shape, and watched it as it passed by. I’m sure the Surefire did wonders on the owl’s night vision too. Using only a casual, single camera set-up, I shot until approximately 05:30 before calling it a night. As I was getting myself situated for sleep in back of my wagon, Three cars arrived carrying a group of photographers looking to shoot the sunrise. They were in luck because the sunrise that morning turned out to be spectacular. I yearned to capture it, but refrained from doing so. This trip was about the meteors, so I soaked it in without the burden of camera apparati.
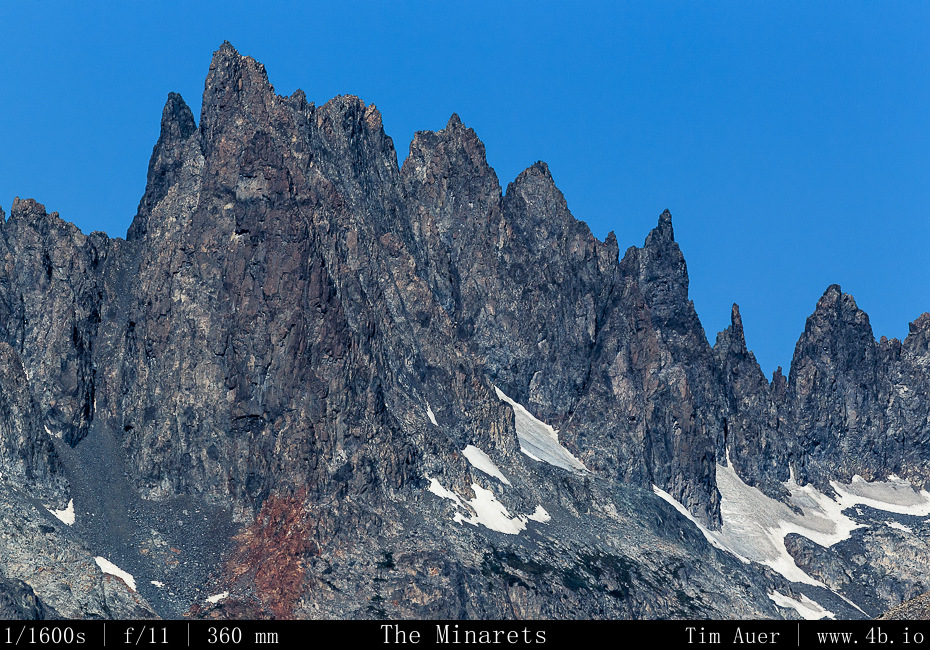 Minarets
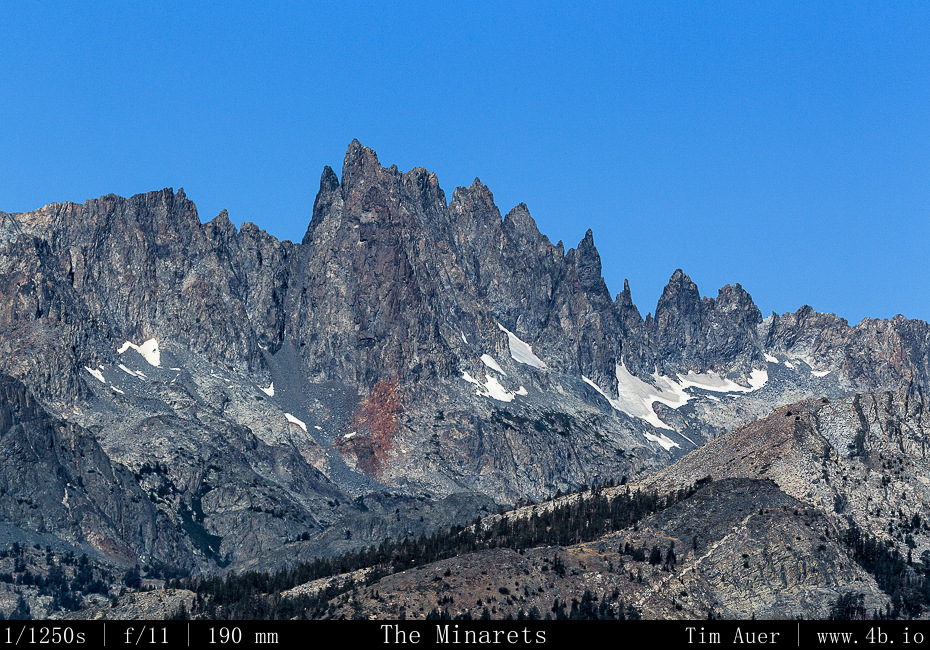
By 07:30 I was up and eating breakfast at Nicely’s in Lee Vining. I continued south down Rt. 395 towards Bishop, stopping at Mammoth Lakes and the Minarets. Once in Bishop, I stopped in Galen Rowell’s Mountain Light studio and perused his work, seeking inspiration from a master. While there I bought two books, one a collection of technical essays he’d written and the other his best of Sierra Nevada images. I arrived in Lone Pine by early afternoon, bought some food, water, and beer, and set forth into the Alabama Hills….
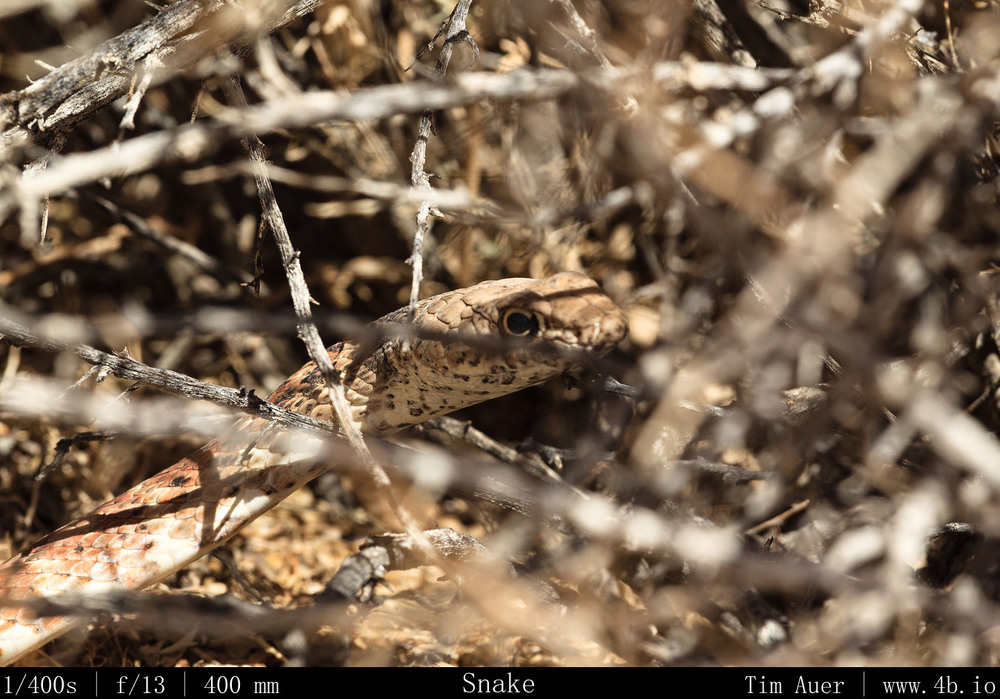
I explored the Alabama Hills by driving along Movie Road and some its derivative “roads”, doing short over-land hikes to the various arches and interesting granite formations. Treating my extremely low clearance vehicle like it was a Jeep, I was fortunate that I didn’t become stuck or break an axle. While I was exploring new areas of the Alabama Hills, I was also scouting suitable locations to set up camp and shoot the Perseids. While hiking I came across a 5 foot long Gopher Snake, which, upon noticing me, curled into a mock Rattlesnake position, imitating its venomous cousin by vibrating its rattle-less tail in a fascinating sign of defense. Naturally, I got as close as possible and took photos of it.
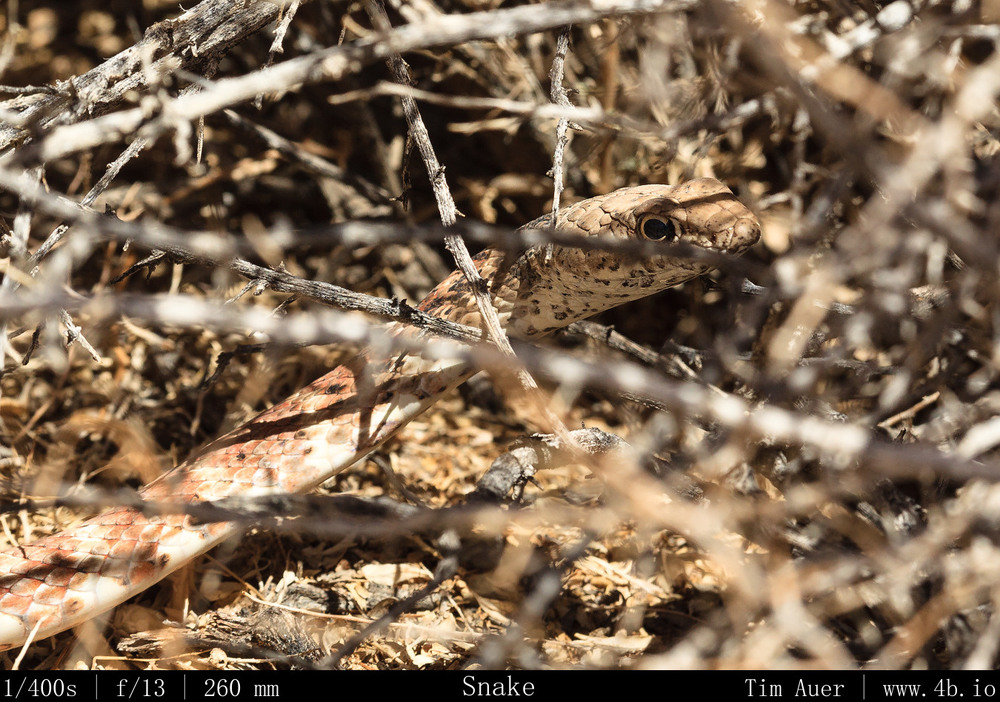 Imitation Rattler
 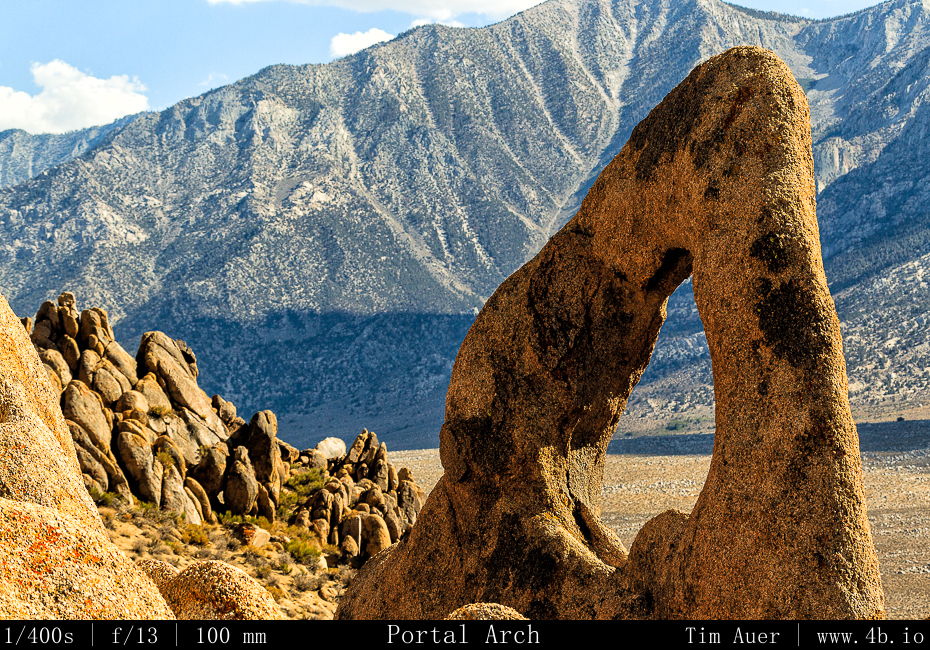 Alabama Hills + Sierras
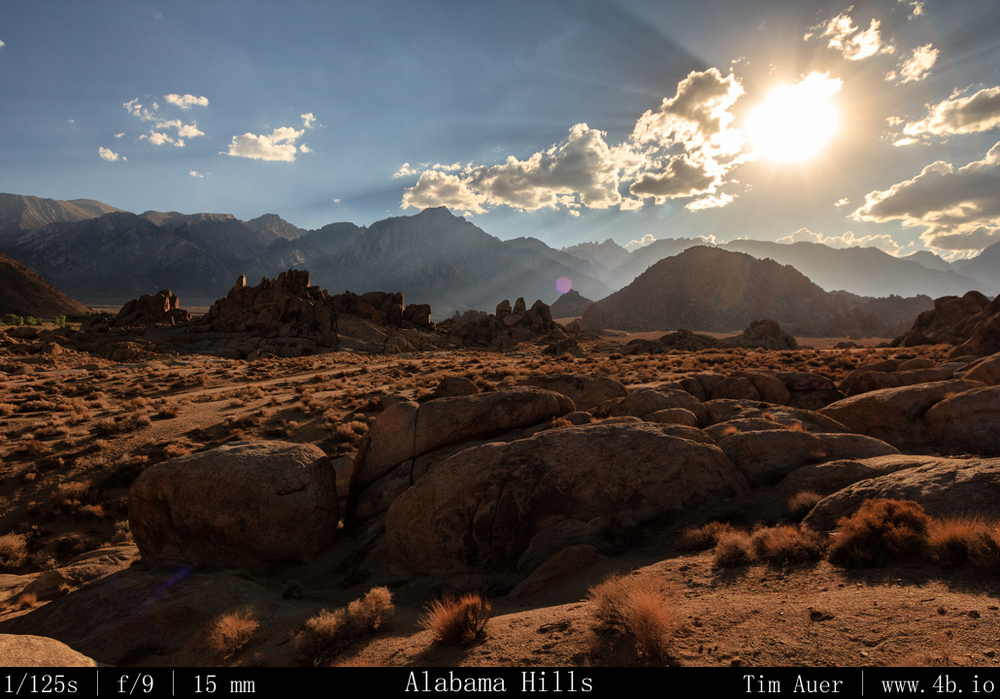
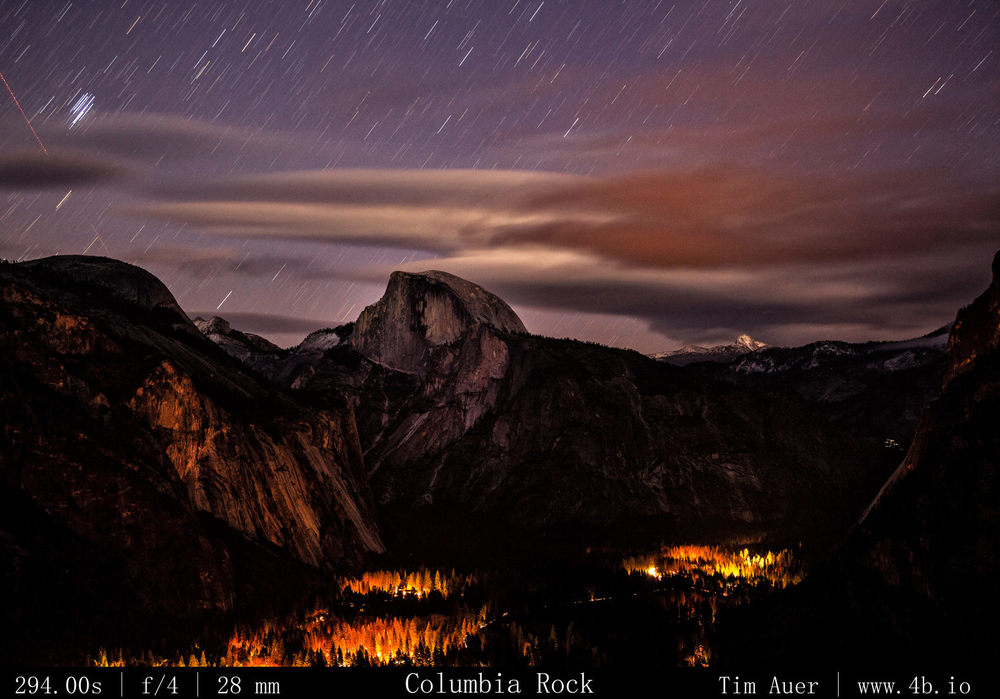
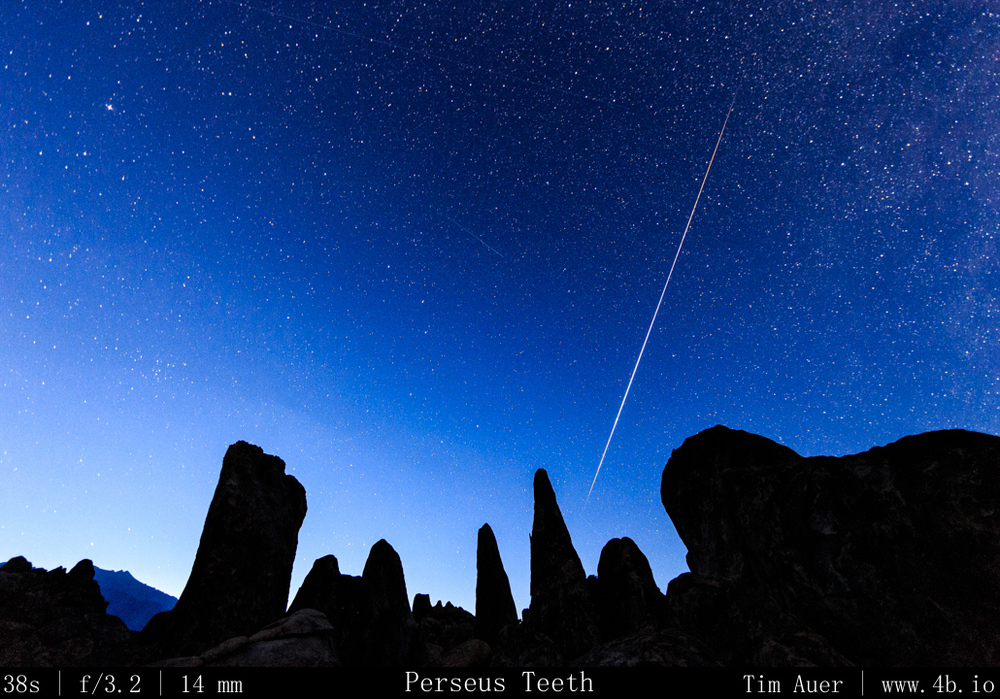
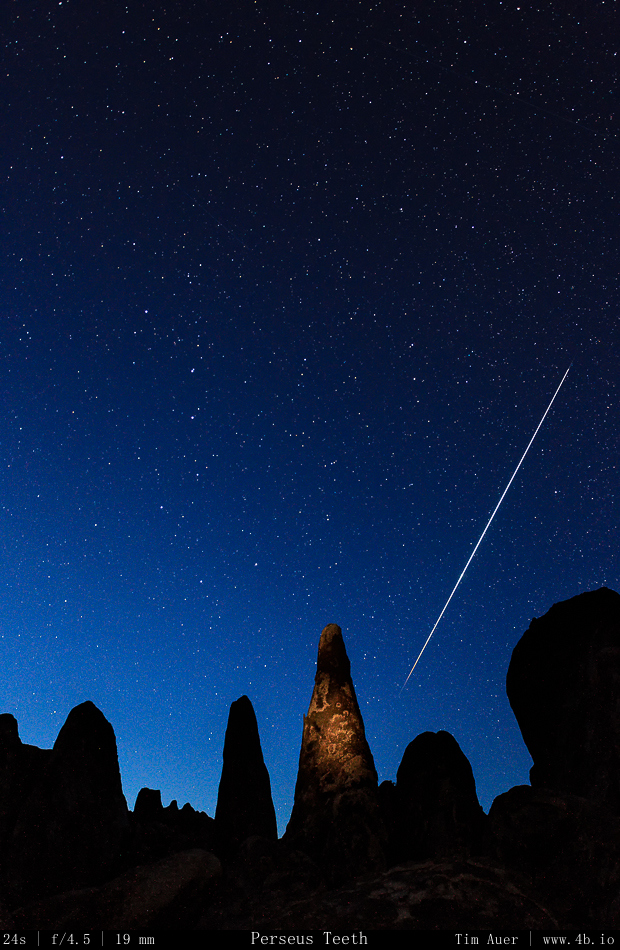
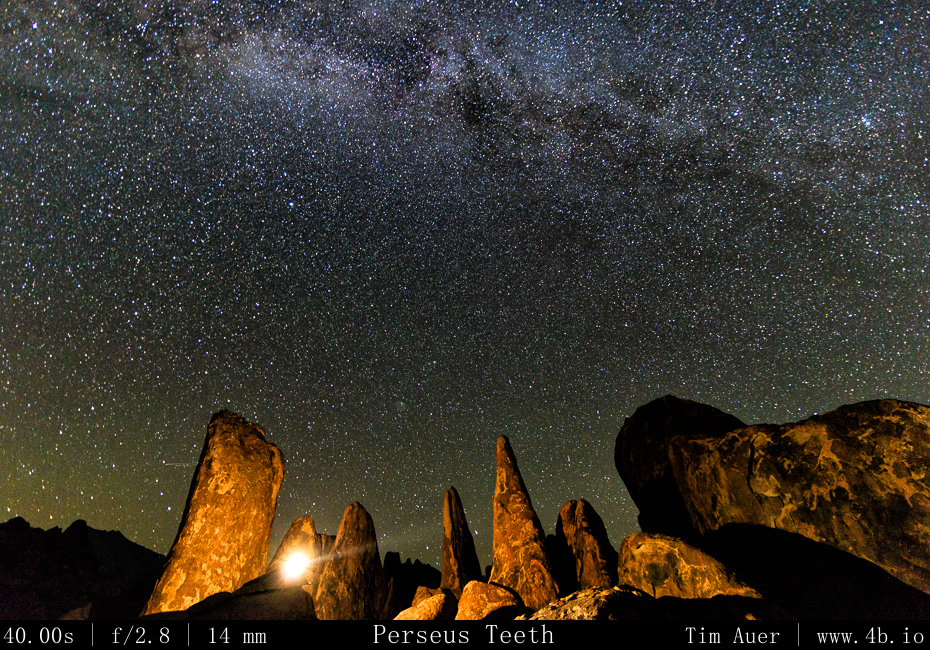
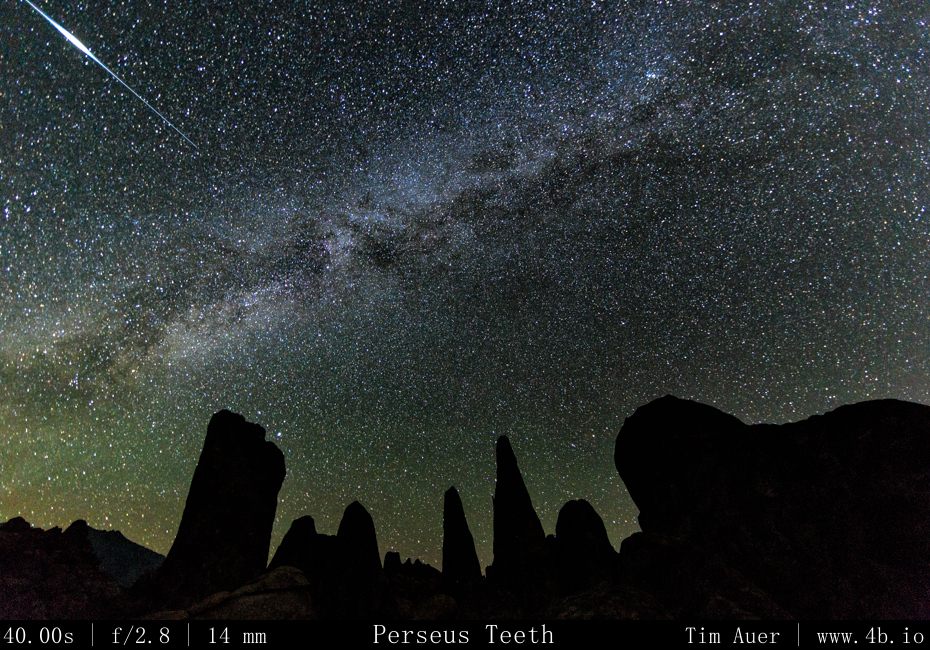
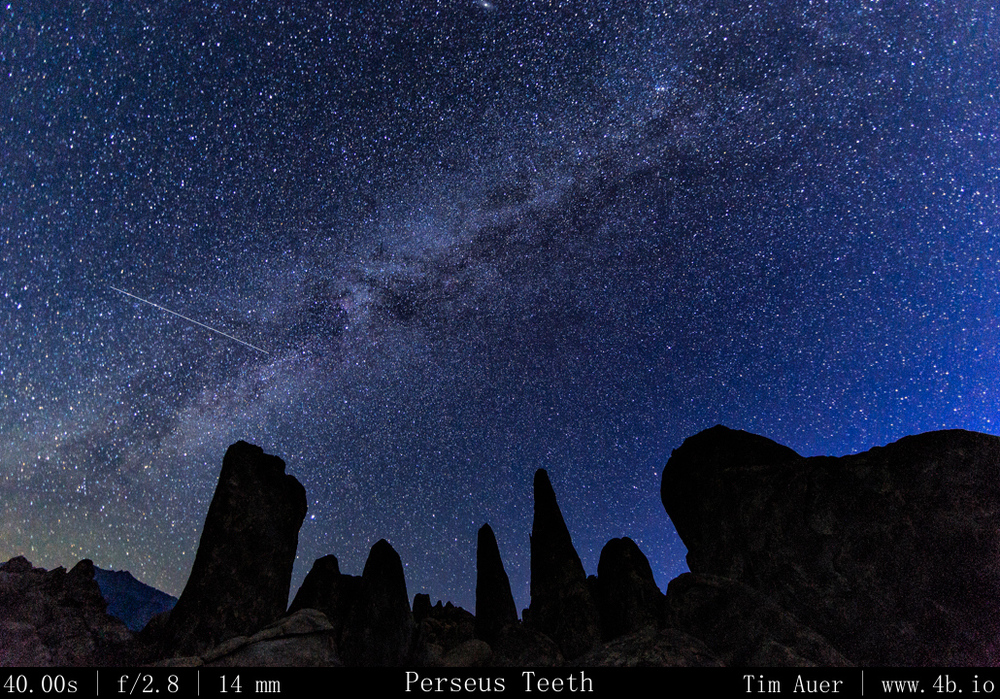
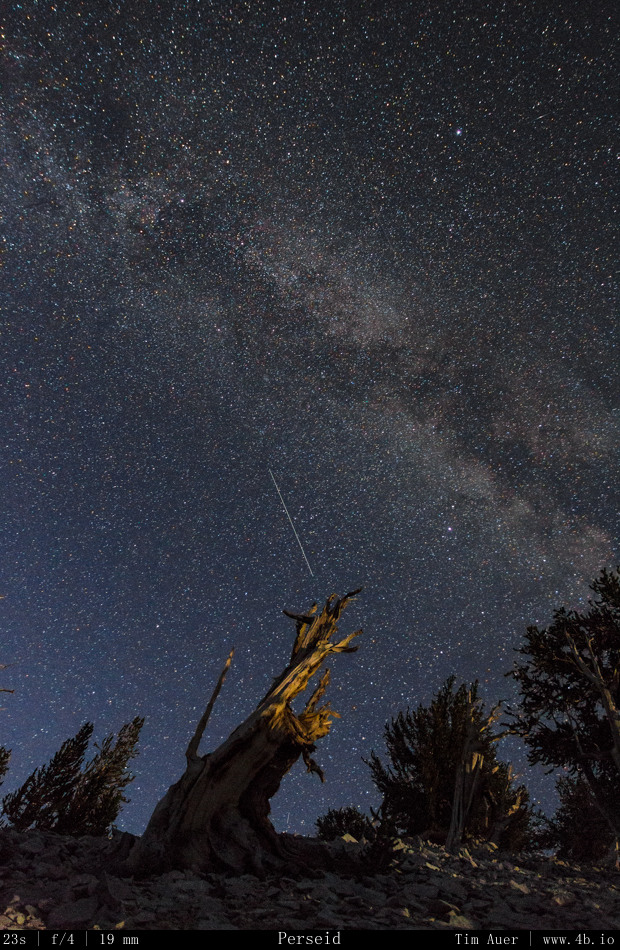
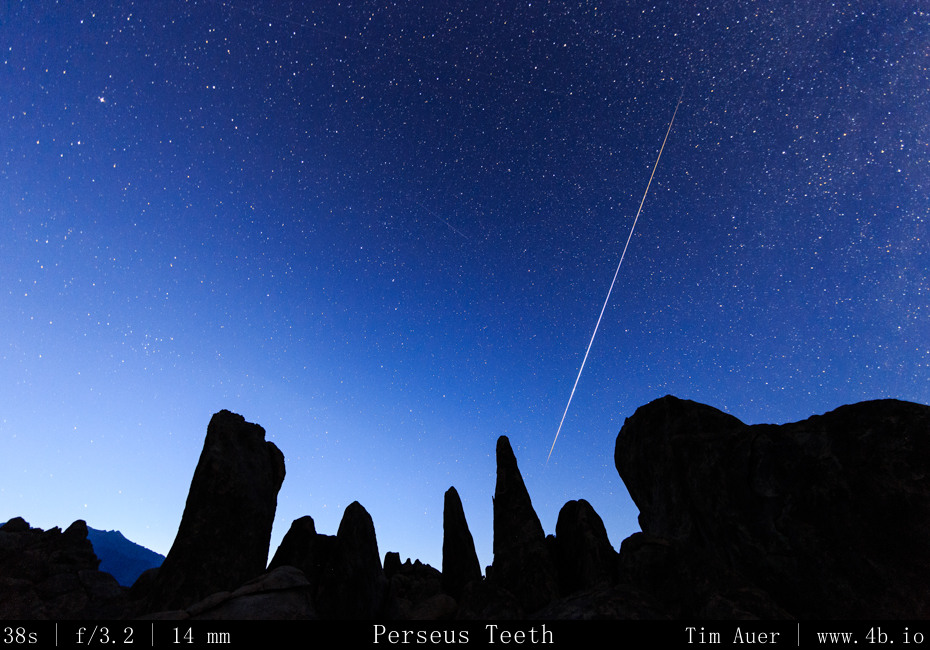
After searching long and hard for 6 hours, I finally settled on a location that satisfied my requirements. I wanted maximal Northeastern sky exposure and a rock formation that reached into the sky to create an interesting foreground. By the time I found a qualifying location, it was two hours away from sunset. Using the remaining daylight, I set up camp and composed my shots for the night. Tonight would be a 3-rig set-up. During this time before sunset, the temperature was warm, mid-80s, and very windy. Which made it difficult to set-up my tent and change lenses without dust. Fortunately the wind died down as the sun dipped behind the Sierras to the west. I climbed high up on several boulders and literally “bouldered” to get in position. From this vantage point I positioned my 6D+14mm F/2.8 (rental) and 1D Mk.iv+17-40mm F/2.8 angled up towards the Northern sky. These cameras, with granite spires in the foreground would use high ISO and shorter shutter speeds to permit the sharp capture of the celestial bodies. The FF 6D + 14mm prime would allow for longer exposures, while the 1.3x APS-H 1D Mark IV + 17mm zoom would have to be shorter. On the 6D I used a 38s exposure time and on the 1D I used 23s.
At a lower spot and on a smaller boulder, closer to my tent, I positioned my 60D+10-22mm F/3.5 with a minimal horizon and a vast north eastern sky exposure in frame. This camera covered the path that Perseus would race across the sky that night. The 1.6 crop body APS-C 60D + 10mm zoom is wide enough to allow longer exposures, but I used this one to do 10 minute exposures for star trails. My hope was by leaving the shutter open 10 minutes, there would less down time and capture more meteors, at the expense of not being sensitive enough to catch the fainter ones.
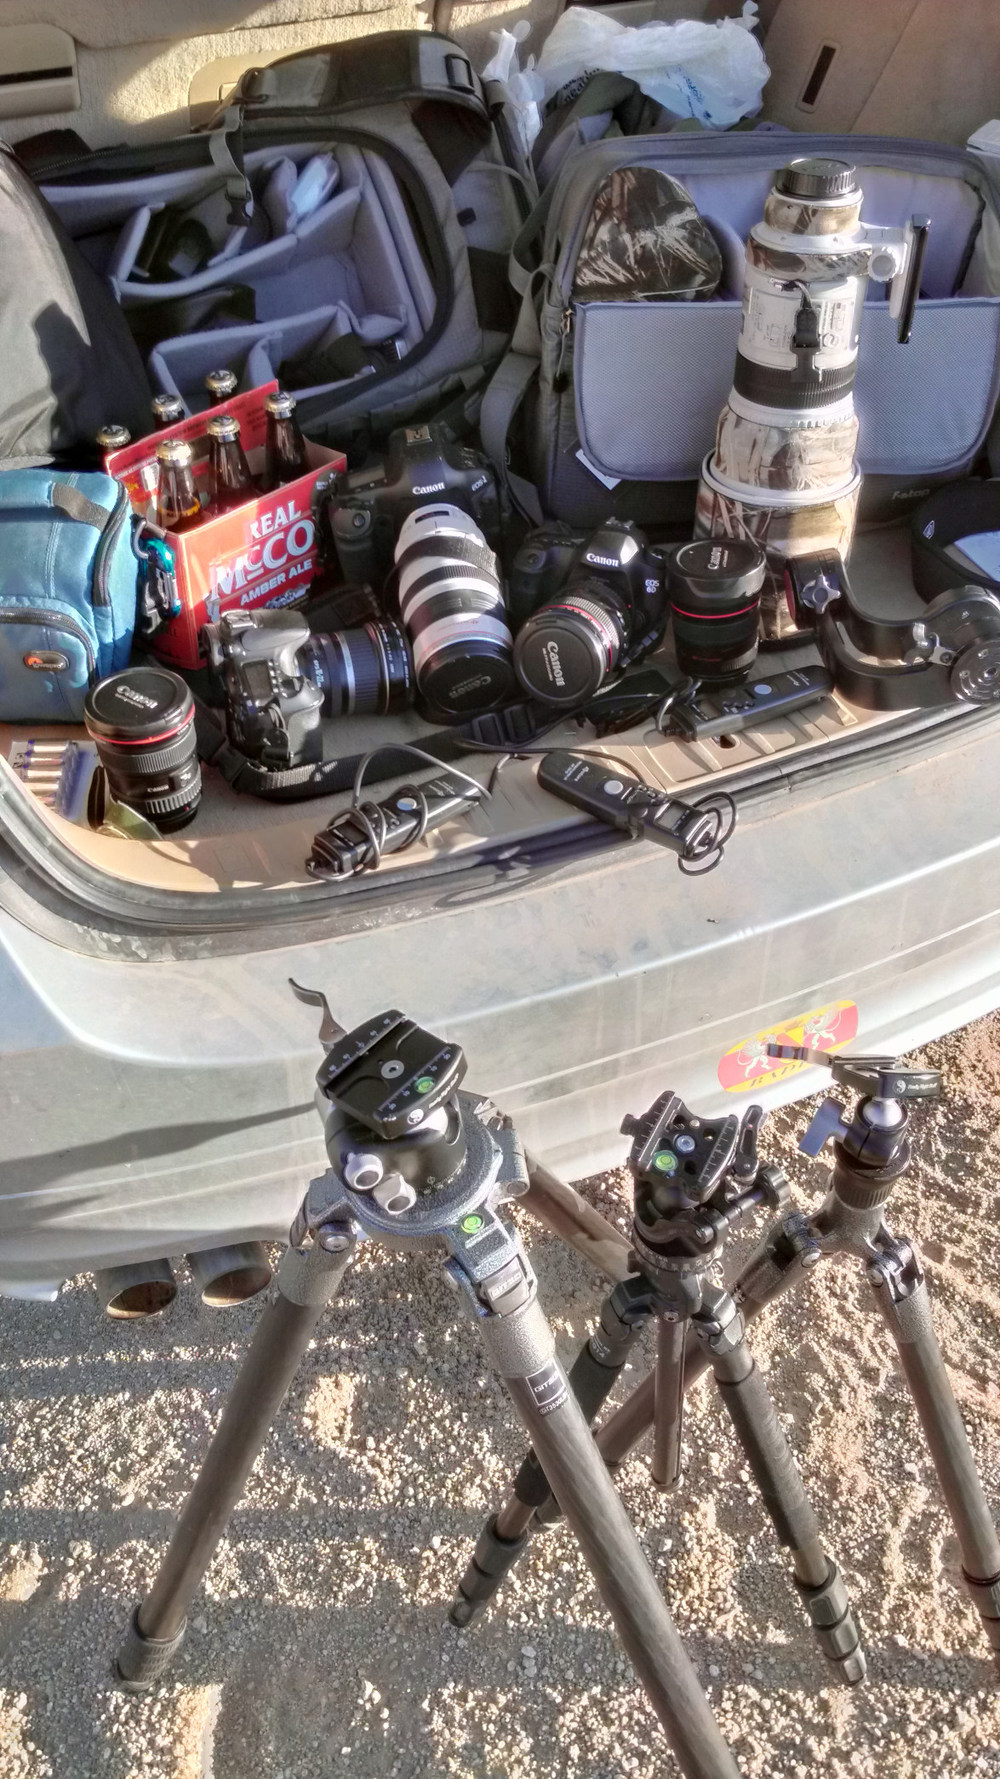 How to prepare for a photo shoot
I configured each cameras’ intervalometer, and hit go, hoping I’d be able to sit back and enjoy the show with a beer. As I should of expected, that was not the case and I barely finished the beer I drank with my Boudin bread and beef jerky dinner. I stayed alert and was constantly shifting the entire night. Spending the next 10 hours tending each camera and finding different positions to light paint the foreground granite. Wary of rattlesnakes and falling off (or in-between) house sized boulders, I put on a pair of jeans and resolved to never take a step without putting a light there first, and to always follow the same route used to climb up, on my way down. There would be no trail blazing in the darkness. By 05:00, I was exhausted, but satisfied with the meteor activity, I went to my tent and took a nap until the sun rose above the Inyo Mountains and shone into my face at about 07:00.
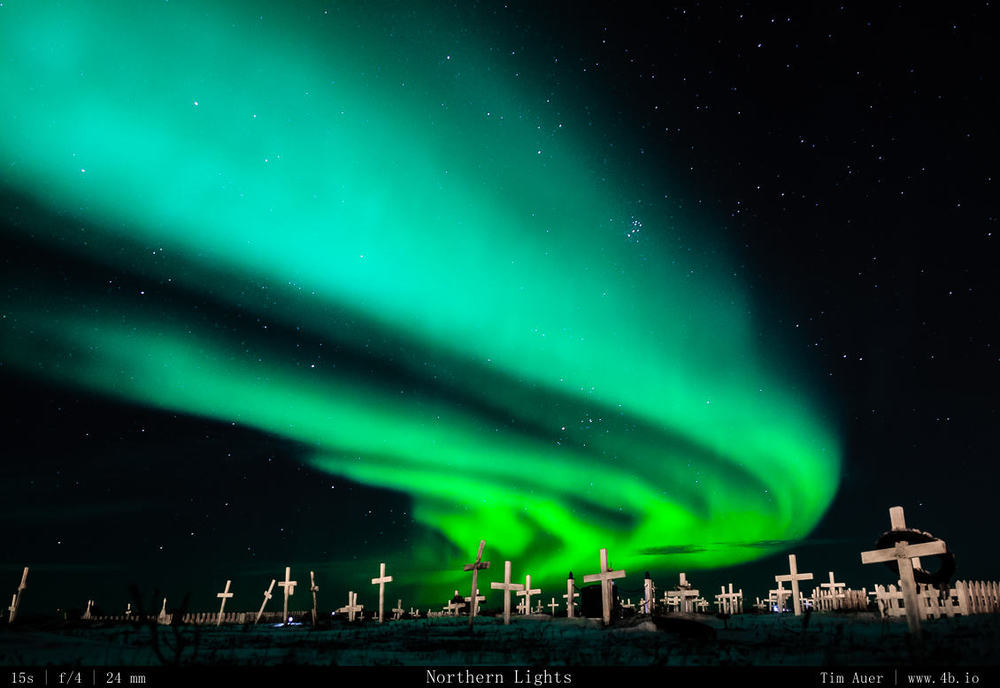
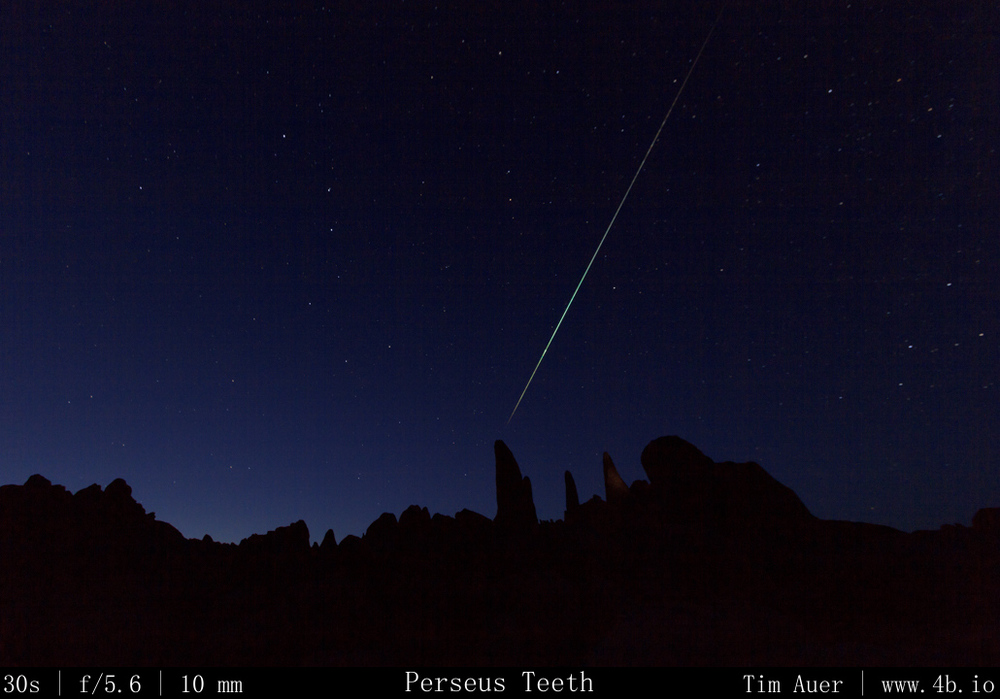
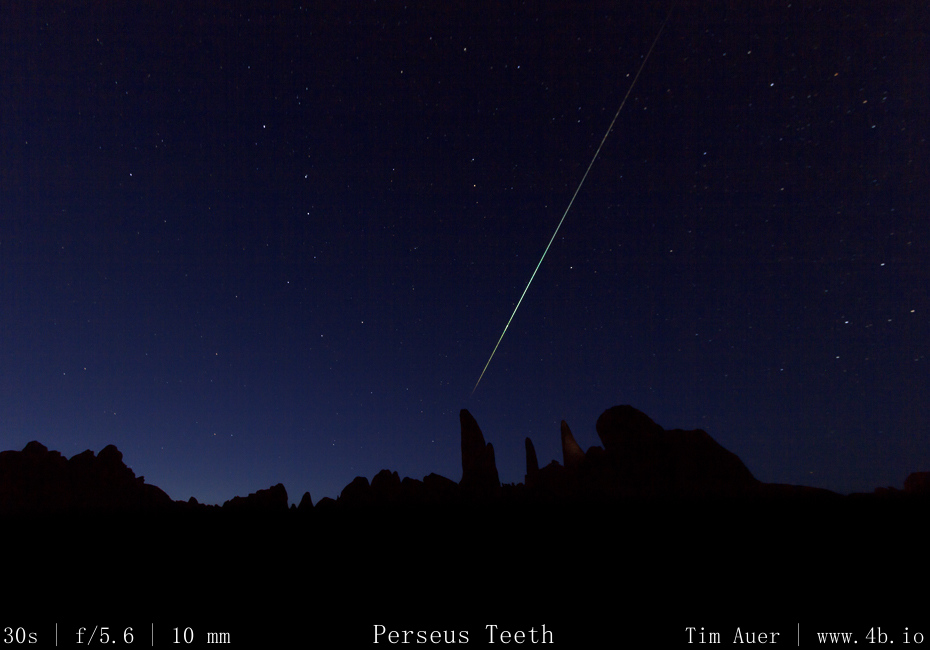
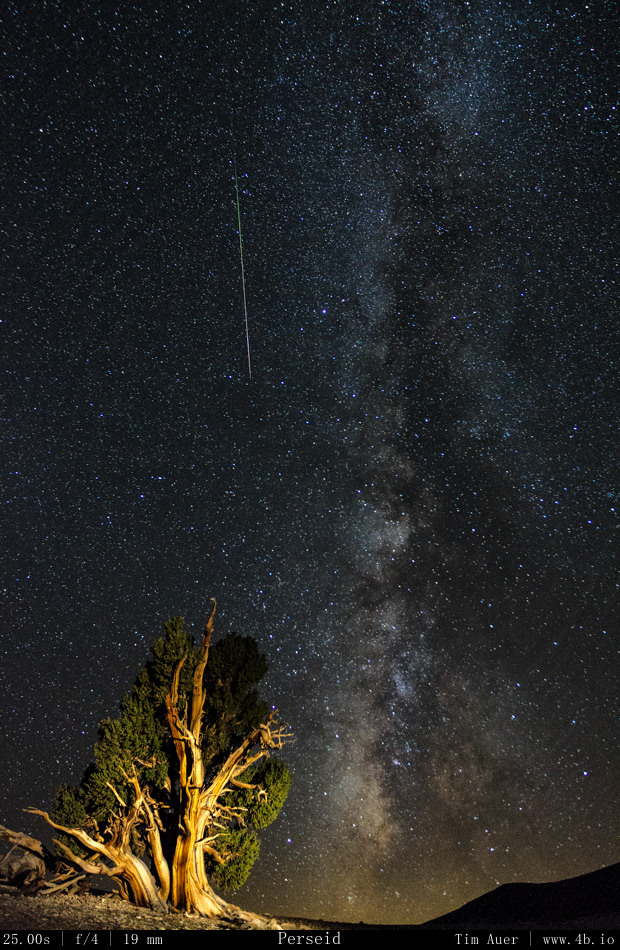
The highlight of the night: capturing the single brightest meteor. A massive green fireball that seemed to burn itself through separate stages, like a Saturn V rocket, as it skipped across the atmosphere. Not only was I able to capture it with one camera – I had the good fortune to record this event on all 3 cameras. Each one showing a slightly different perspective of the same meteor.
(For less confusing examination of the multiple perspectives, see the gallery below)
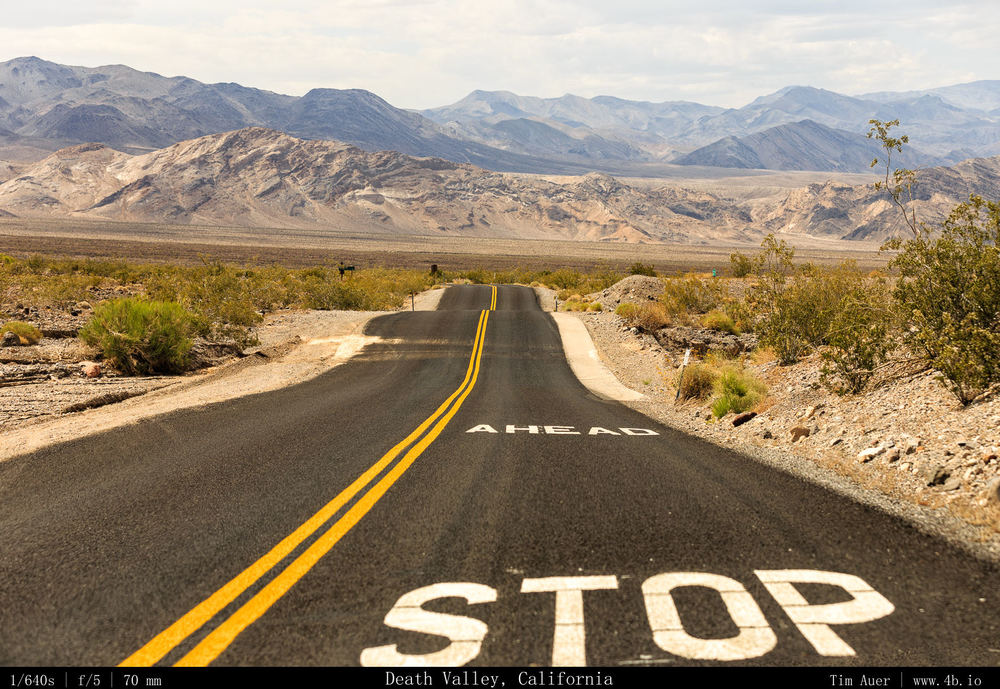
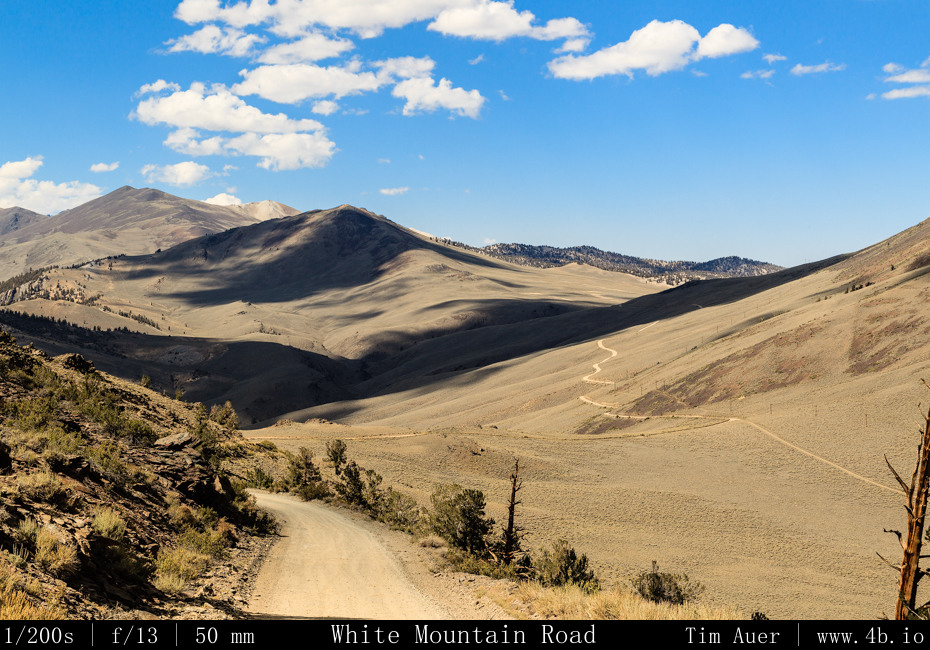
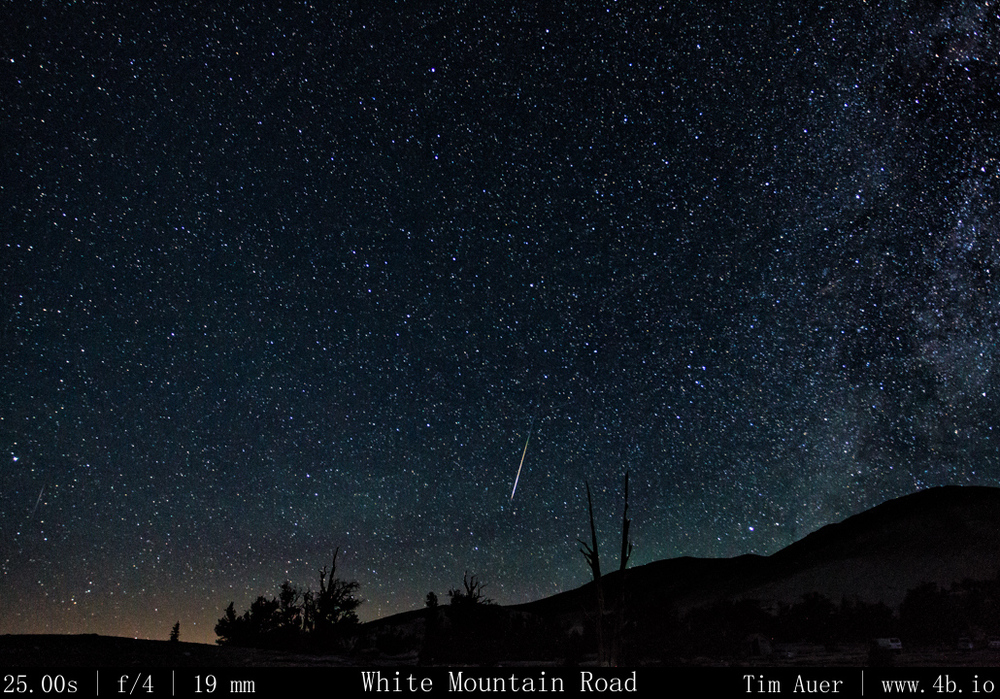
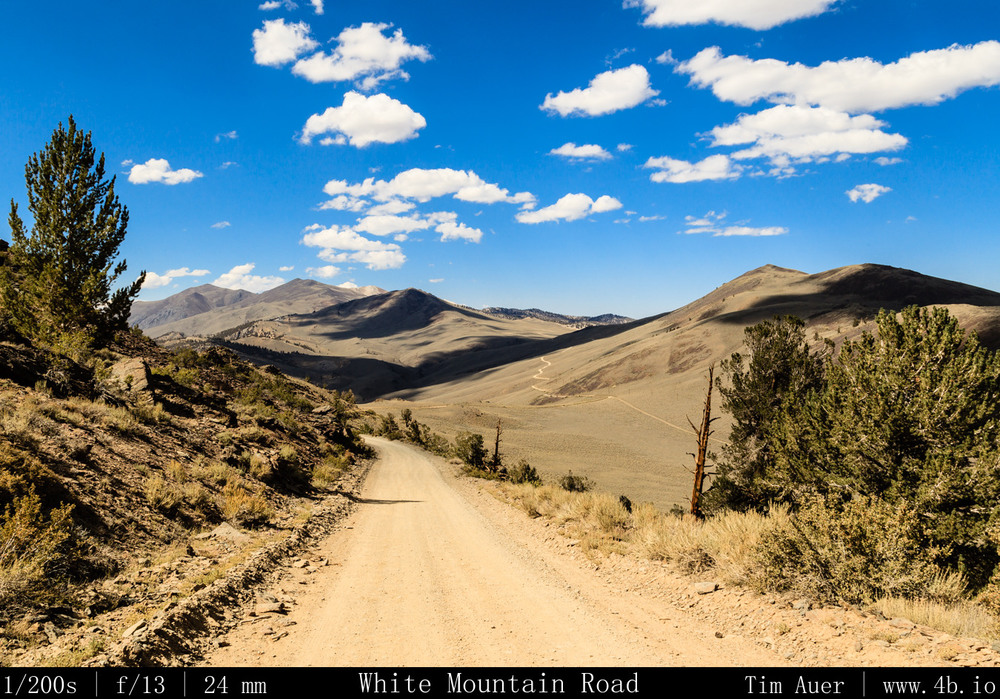 The long and winding road..
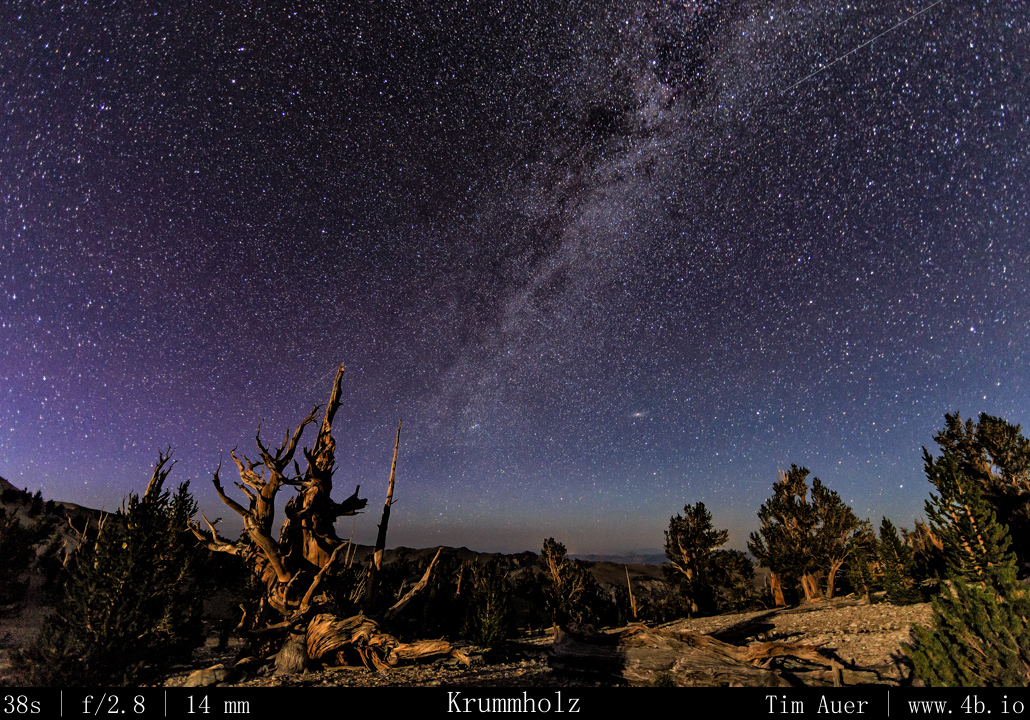
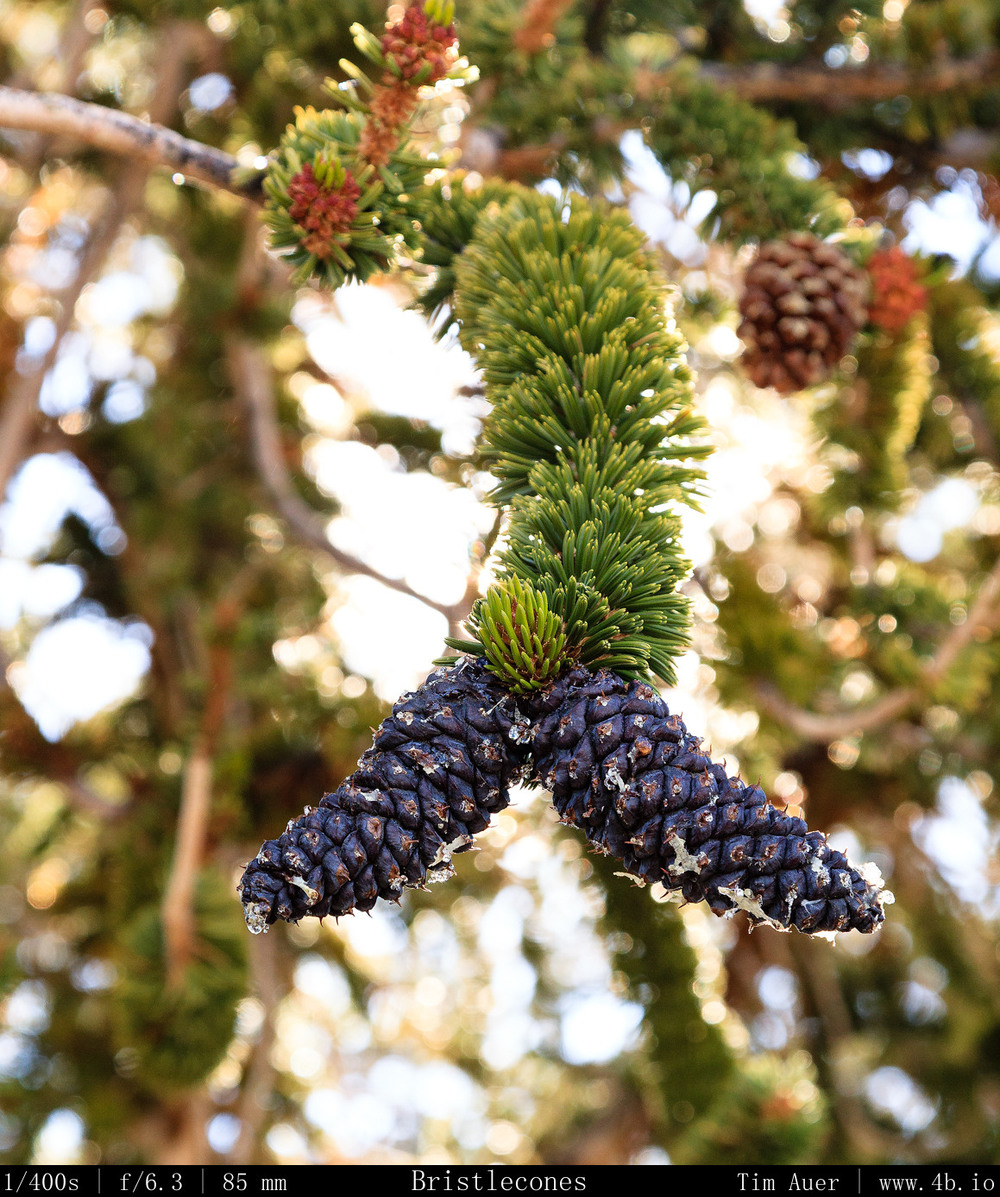
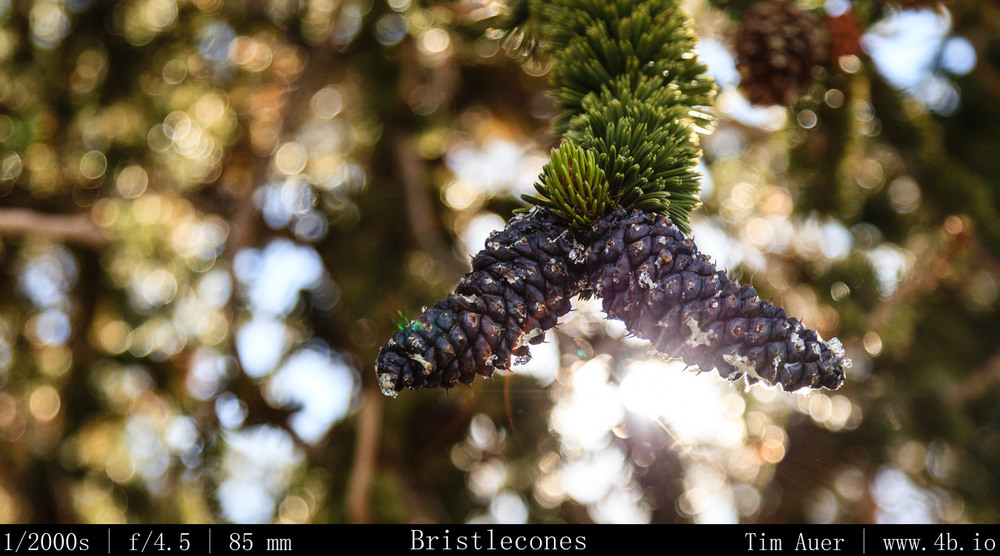
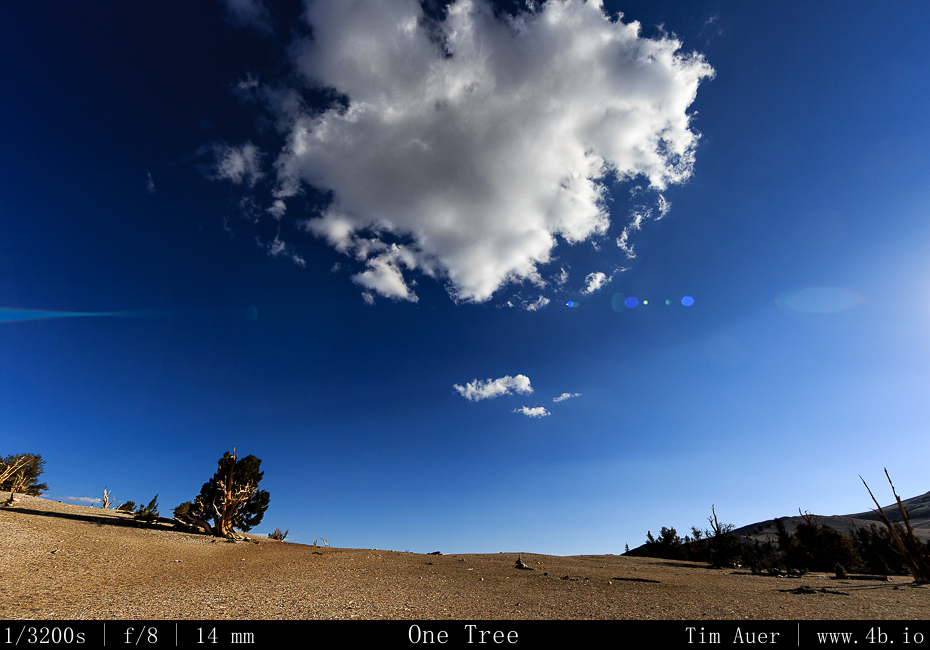
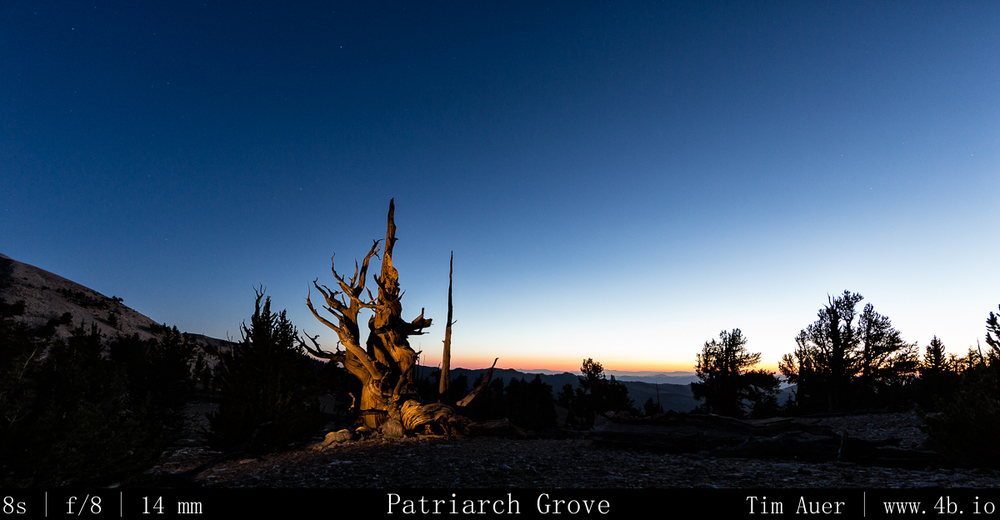
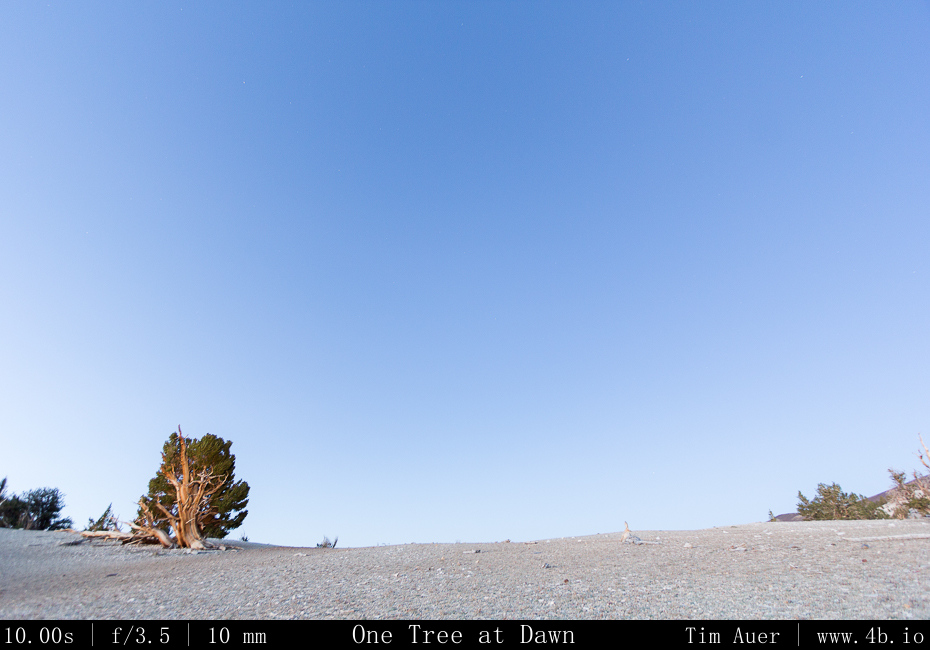
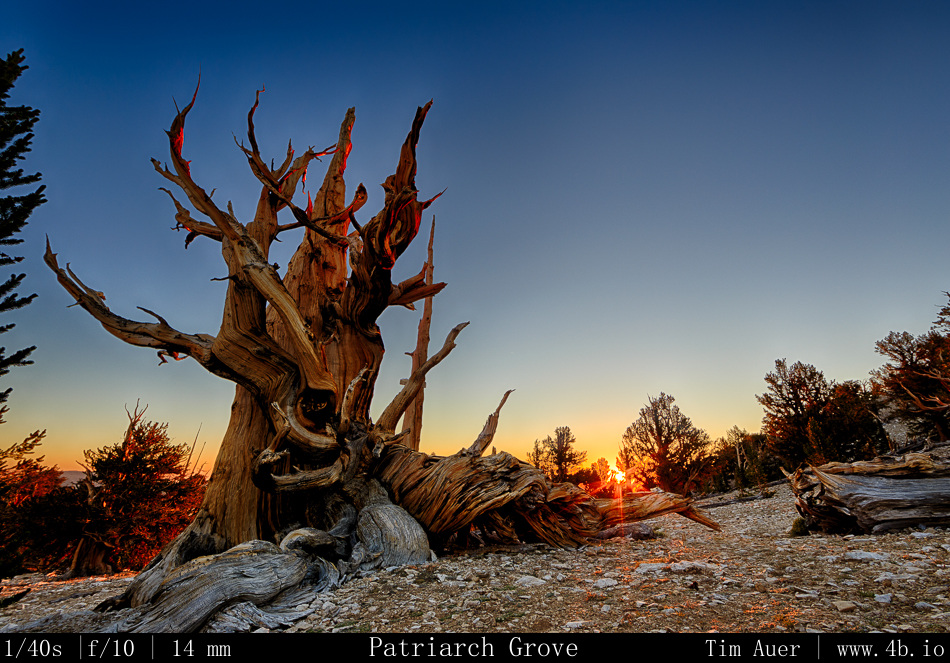
After breaking camp, I drove back to Lone Pine and had breakfast at the Alabama Hills Cafe. Moving at a relaxed pace this Sunday morning, I stalled in the cafe to recharge my batteries for as long as I could. After spending some more time exploring Lone Pine and its surroundings, I gradually began to make my way up 395 to Big Pine, California (elevation 3,900 ft). I topped off my gas tank, turned right at the edge of town on to California Rt.168 (10 miles), then a left onto the very steep White Mountain Road. After 13 miles of steady ascent, I was in the windswept lands of the ancient Bristlecone forests. To be exact, I was at the more accessible Schullman Grove (elevation 10,100 ft). This is where the paved road ended, and the halfway point to my destination. Ascending even higher for 12 additional miles on very rough dirt road (it took 90 minutes), I finally reach my destination: The Patriarch Grove. Nestled high in the White Mountains at an elevation well over 11,000 feet, the harsh landscape here looks more suited to be the moon than any place on green, hospitable earth. Yet, the dusty mountain sides are teeming with life, in the form of the magnificent Bristlecone pine. Gnarled, beaten down, and broken, these trees thrive here in these conditions. Some have held on to life for more than 4000 years. With so many unworldly features, this is the perfect place to connect the life on Earth to the rest of the nonliving universe. It was exhilarating to have the privilege to photograph the starlit heavens raining with meteors here.
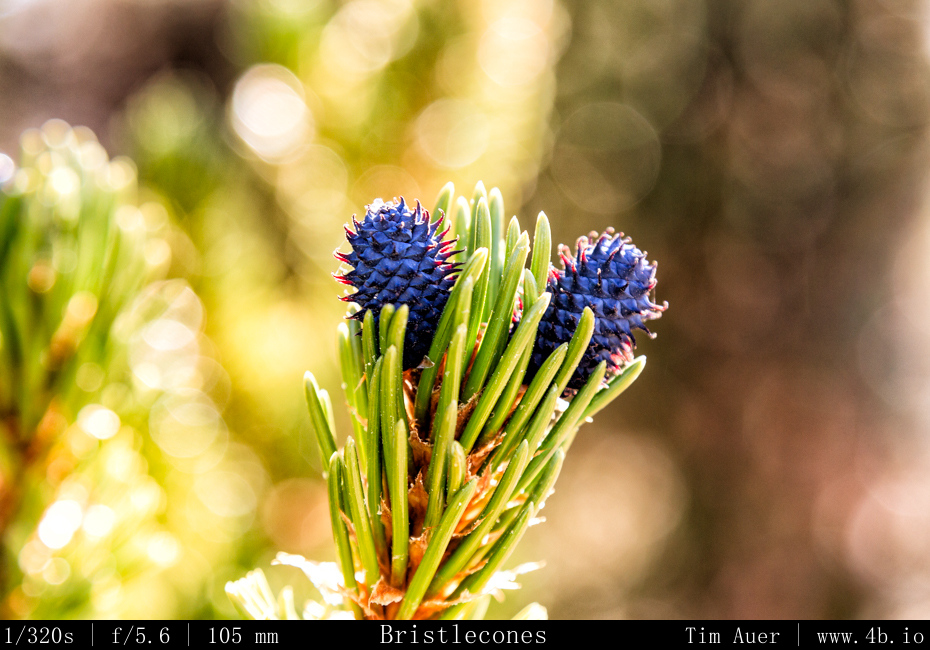
 Bristlecones, with their bristles
After parking, I took a short hike through the grove in the warm afternoon sun, scouting my nighttime locations. As I did so, a few people showed up and began to assemble telescopes and scout their positions. By sundown, the people in the grove filtered down to those of us staying through the night, about 5 or 6 people in total. After spending the last two nights completely alone and isolated, it was nice to be able to talk with some other people, and hear their experiences. Like the previous, this night was to be a 3-camera show too. I decided to take a slightly different approach this evening. The two ultra wide set-ups would sit stationary for hours, while the other camera would be my “roamer”.
I positioned the 6D+14mm in a northeasterly direction and the 60D+10mm in a westerly direction. The 60D was positioned west because I particularly liked the composition, and no other reason. Besides, I felt like on the previous night there more hot fireballs in that piece of sky. So I knew the Perseids would be everywhere. The 1D+17mm was my roaming unit. I would find a position for this camera, compose the shot, and let it sit for 15-90 minutes, depending on the conditions. At one point, this camera was on top of a peak over a half mile away from my two other cameras, which were in the same general area and only 200m apart. For this night, I decided to use slightly shorter shutter speeds, while pushing the ISO with the goal of capturing even the most faint meteoric activity. There was no time to rest for the next 7 or 8 hours, and when I did take a break to watch the sky, I realized the temperature had dropped well below freezing. My Nalgene had even begun to freeze! By 04:30, I was getting quite chilled, I decided to warm up in my car and to take a brief nap, knowing that I would need to wake by 05:30 to reconfigure my cameras and avoid overexposing the frames in the morning twilight.
Despite having a 30 degree bag, being fully dressed, and inside my car, I never was exactly comfortably warm. It must have been colder than I realized, but I shouldn’t be surprised of this considering I was at elevation over 11,000 feet. Bleary eyed and mouth parched, I roused myself at 05:30. It was still quite cold and dark and conditions like that always demand some additional effort to overcome, but I can proudly say I was up and out in less than a minute! I even have to photographs to prove it. One of my cameras looked the direction of the car. To the naked eye, it was still very much dark out, but to a camera’s ISO 6400 sensor, it was rapidly beginning to overexpose. As the sun approached the horizon, I needed to adjust each camera 4 additional times to accommodate the varying conditions.
- The first adjustment was to decrease the ISO setting, but maintain the shutter speed. The intervalometers were still in full control.
- As twilight gained hold on the sky, the second adjustment was to decrease the shutter speed and aperture. I did this by changing from “BULB” to “Av”, and resetting the intervalometer to snap a photo every 60s.
- The third adjustment was to enable Auto-focus on the lens. The ambient light was sufficient enough, that I need not depend on my manual focused composition.
- The fourth adjustment consisted of enabling the AEB (Auto Exposure Bracketing). This was done to accommodate the high contast and widening dynamic range of a scene that contains the rising sun.
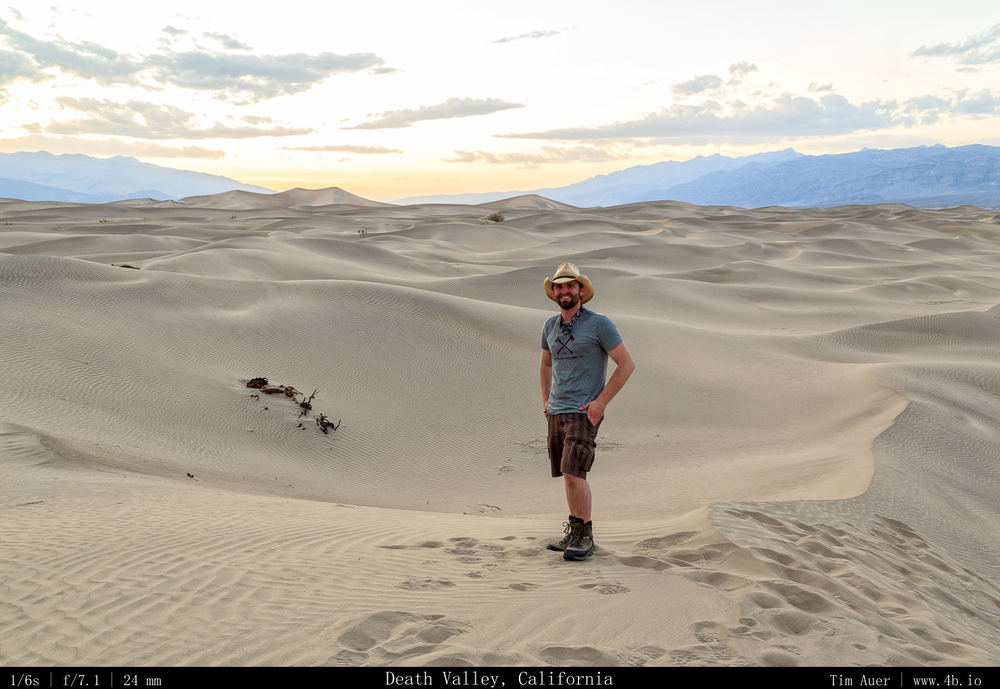
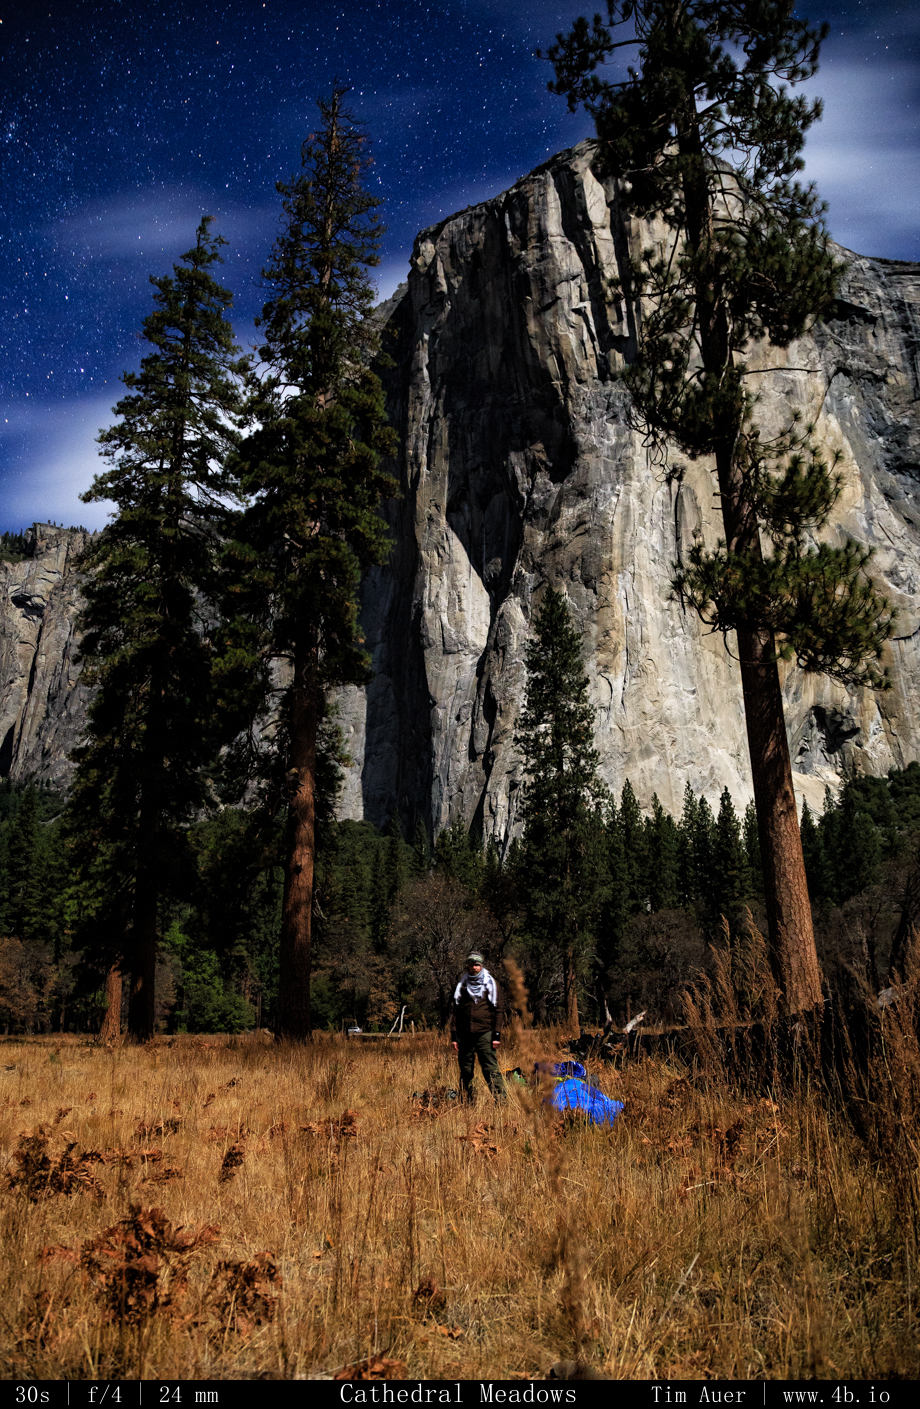
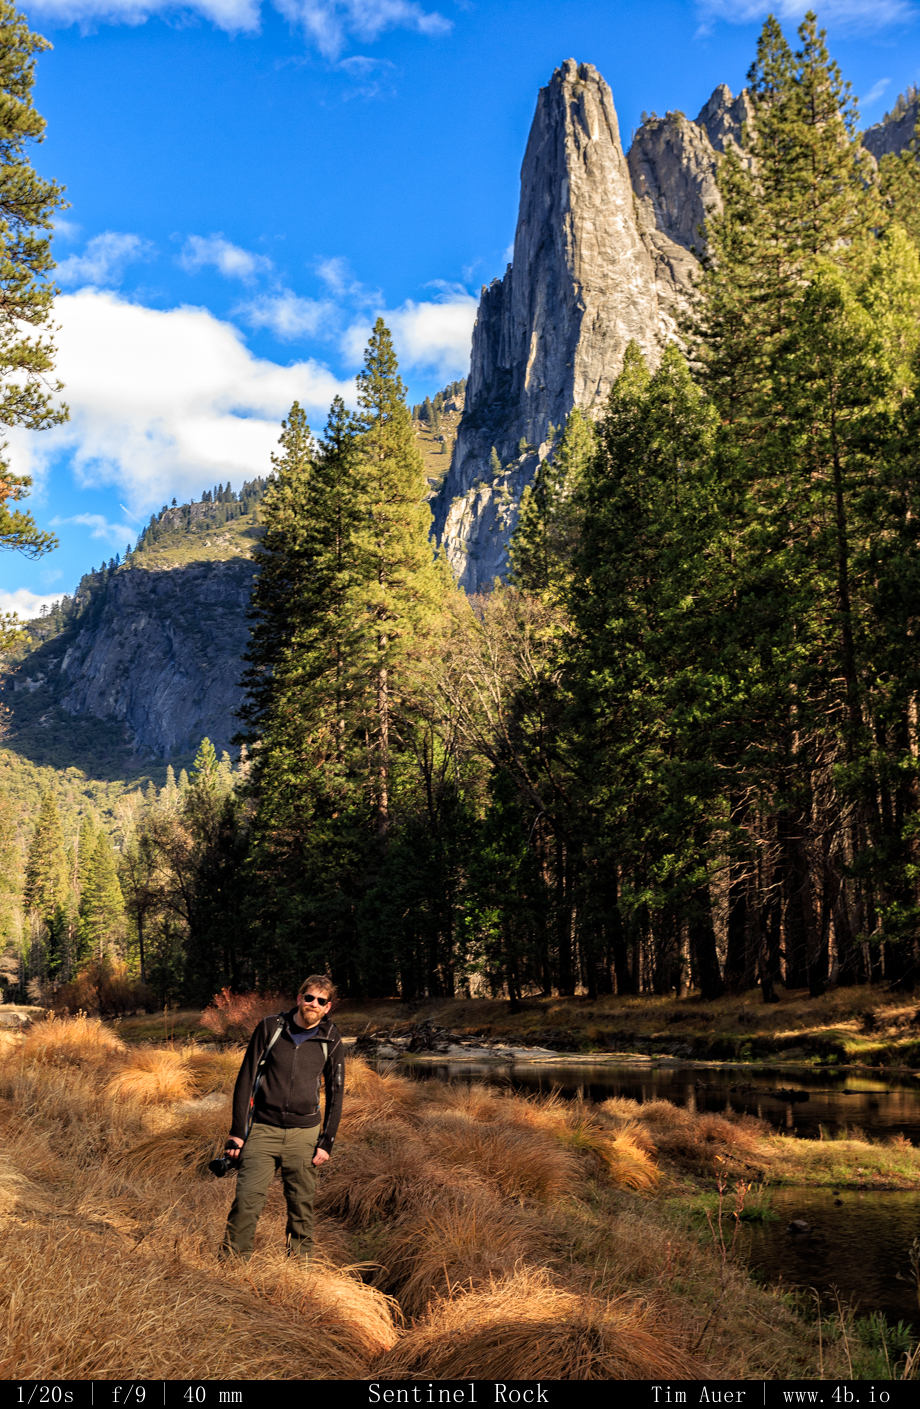
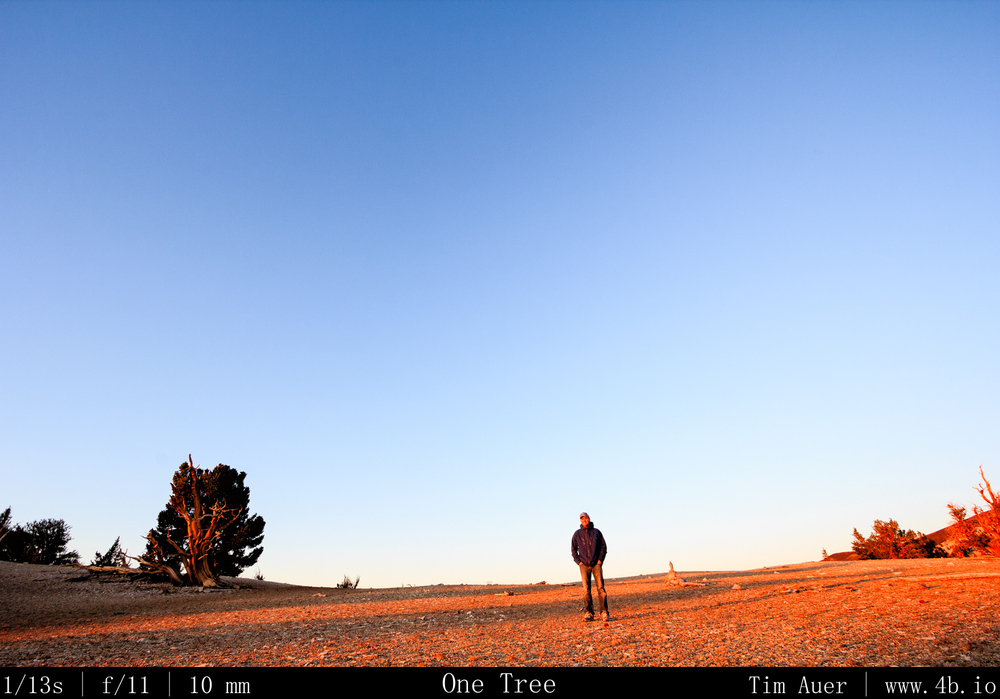 Self “portrait”, morning light
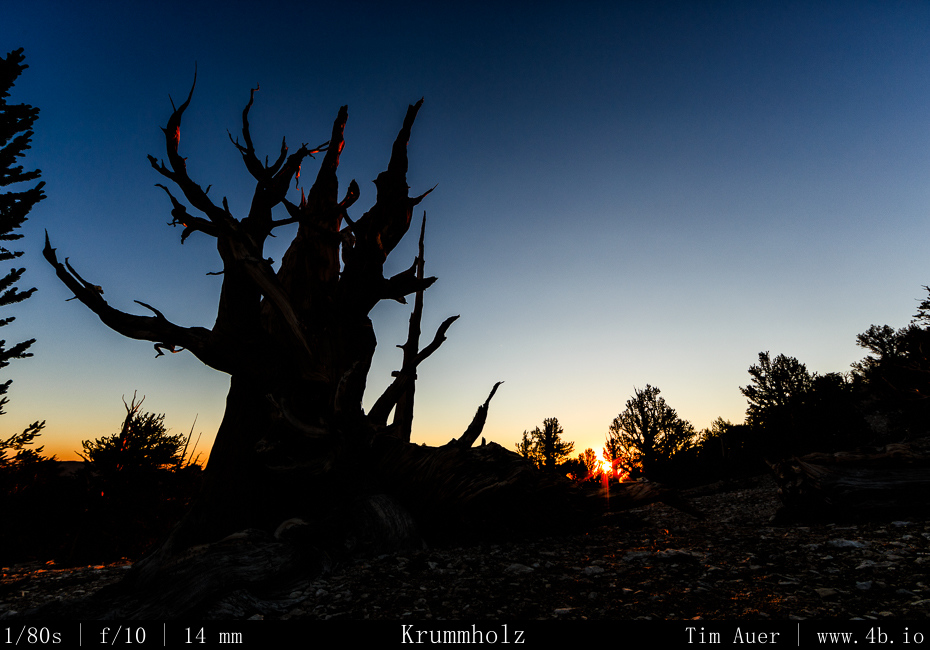
The quality of light at sunrise here in the White Mountains was superior. It was a rich, golden red light that rapidly raced along the mountain side, reflecting off the white dolomite, but it didn’t last long. As the sun crept higher above the horizon, this golden red light became orange, then yellow, and then a flat white…
Thus signalling the end of my Perseid weekend…and the start of my 8 hour drive back to Silicon Valley for work.
New gear utilized:
- SureFire G2 Nitrolon flashlight incandescent – Top quality, warm light. The beam of light is very narrow and has incredible throw. Therefore it can easily over expose if the earthly objects are to near the camera. To prevent this, I used the white plastic top of a water jug as a diffuser. I used this light for all my light painting purposes.
- Streamlight 88031 Protac Tactical Flashlight 2L – Great as a flashlight.. Beam is not as narrow as the SureFire but still throws light very far. The LED light was to cool/blue for the purposes of lightpainting.
- Canon 14mm F/2.8L (from LensRentals) – Will be looking to make this purchase soon…
- Canon 17-40mm F/4L
- BH-40 Ballhead