Review: Canon 100-400mm II lens

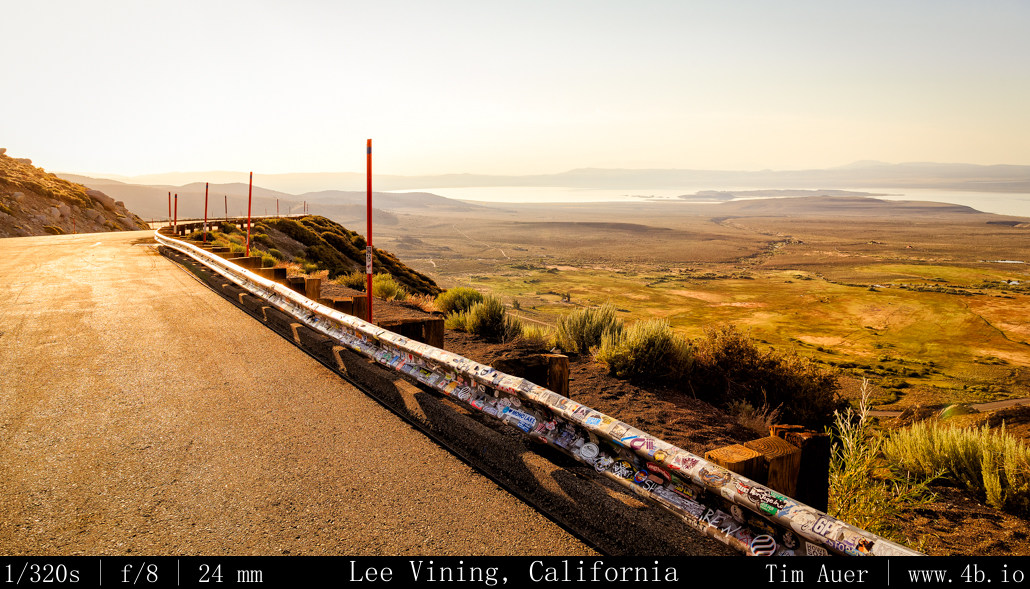
I am extremely impressed with this lens. There is plenty of sharpness, and the IS and lightweight to make it a formidable handholding tool.  I started using it more and more over the last few weeks, mainly in response to getting the new 1DX2. As I acquainted myself with the new body, I wanted to use something reasonably sized.  Otherwise, I would look like a major creep walking around Mountain View parks while toting my big 600mm. I’m sure I still look like a creep either way.
Assuming 400mm is adequate for your needs, you cannot go wrong with it. As is true for many others, the first edition of this lens was my gateway into the super tele world. It was a workhorse that yielded  stunning results. Only when I began my “affair” with the 600mm II, did the honeymoon with the 100-400 end.
Over the last couple years I have been holding down a 3 body kit for wildlife: super tele; mid range zoom; ultra wide. I’d stick the 600mm on the 1DX, constantly swapping 1.4x TCs. The 70-200mm on the 1D4, occasionally with 1.4x TC. And my sidearm was 14mm/11-24mm on the 6D.  This had me covered well for most of the situations I put myself in, and there wasn’t any real demand for anything in that 350-500mm range. That all began to change after getting the 7D2.  This body immediately replaced the 1D4 in my kit for use with the midrange zoom. With the crop, a 70-200 became 320mm equivalent, and I was reminded of how useful those focal lengths were.
The 100-400II with 7D2 is a natural pairing, sacrificing the wide end, its 640mm equivalent reach was great. I found it too prohibitive with a 1.4x extender, locked to the center AF points at f/8. This is where the 1DX2 comes into the picture, as it has 61 AF pts at f/8.
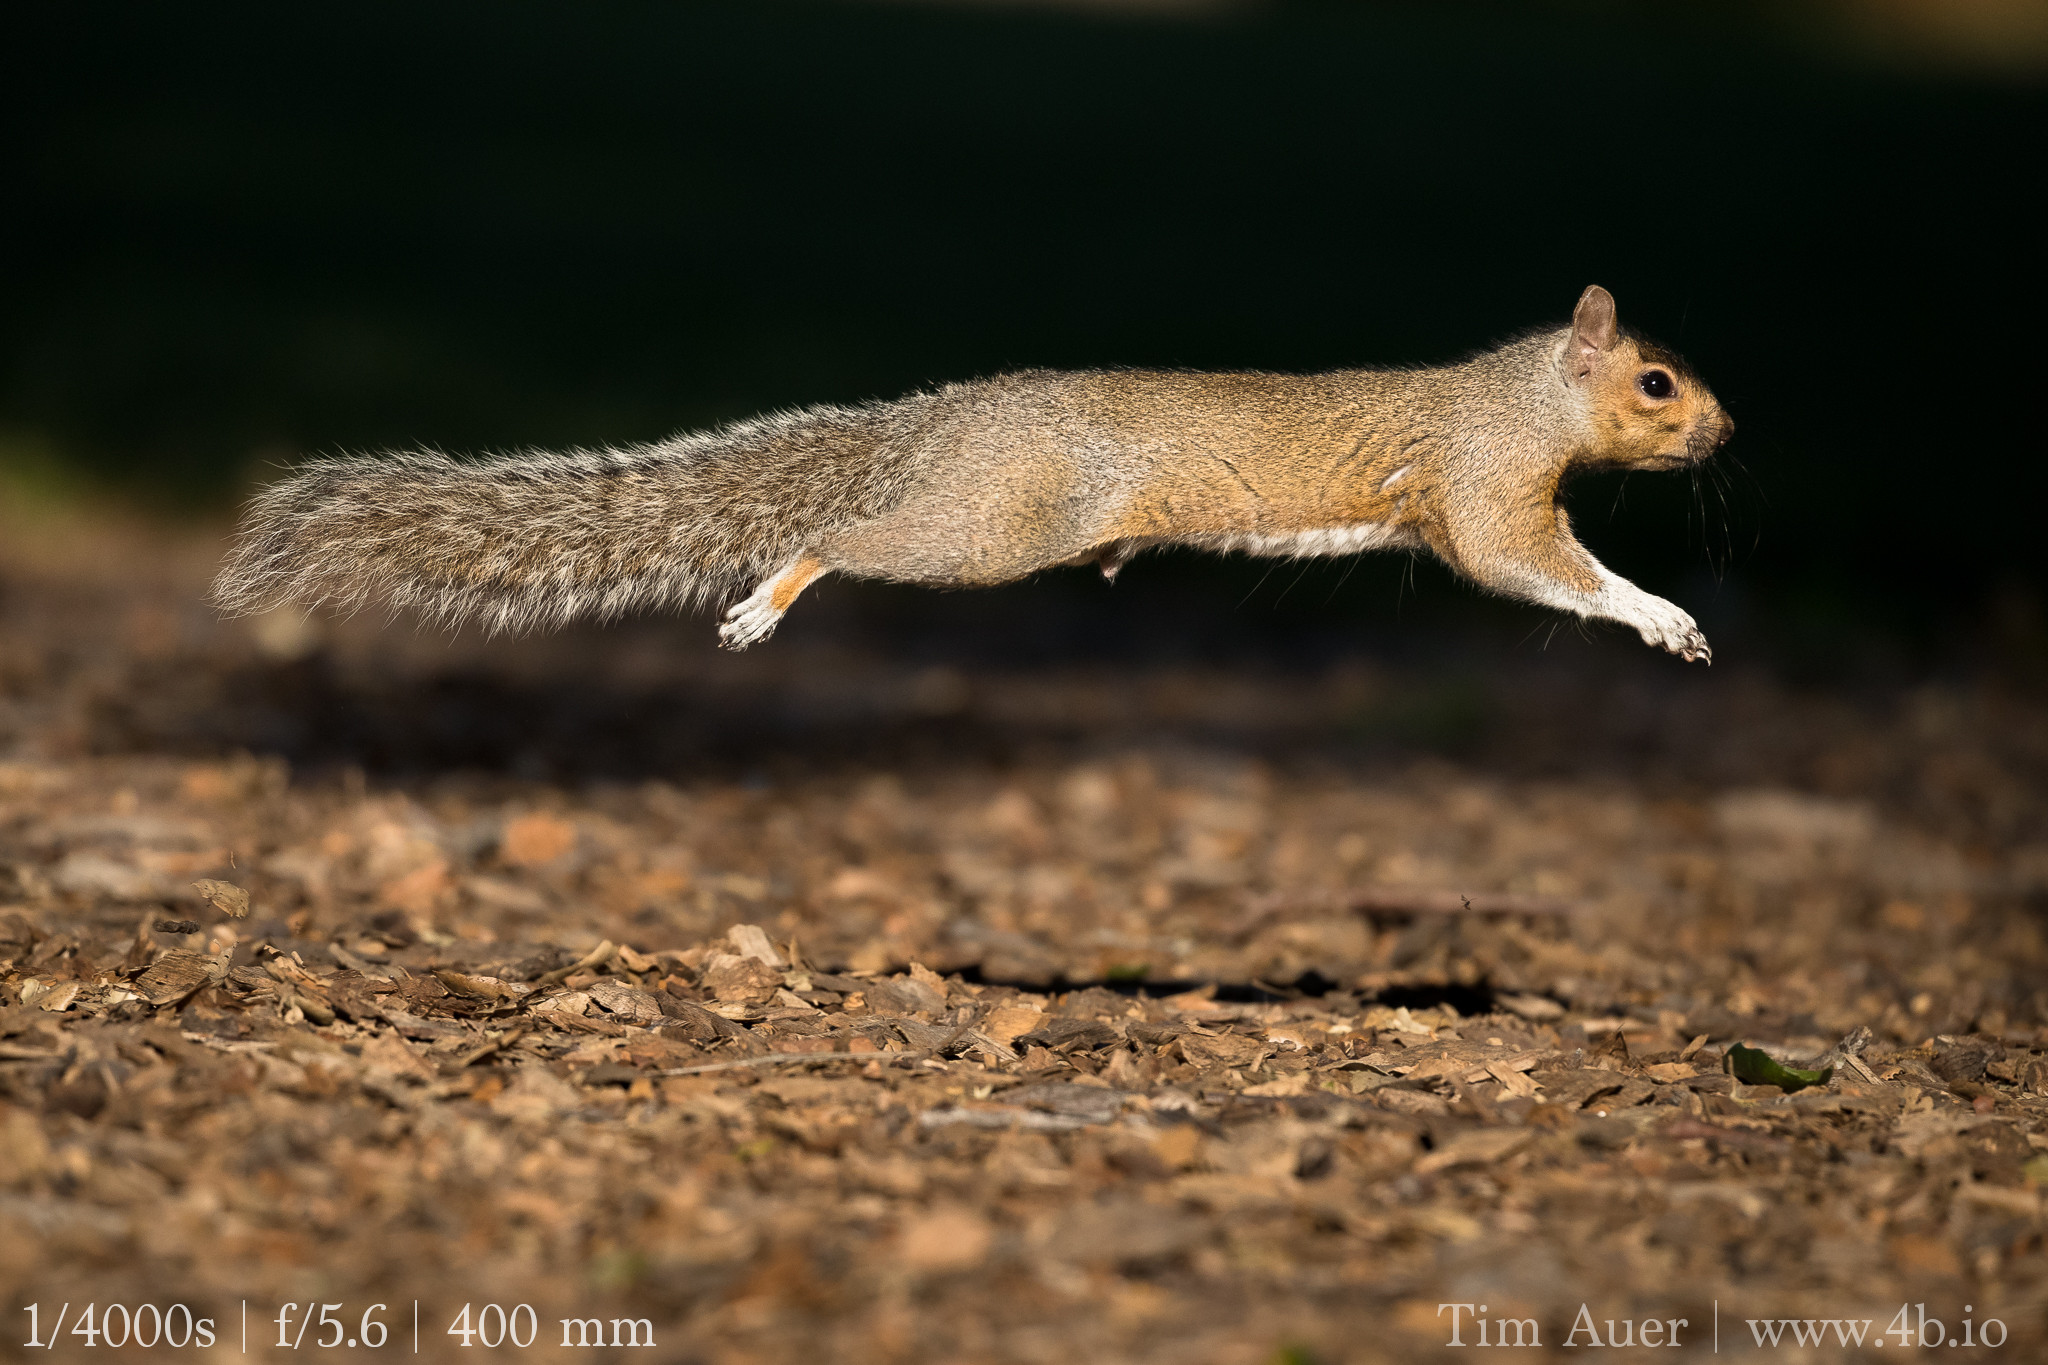
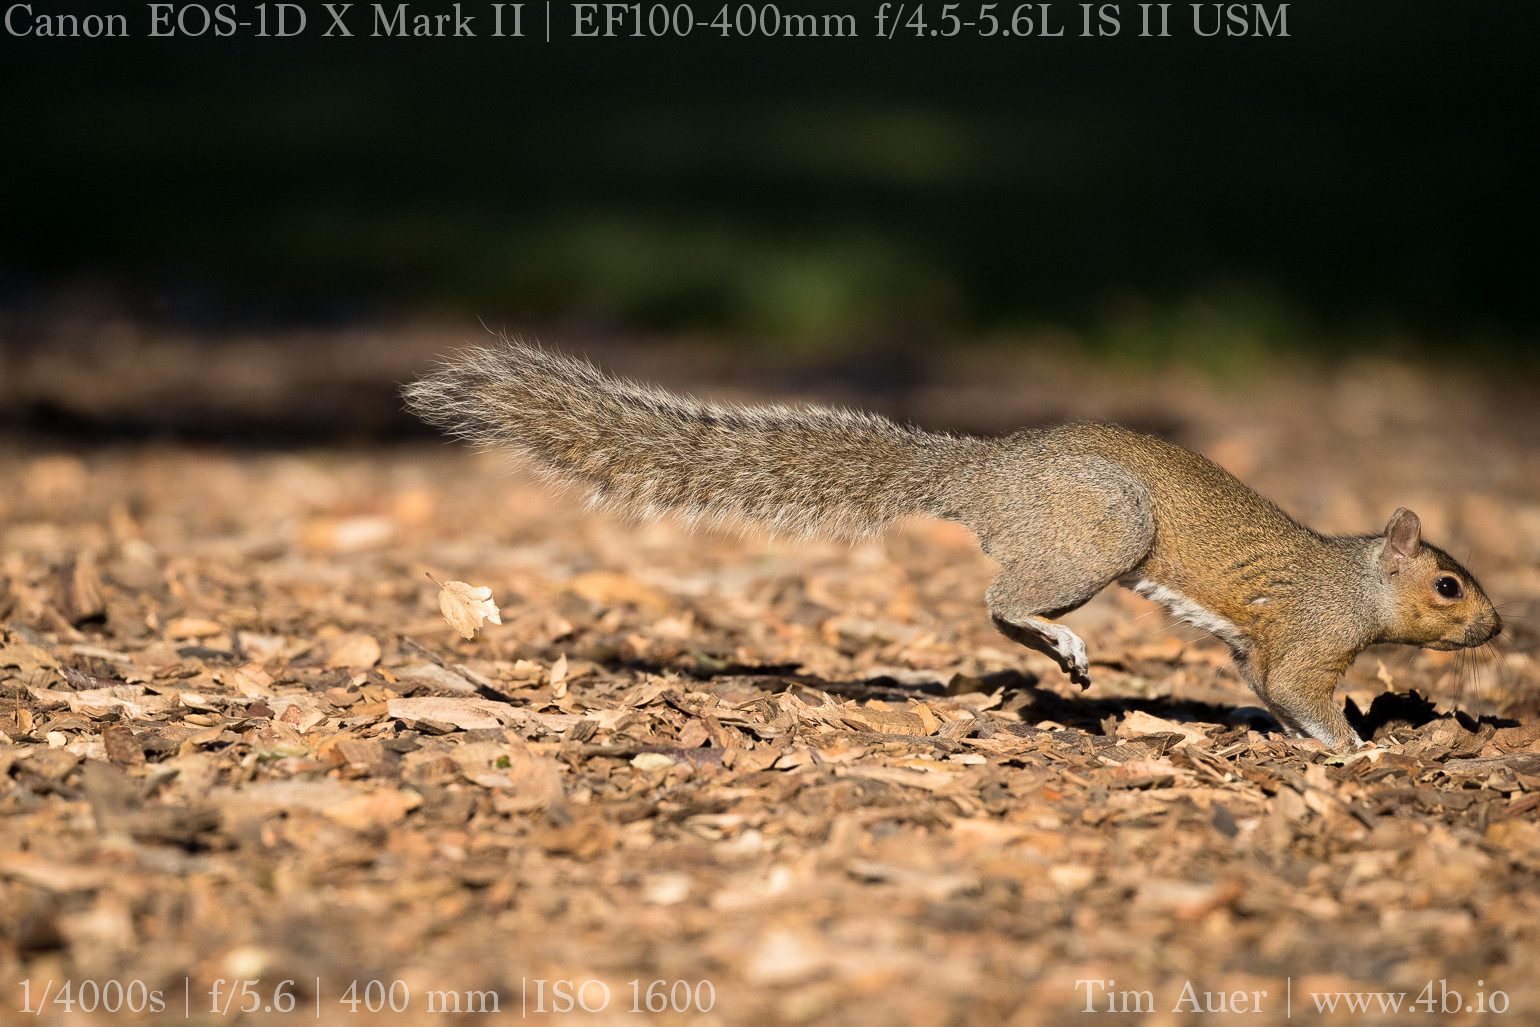
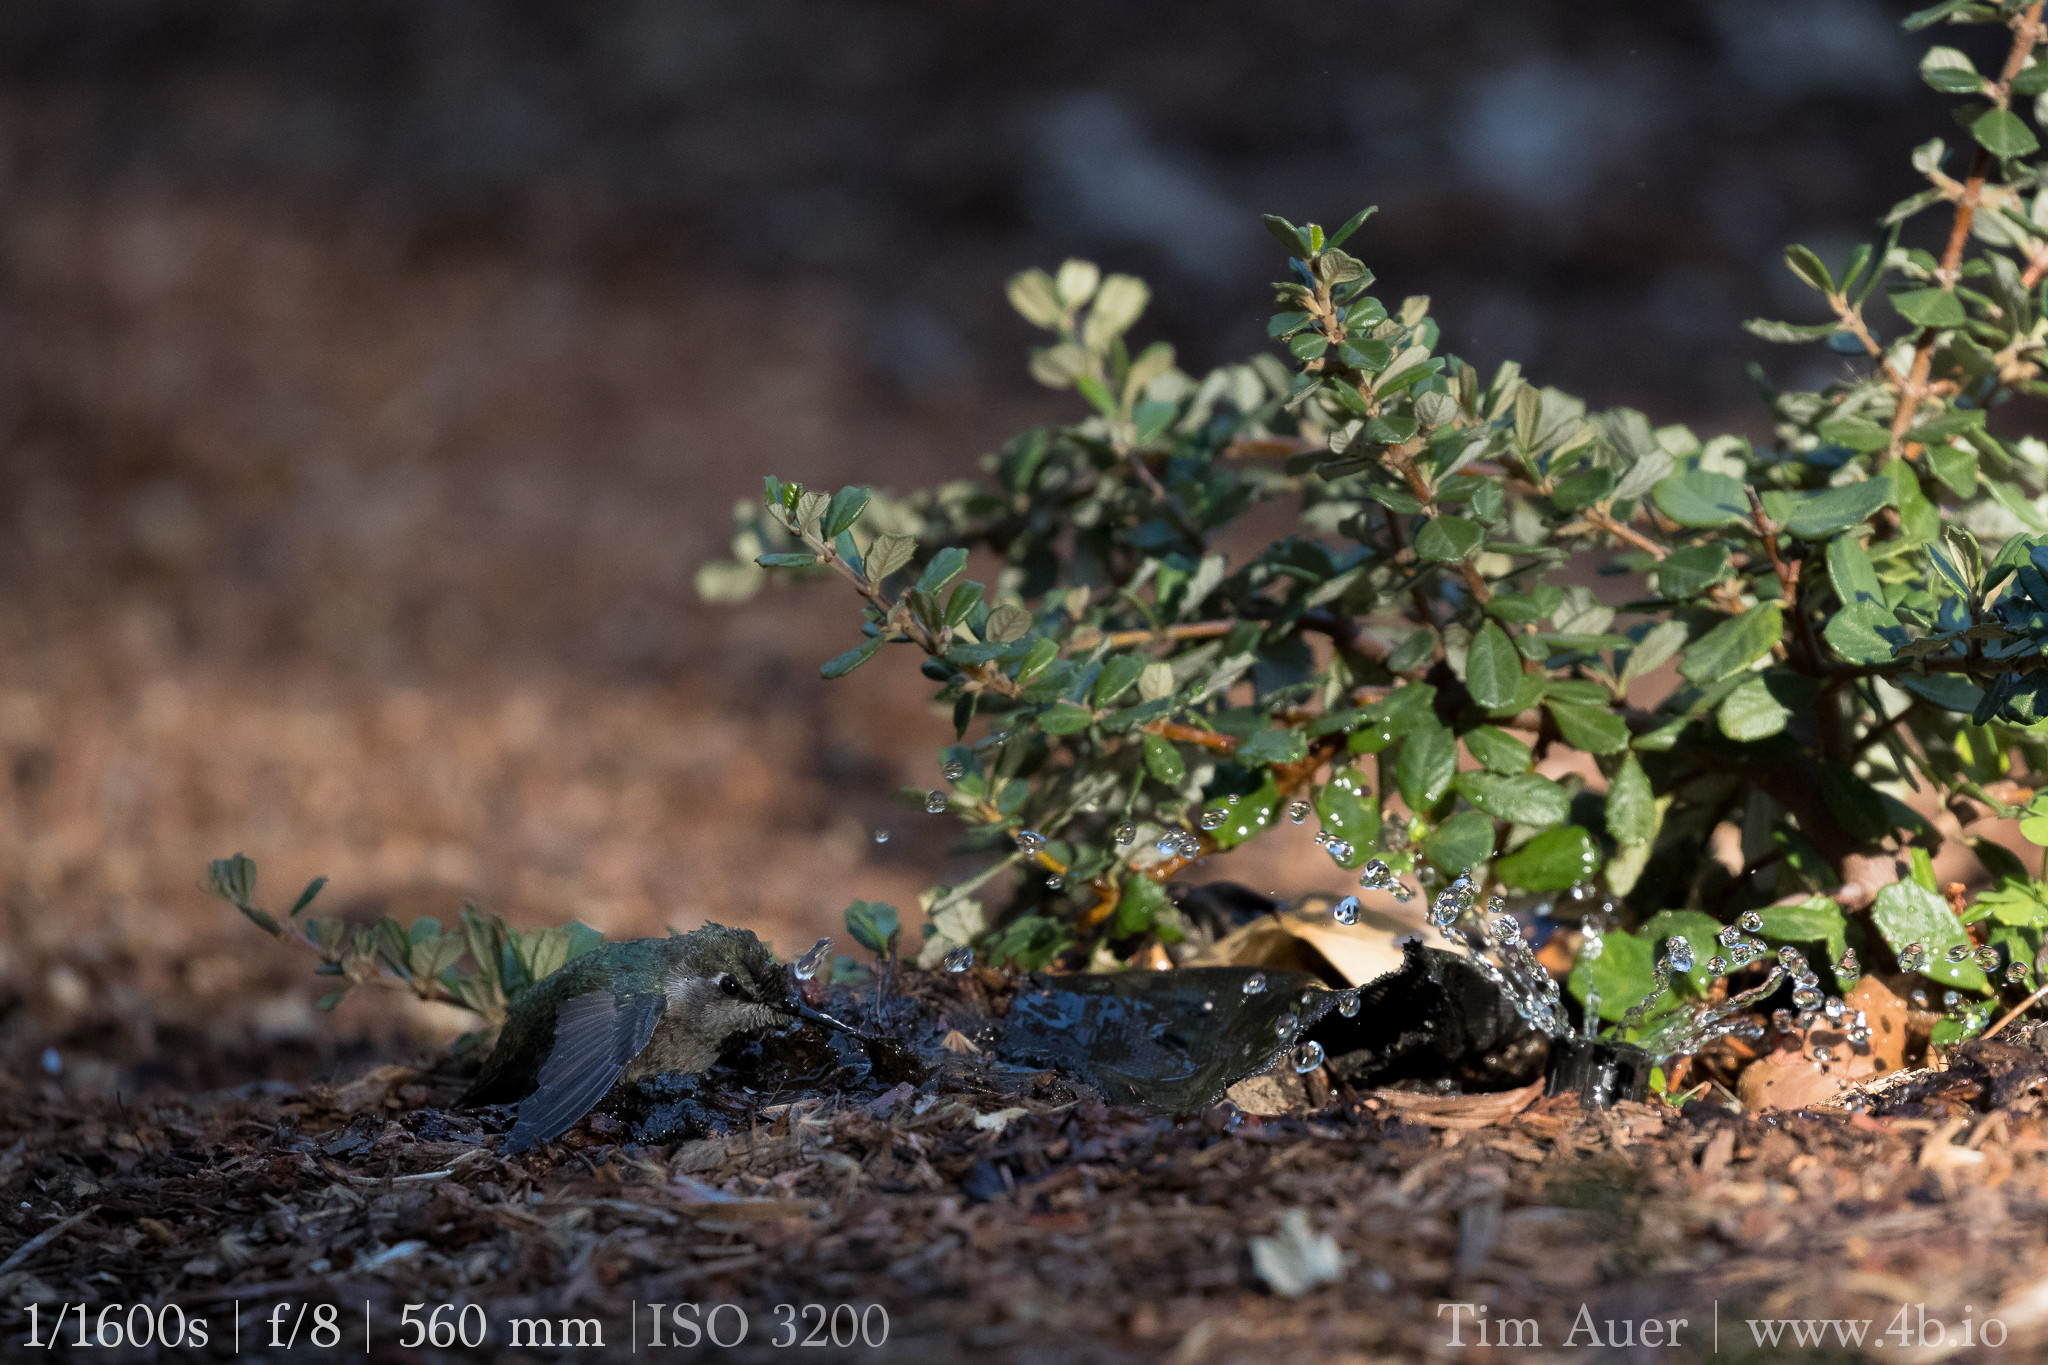
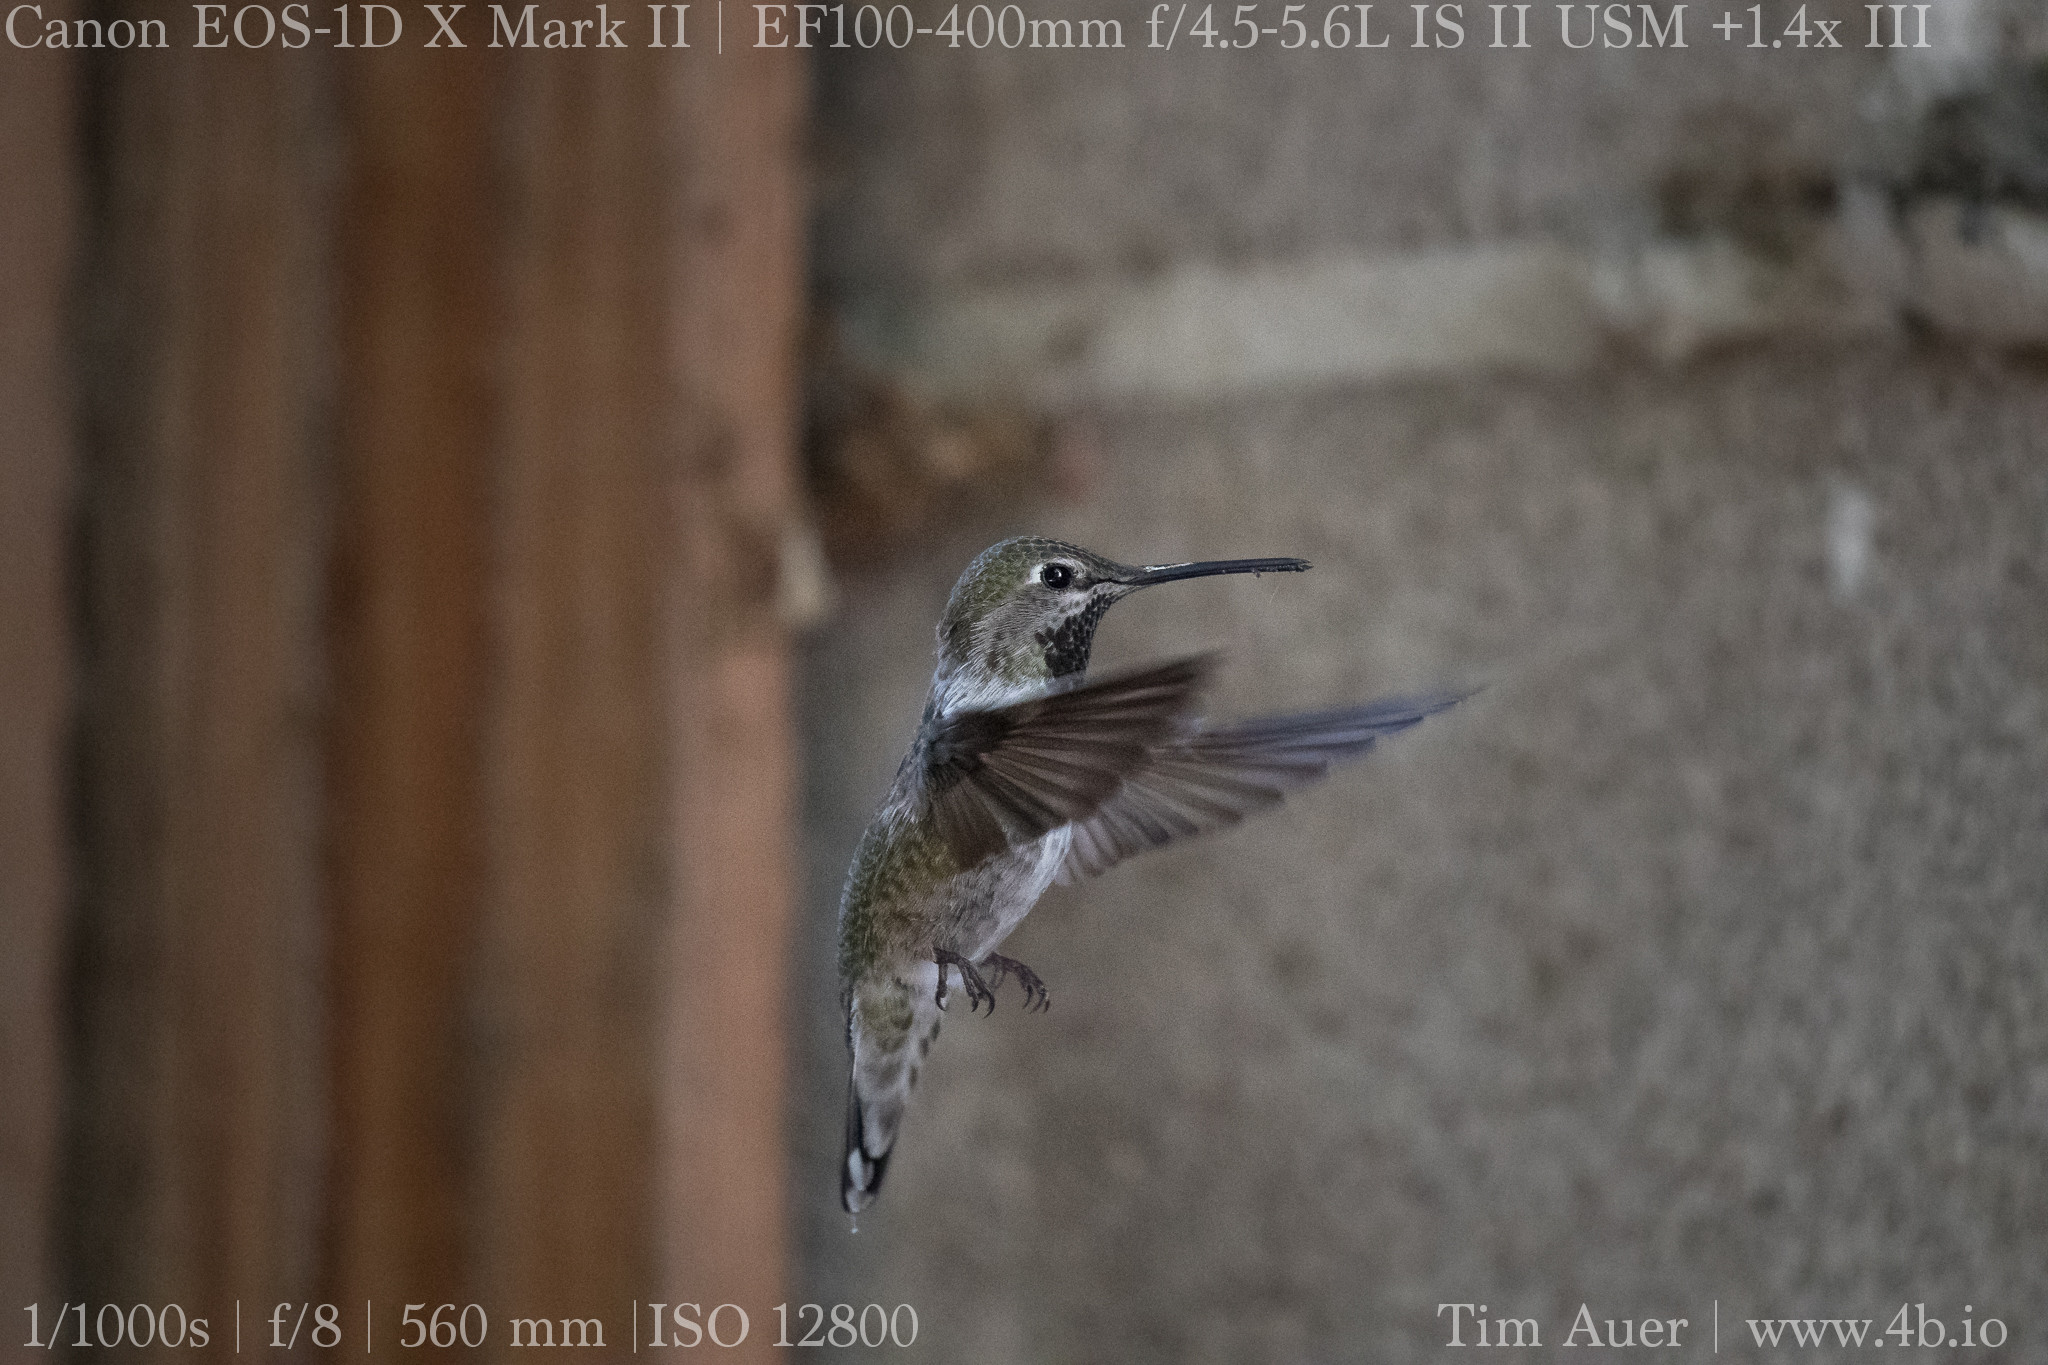
As for how the 100-400 compares, I would argue it is quite similar to 70-200 in sharpness. Sometimes I think 100-400 is better, other times I am back to the 70-200. The IS is about the same as 70-200.  When using extenders on the 100-400, I have found that on the 1DX and 1DX2, I can easily use the 1.4x TC with minimal degradation. I do not use extenders with the 7D; I think the pixel density is to high.
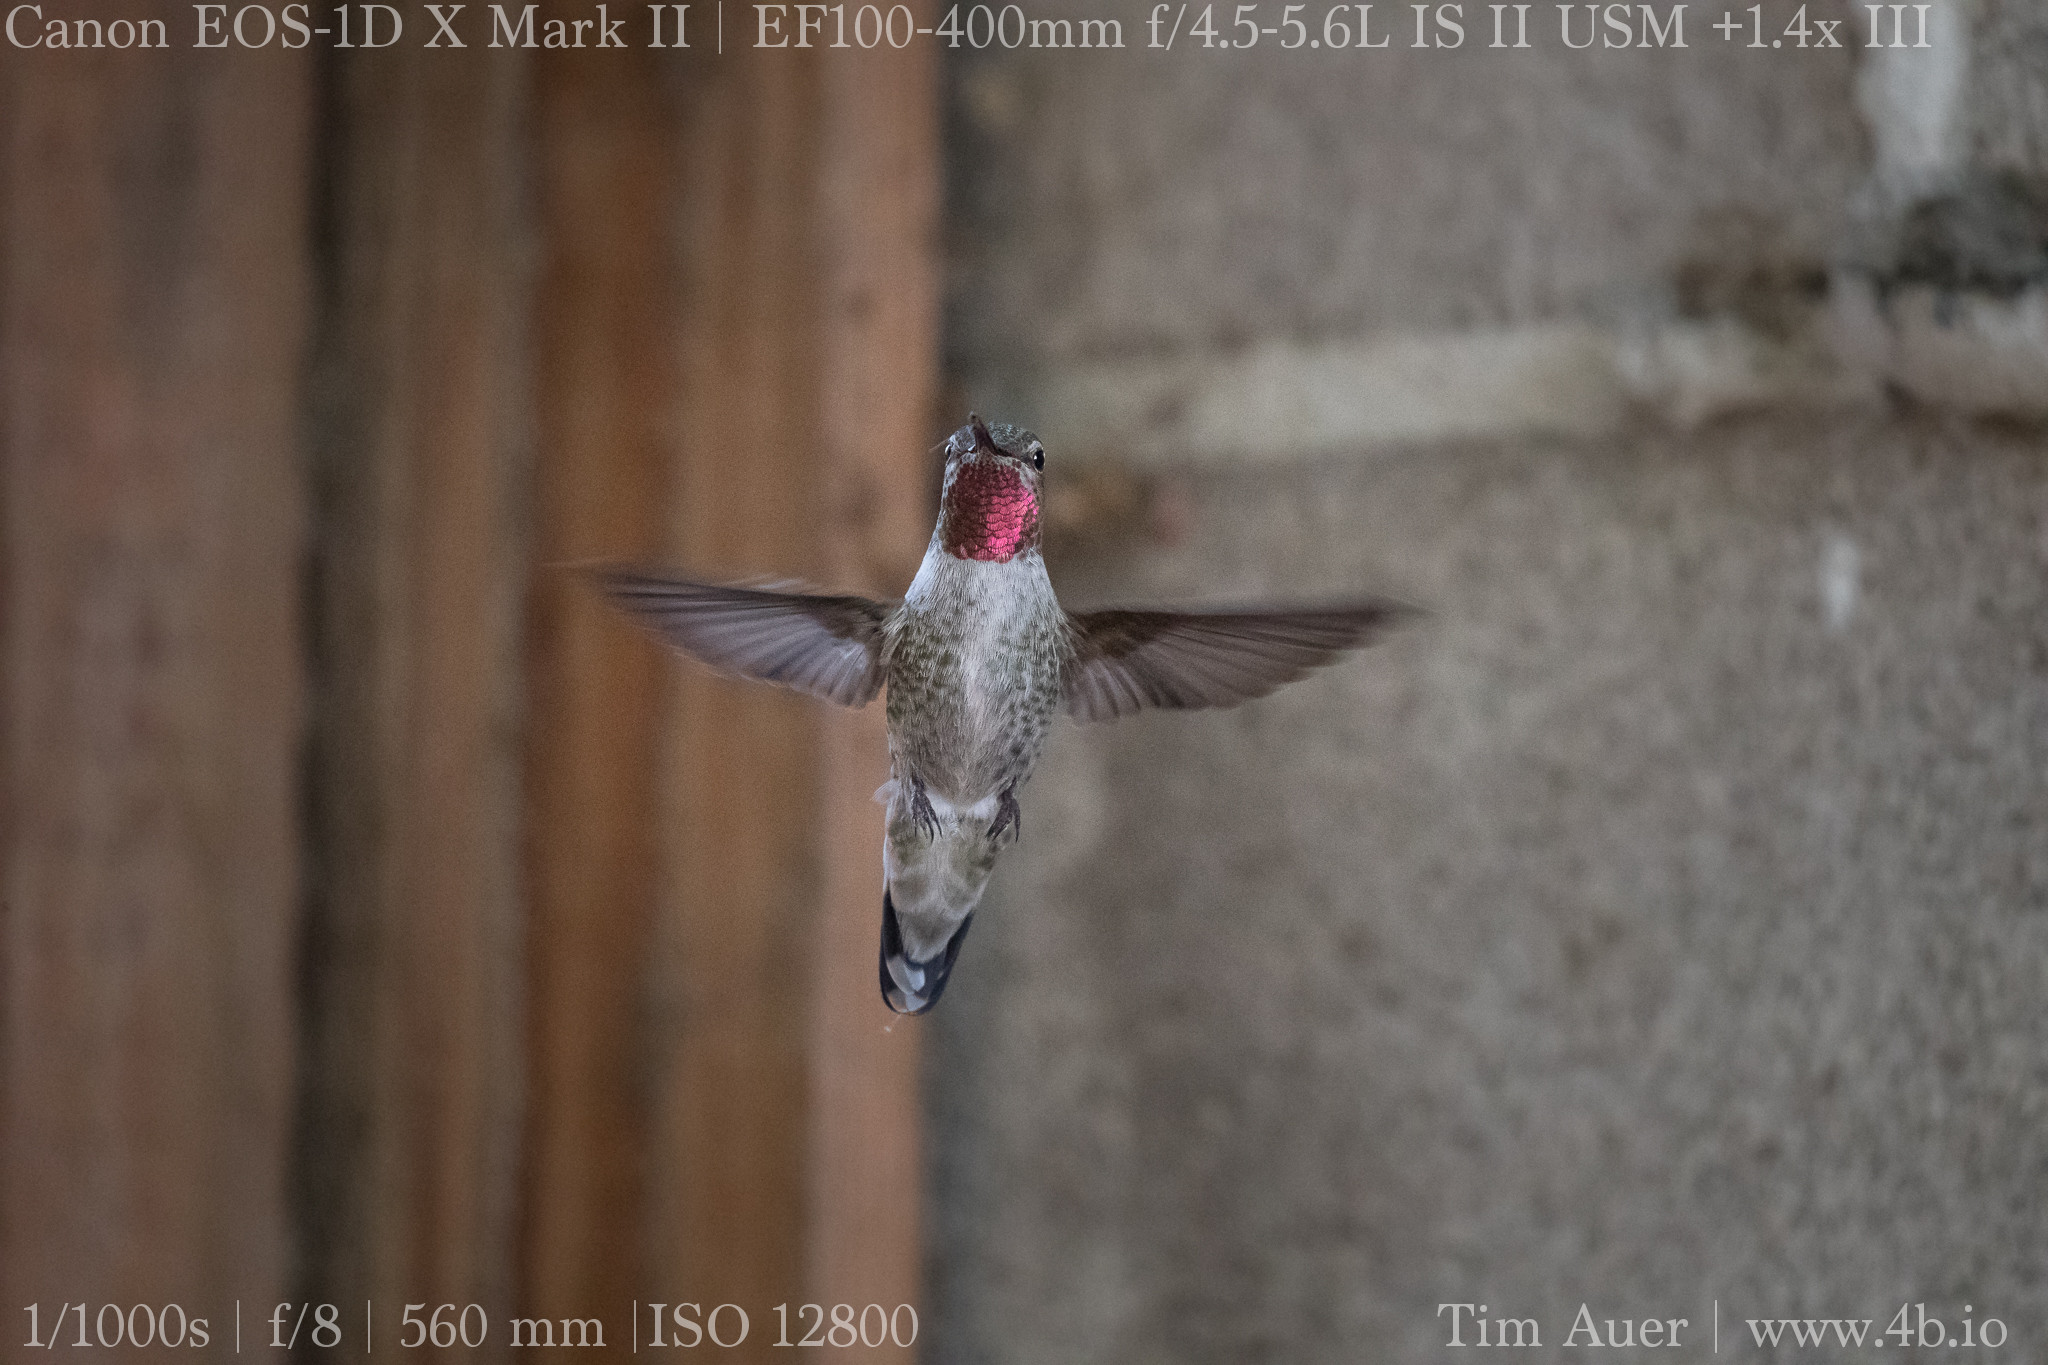
As long as there is sufficient light, I am comfortable using the 1.4x on 100-400 at f/8.  In fact, it performs much better than I ever expected. To be honest, I didn’t have much faith it would, and it wasn’t the reason I bought. However, had I known it was this good, I would have bought the lens much sooner, and now I have to figure out how I wrangle it away from Jenna 😉

Part 1 The Dismal Side of the Sierras: Milky Way + more

July Fourth Weekend Photo Road Trip to the Eastern Sierra Nevada: The Dismal Side of the Sierras, Part 1 

Locations/Sites:
Bridgeport, Mono Lake; Bodie Ghost Town; Inyo Mountains; Lone Pine; Alabama Hills; Mt. Whitney; Bishop; White Mountains; Bristlecones; Death Valley (glimpse); Volcanic Tablelands; Red Mountain Petroglyphs; Yosemite(brief)
In total: 1022.5 driving miles.

see maps below for details

 When:

July 3 @20:30 – July 7 @12:30.

Background

To be clear, there is nothing “dismal” in the conventional sense about the backside of the Sierra Nevada, its my preferred side.  This region, from Mono Lake through the Owens Valley to Lone Pine, is a special, timeless place, like nowhere else I have ever visited.  I call it “dismal” because this rain shadowed strip of land, flanked on both sides by 14,000 ft. peaks, is a harsh and unforgiving environment, dotted with ghost towns, sage brush, salty alkali lakes, rattlesnakes, and tumbleweed.  Surviving here is not a trivial undertaking, and most humans are not up to the challenge, as evidenced by the ghost towns.  Yet in the midst of such adversity, life exists, sometimes thrives.  The ancient Mono Lake, sometimes called a dead sea, teems with life.  The Earth’s longest lived organisms are found here, the Bristlecone pine.  Some of these spectacular trees took root in the nutrient poor dolomitic soil of the White Mountains hundreds of years before the first pyramids of Egypt went up, and still hold onto life to this day.  Of course, not all Bristlecones last over 5,000 years.  There are special considerations to account for such longevity, but it might not be what you expect. Lower elevation Bristlecones, with the relatively abundant resources, are not nearly as long lived as their resource scarce brethren at 11,000 feet.  The longest lived of the Bristlecones do not survive in spite of their harsh environment, but because of it. The weathered towns and dry landscapes even appear sepia-toned, accentuating this timeless feeling.  All of these factors distort our perception of time, creating a sensation of time-travel when visiting this part of the world. 

A few days before

I scouted locations in the Eastern Sierra Nevada that I felt would be interesting to photograph, with an emphasis on time-lapse, long exposures, and Milky Way/astrophotography.  I loosely developed a route, taking into consideration ways to best optimize the lighting conditions at each location.  The plan was not set in stone, and flexibility was key.  I had no reservations, nor had I researched hotels or campgrounds.  Not that anything would be available last minute Fourth of July weekend.  The plan was to sleep in my car as much as possible.  Hotels and campgrounds offer conveniences that may distract me from my photography mission (photographing the night sky). In my opinion, the 2 or 3 hours spent in a hotel room would be a waste for someone staying out past 01:00 and rising before sunrise.  Plus given my nature, I knew I would be less likely to rouse at 04:00 to catch the sunrise while snug in a hotel room bed.  To combat my inherent laziness, I resolved to “sleep” as close as possible to the sunrise locations.  I call it “sleep” for lack of a better term.  It would more accurately be described as a nap between 01:30 and 04:30.

The month of July is a great time to photograph the Milky Way. There are a couple reasons for this.  The first being it is the height of summer in the Northern hemisphere, and the sun follows a more northerly path, setting in the north west.  Therefore, the darkest sky will be in the South-East, opposite the sun. This piece of sky happens to be roughly where the most concentrated piece of our galaxy is  at sundown.  The Milky Way can be found at the horizon In a South-South-East direction, in-between the constellations Scorpius and Sagittarius.   The sky opposite the sun receives less lingering twilight, darkens quicker, and reveals the Milky Way at the horizon.  The other reason is the waning crescent moon wouldn’t rise until after 03:00 this weekend. The perfect combination for dark skies!

As my reference points for my composition, I used the constellations Scorpius and Sagittarius, plus the position of Saturn, which reveals itself earlier than the stars and was roughly due South.

Additionally, I hoped to visit some cultural sites in the area to complement the nature scenes.

Additional Research

To further my understanding of the Eastern Sierra skies, I studied the position and movement of the stars using the open-source Stellarium software.  I plugged in the latitude and longitude of the locations, adjusted for elevation and let it play, introducing myself ahead of time to what I hoped to witness in person.  This knowledge was key in my scouting exercises. 


Day 1 Map/Route


View Larger Map

Day 2 Map/Route


View Larger Map

Day 3 Map/Route


View Larger Map

Day 4 Map/Route


View Larger Map