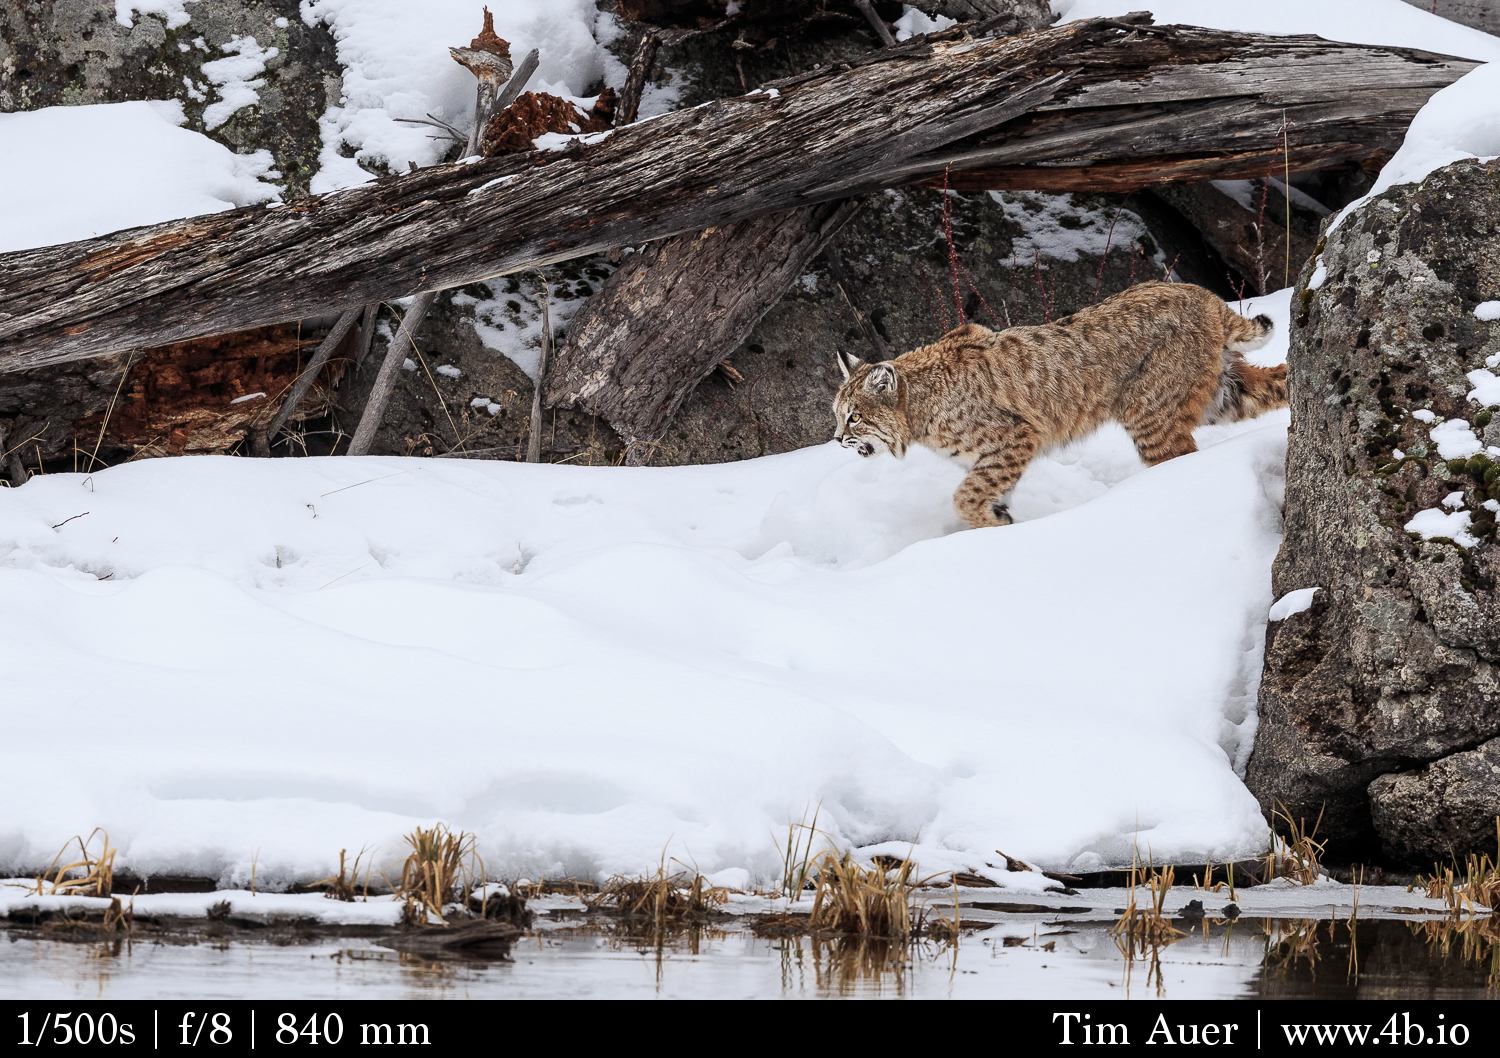
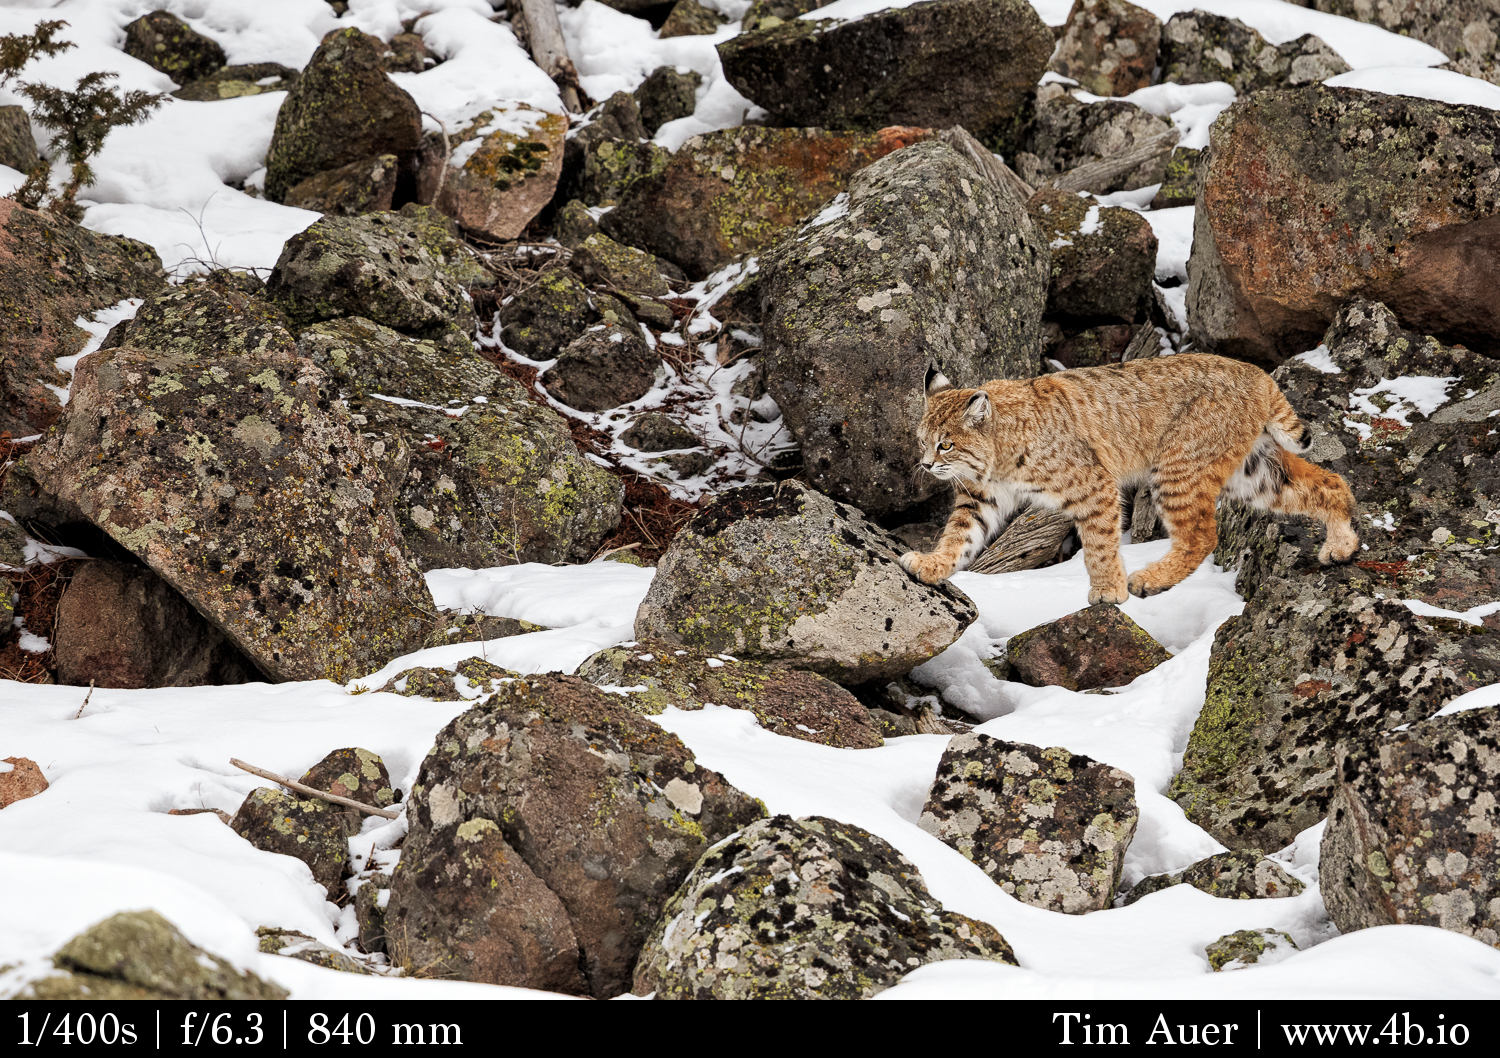
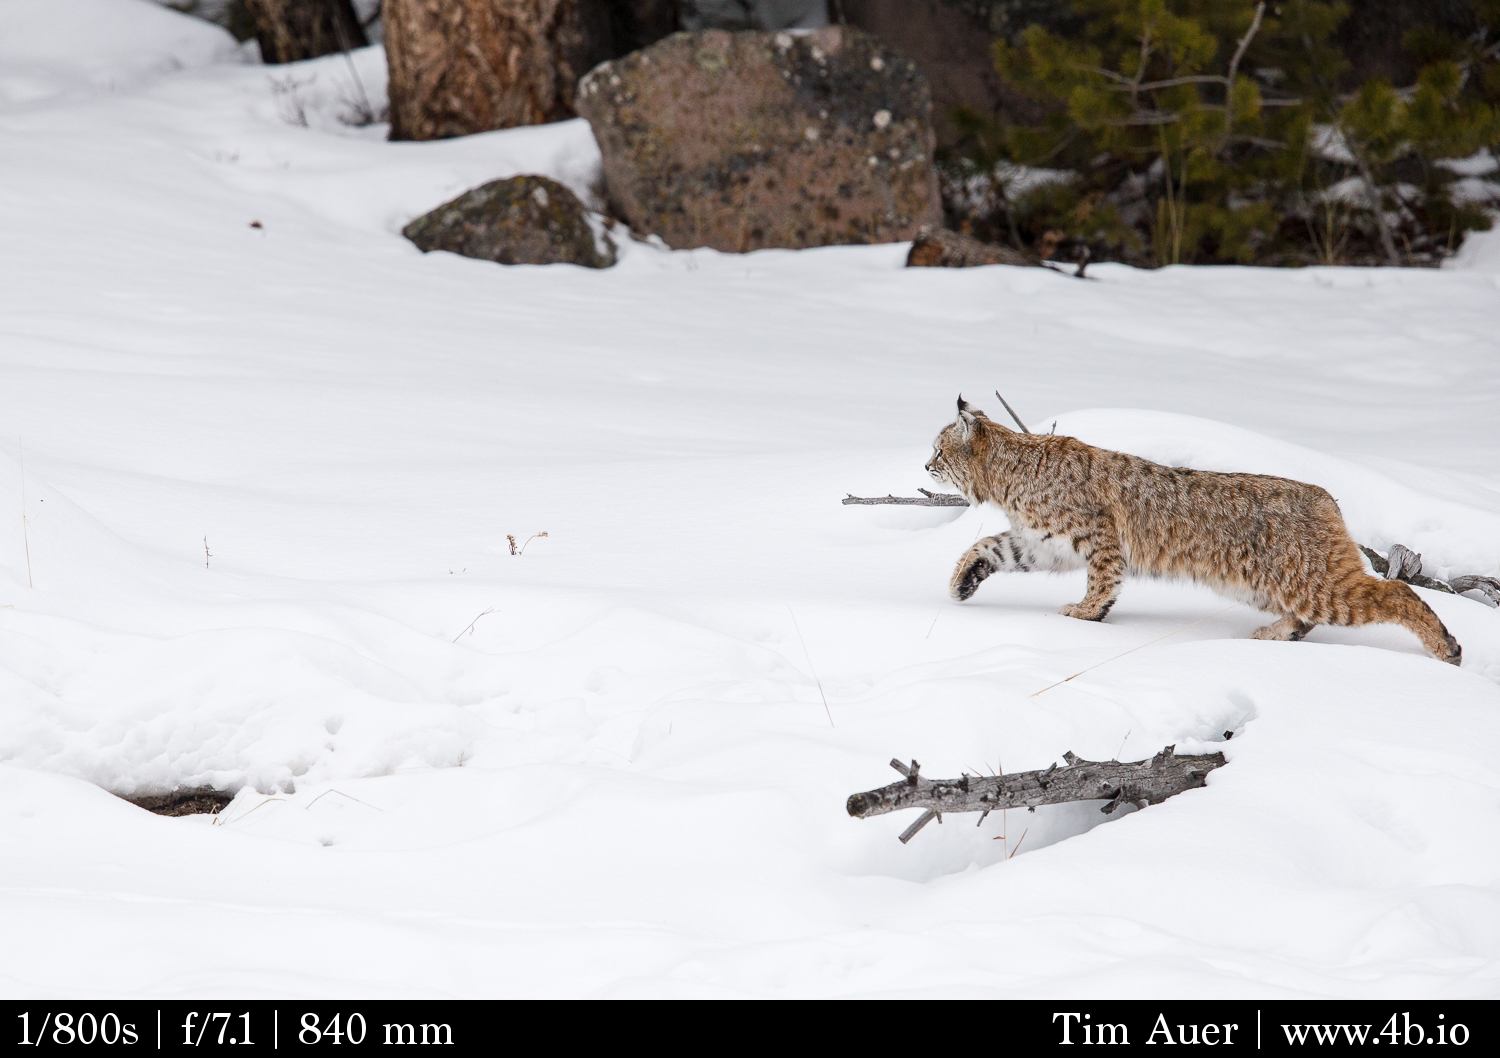
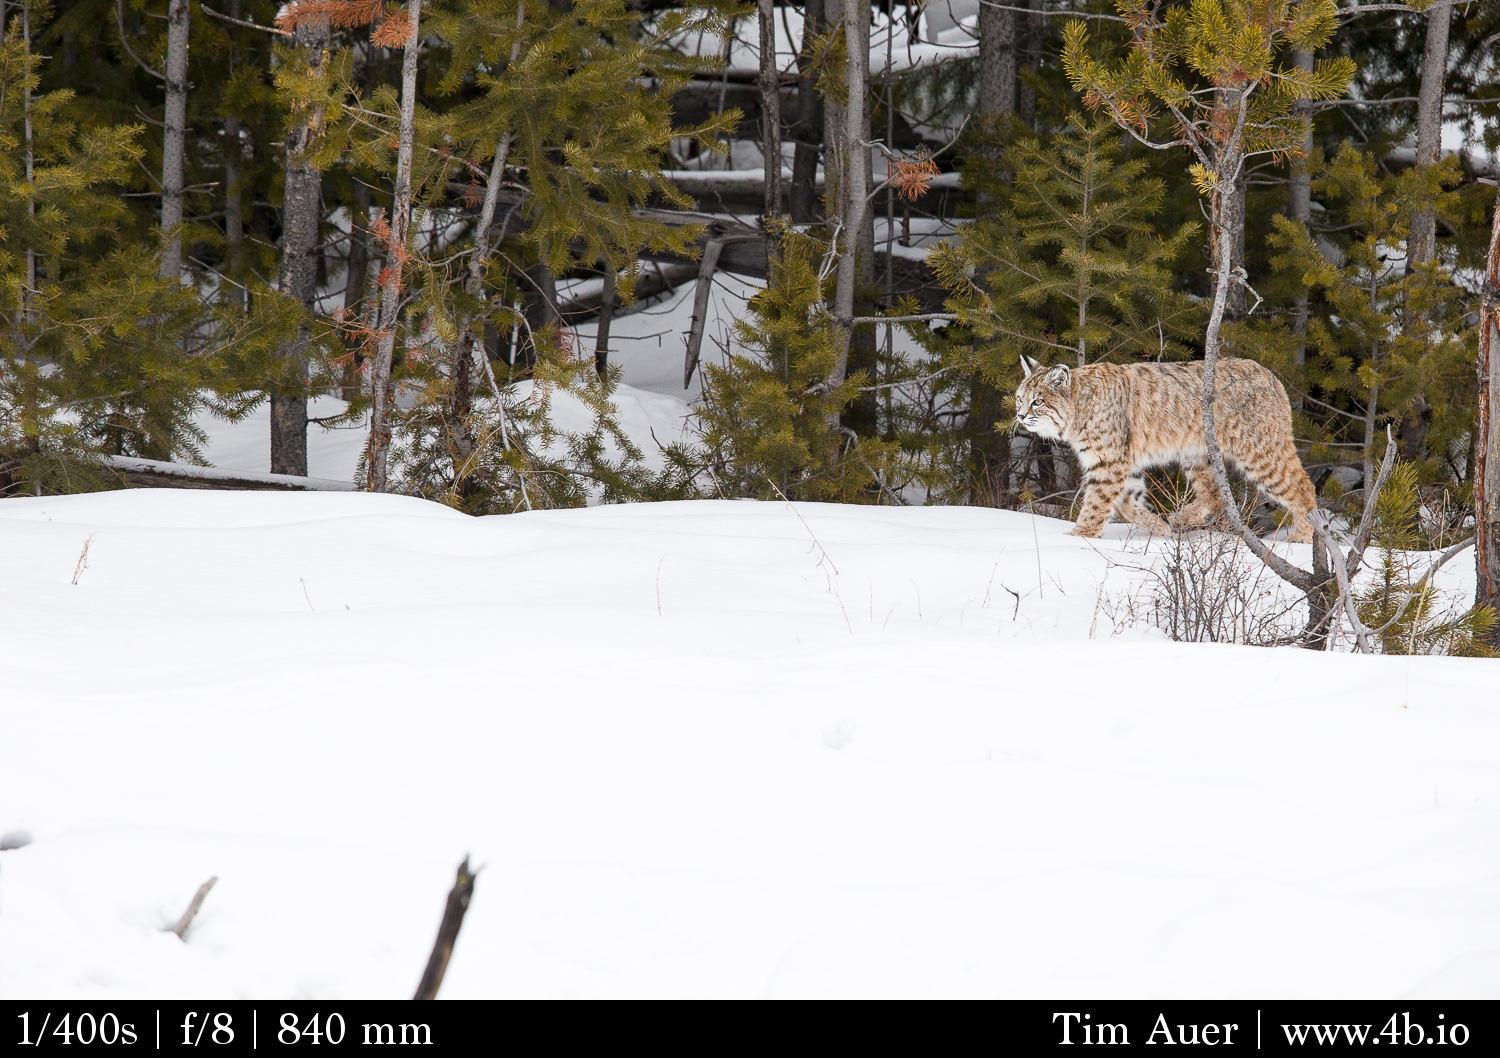
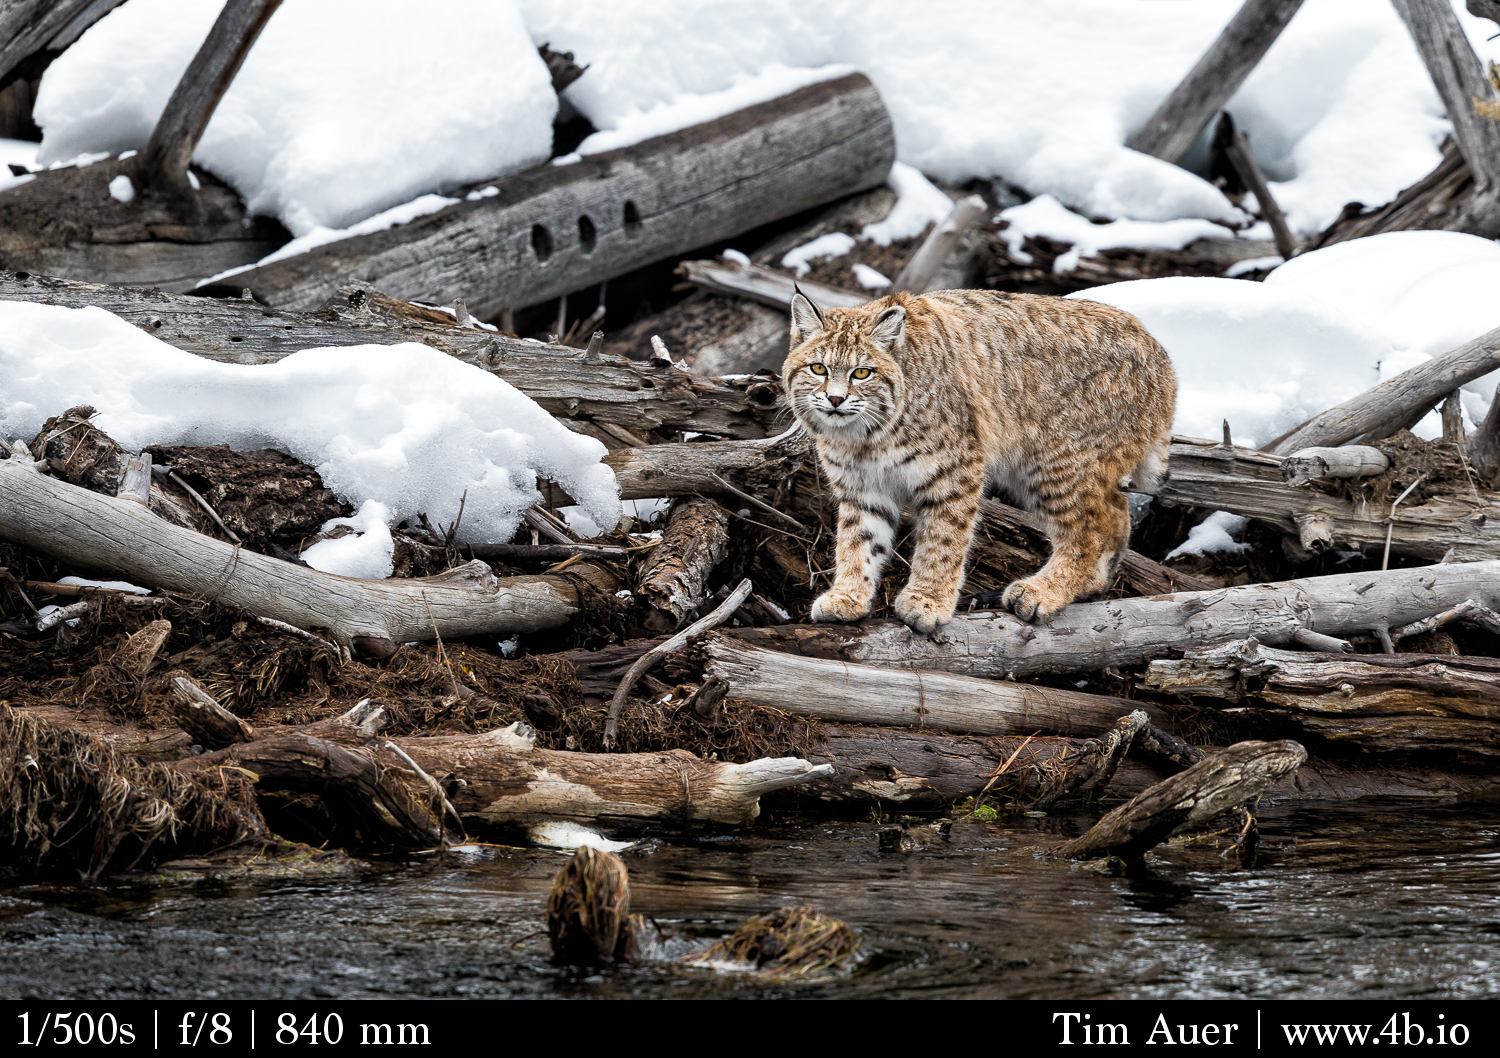
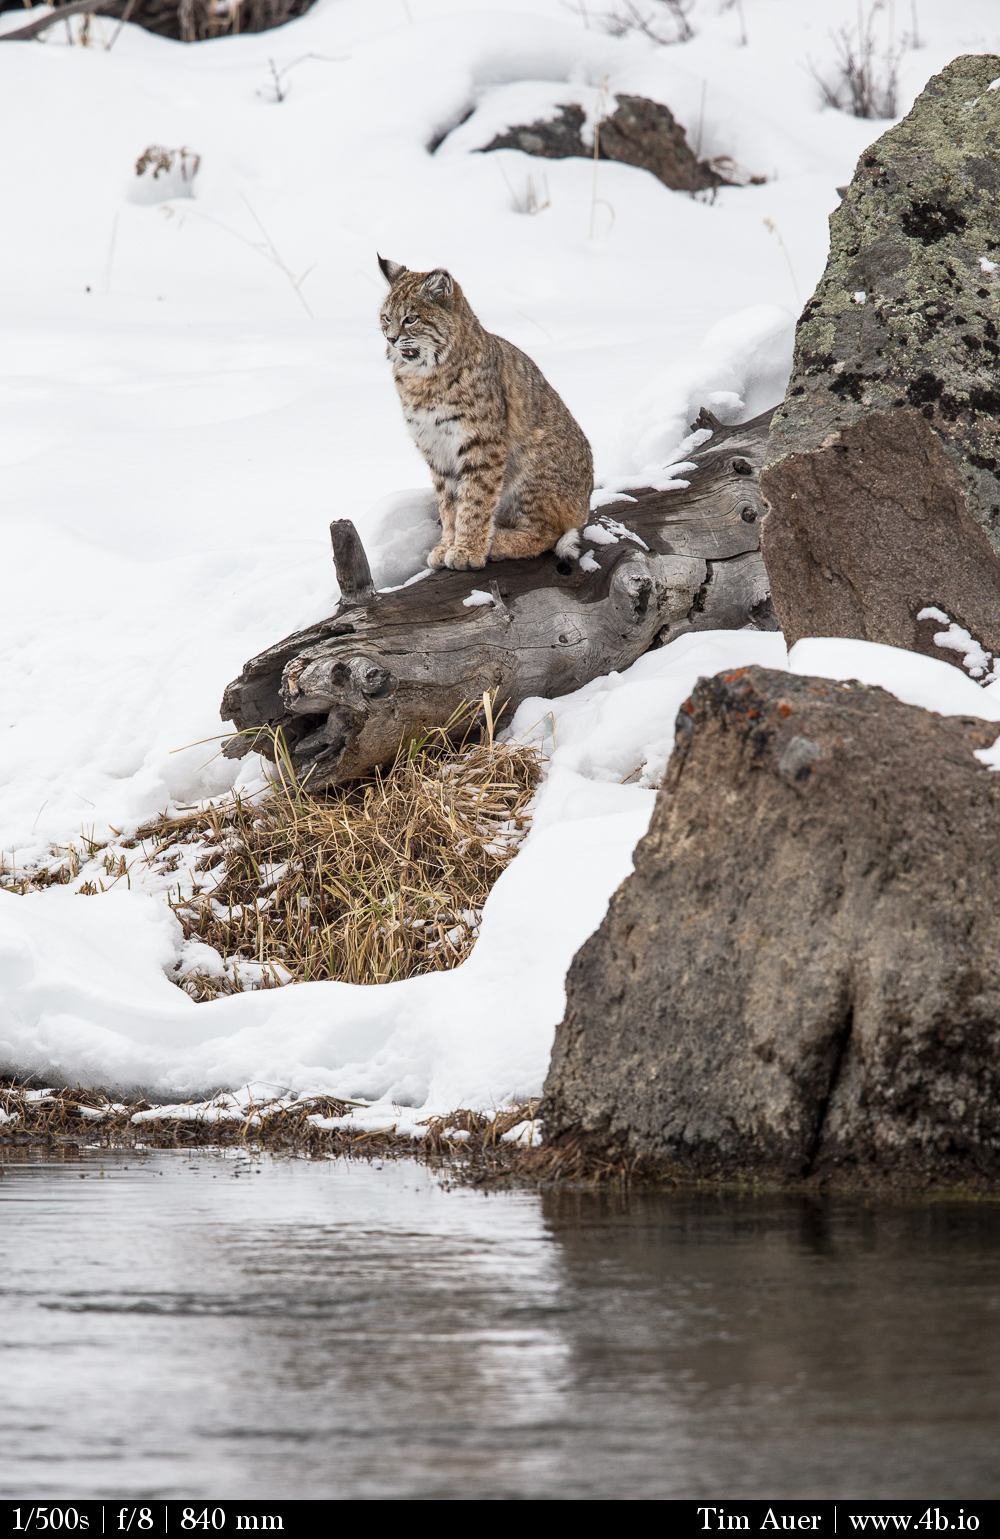
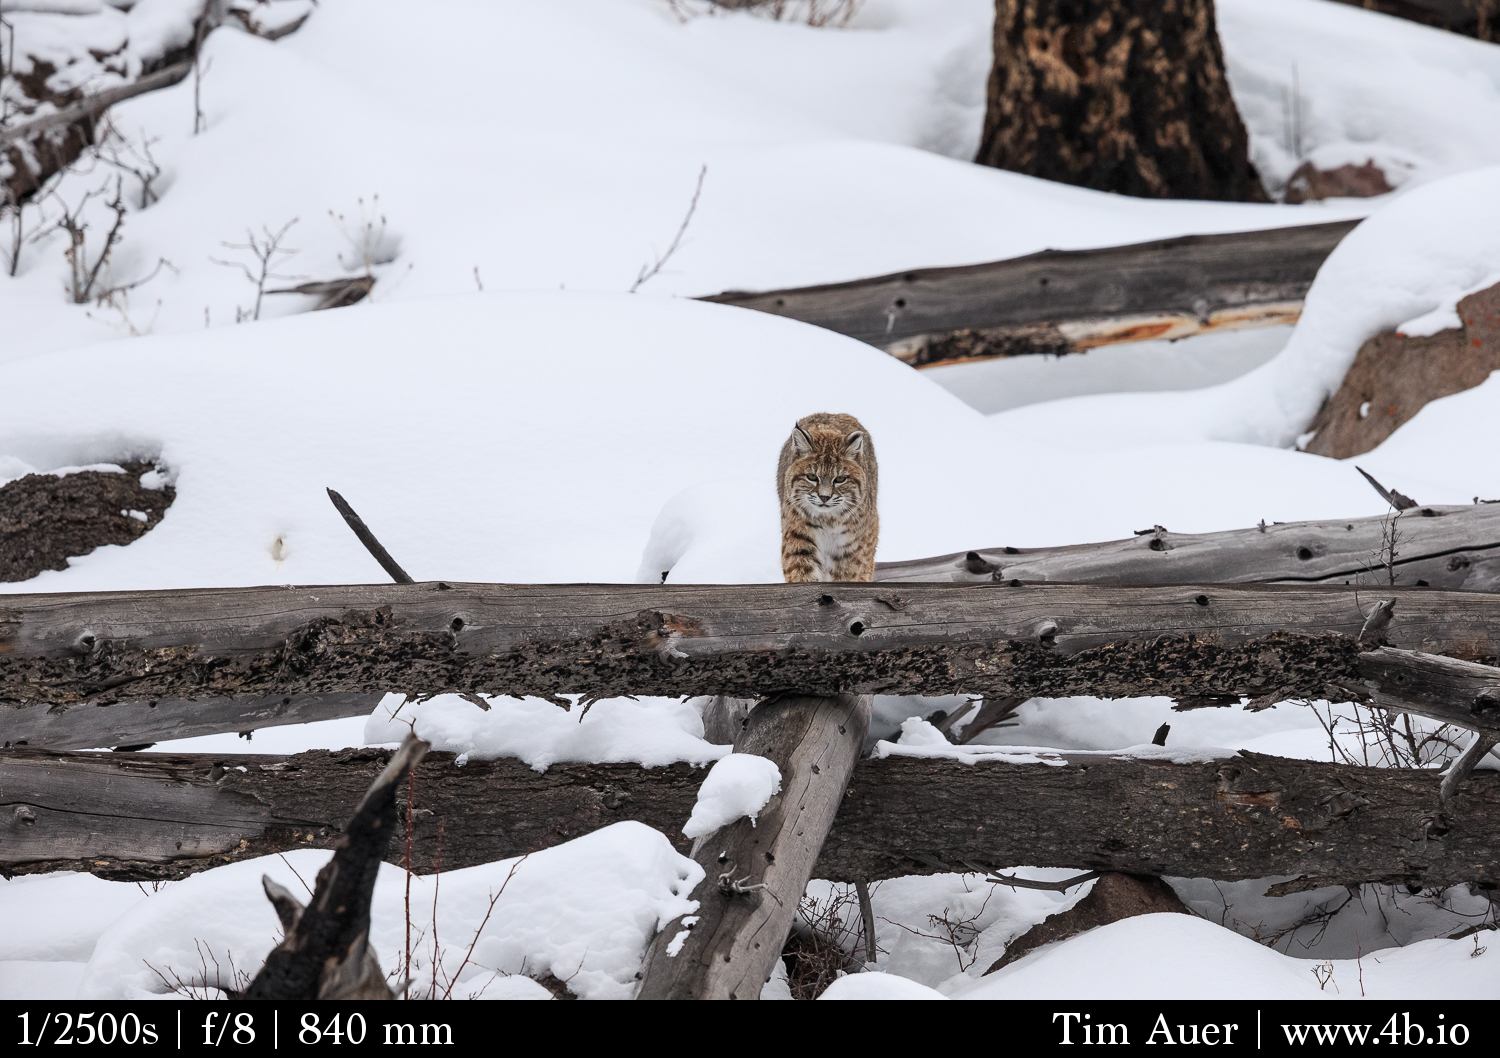
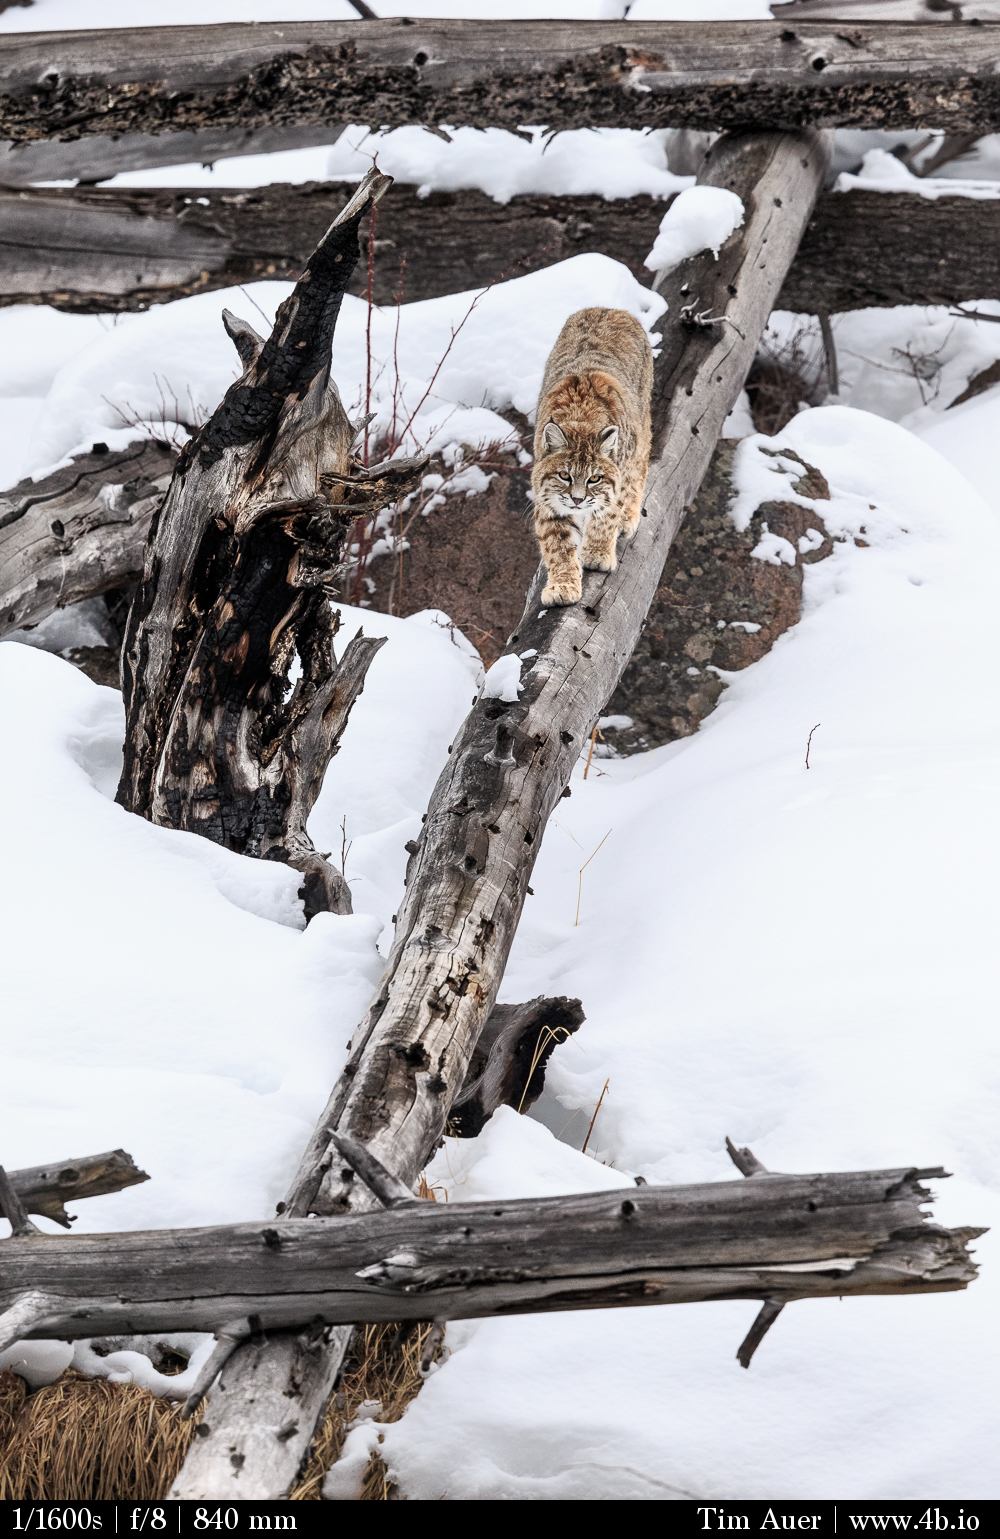
…and was quite active today, forcing me to trudge through deep snow to keep up with him as he made his way up and down the opposite river bank. He went after a muskrat 10 minutes before we arrived, splashing into the Madison River. I arrived to see him preening his wet coat, only to be attacked by a coyote, which tree-ed the cat. Then saw him stare down some golden eyes (who saw him and changed their direction), and finally multiple successes in the mousing effort. The warmer temperatures this year made for sharper photography, because there wasn’t as much steam coming off the river to soften the image, but this “heatwave” made things a lot warmer when post-holing.
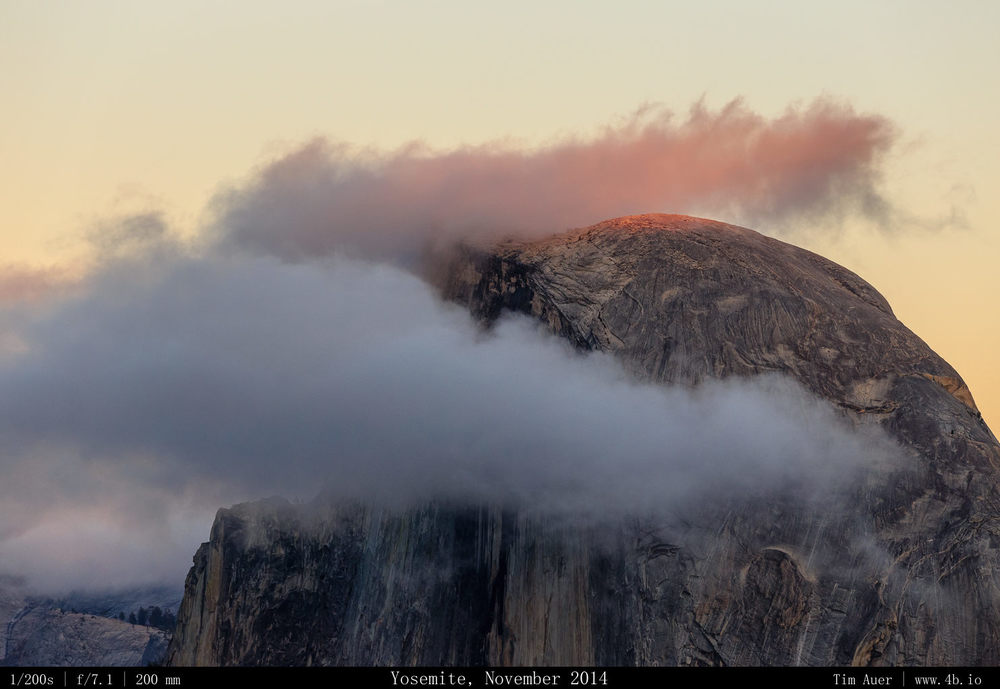
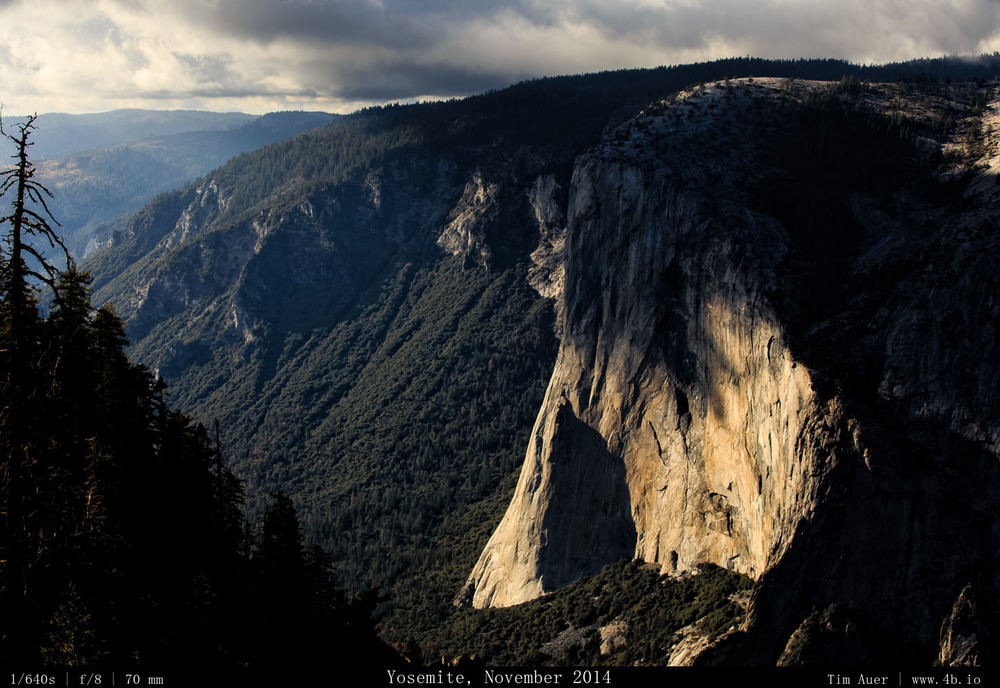
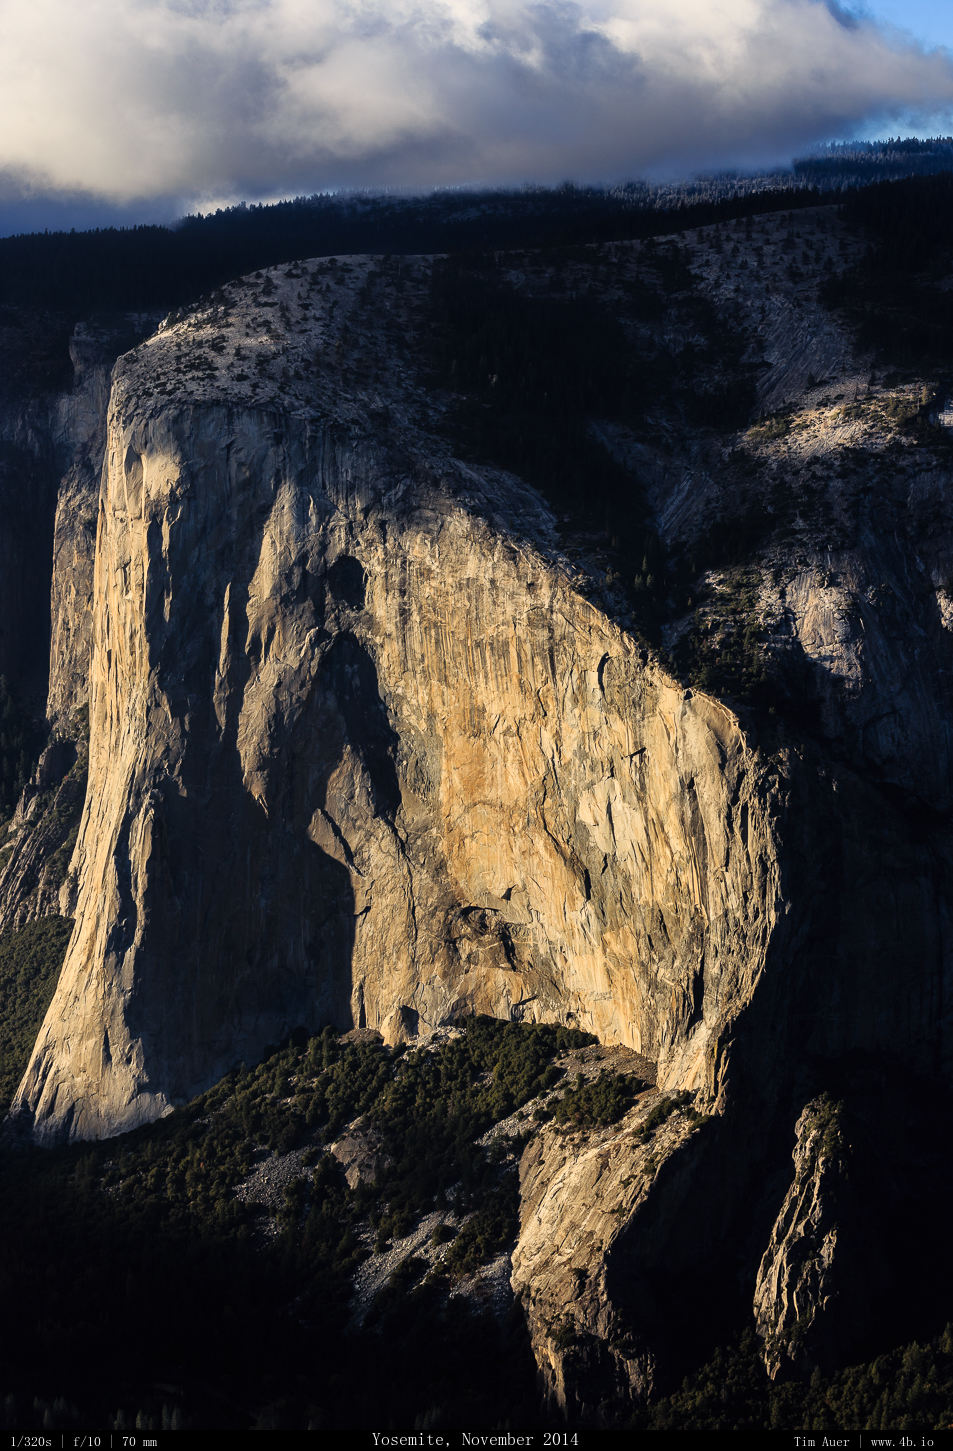
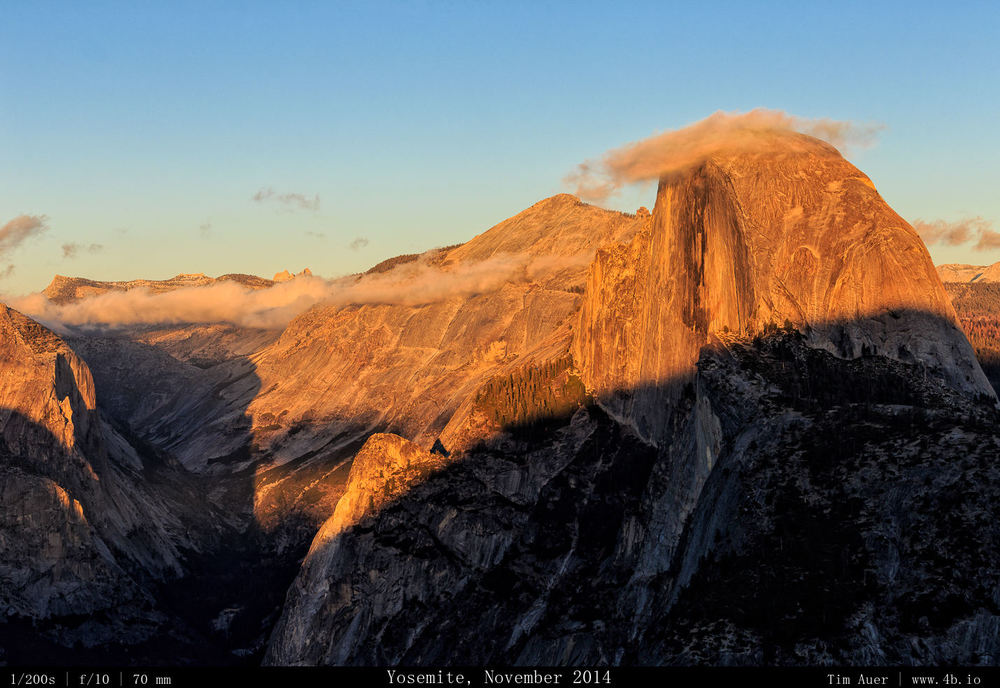
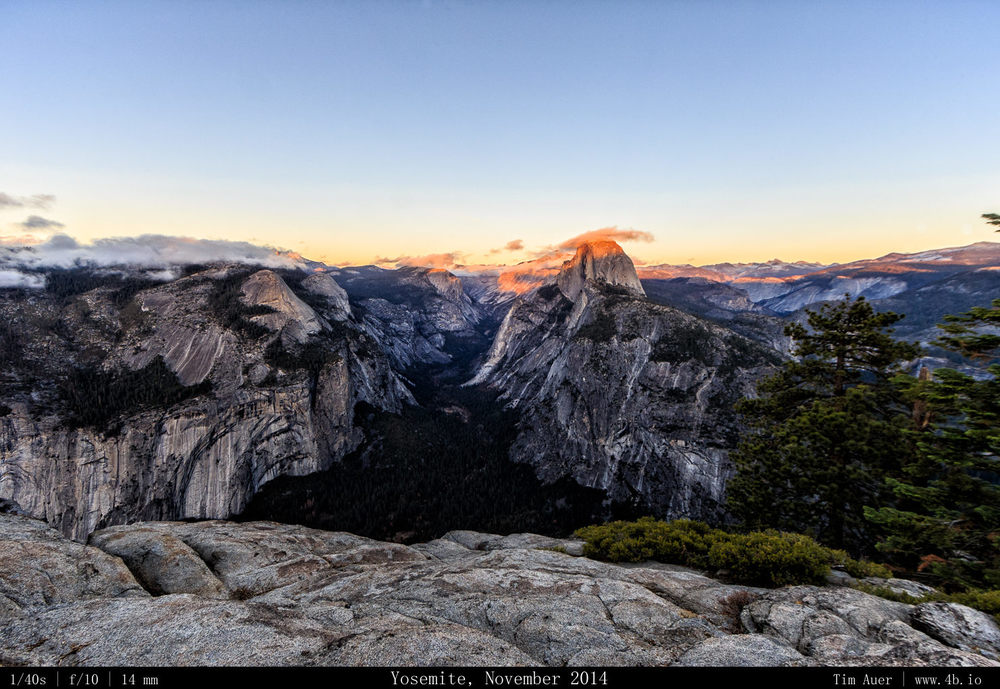
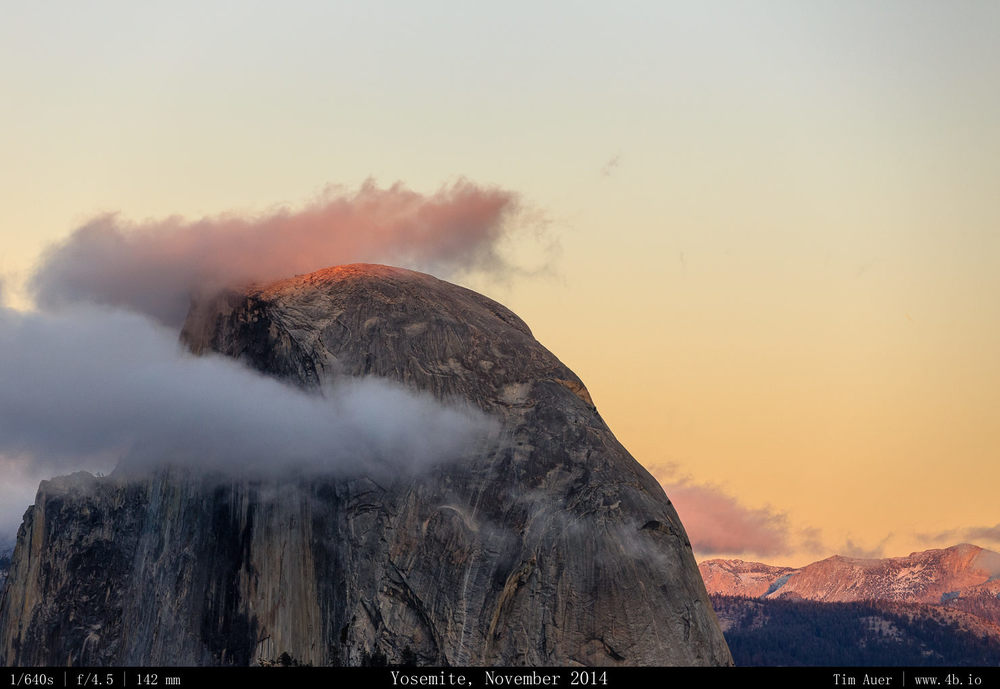
Quick break from the Churchill processing to upload some photos from the group camping trip to Yosemite! Photos featured here are taken from Taft Point and Glacier Point.
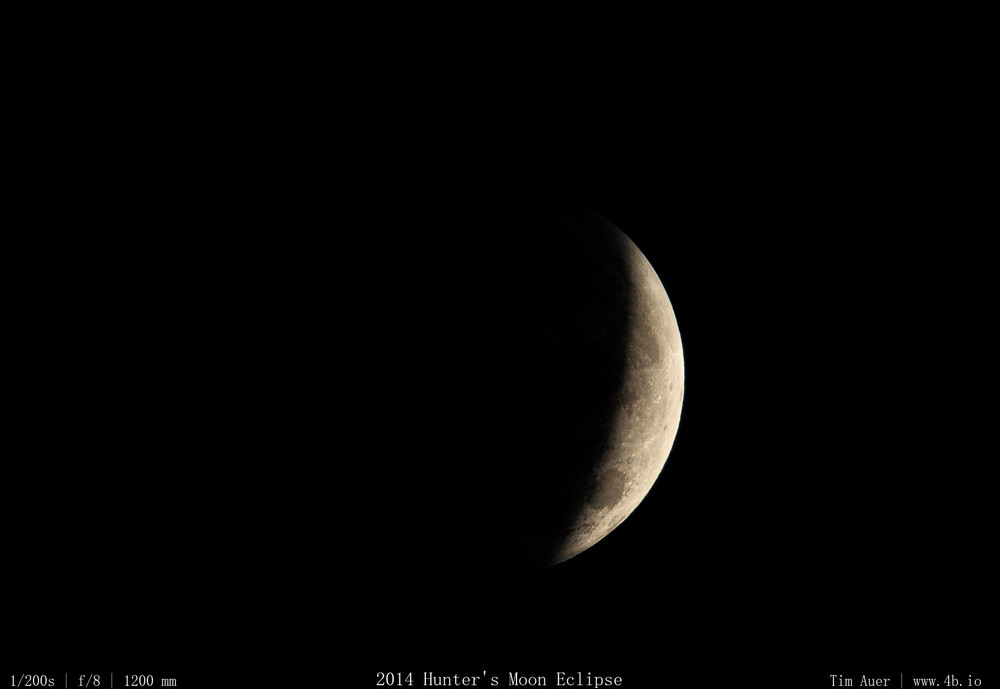
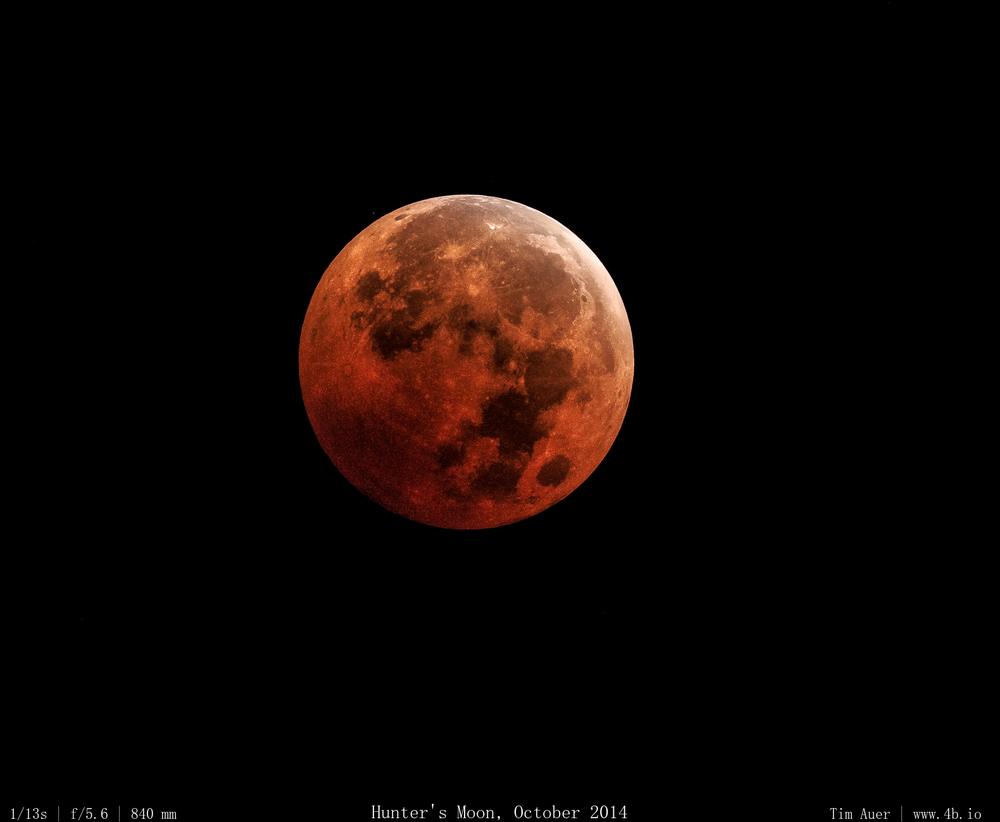
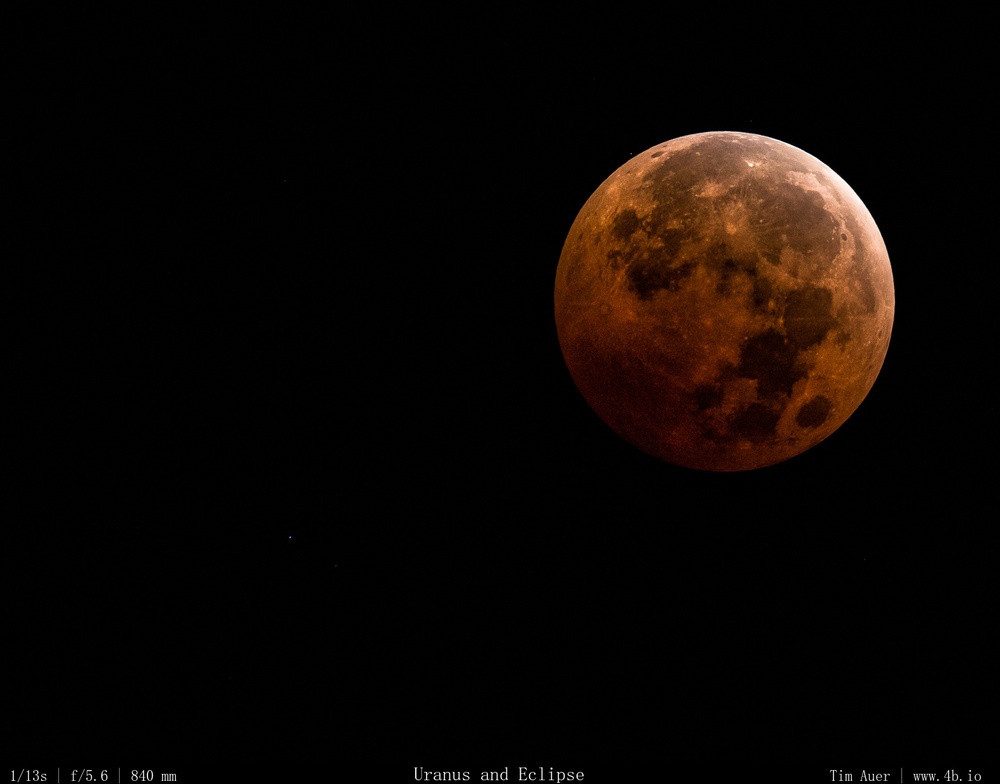
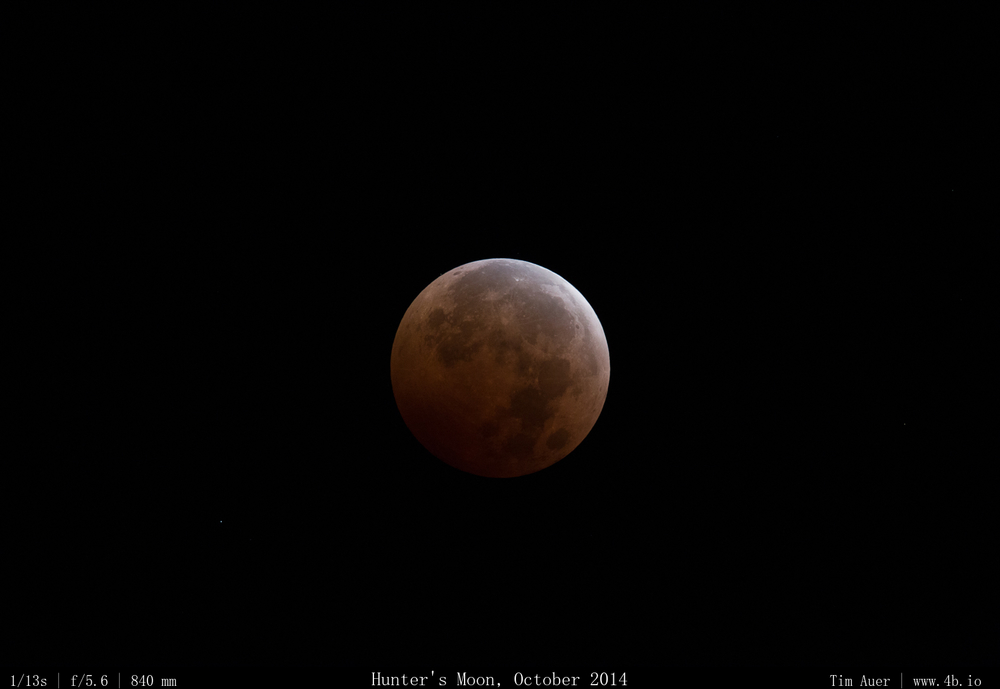
Shooting from my apartment’s parking lot, I went outside a little before 03:00 to see the already full moon already partially eclipsed. I quickly set up my gear, and began to shoot.
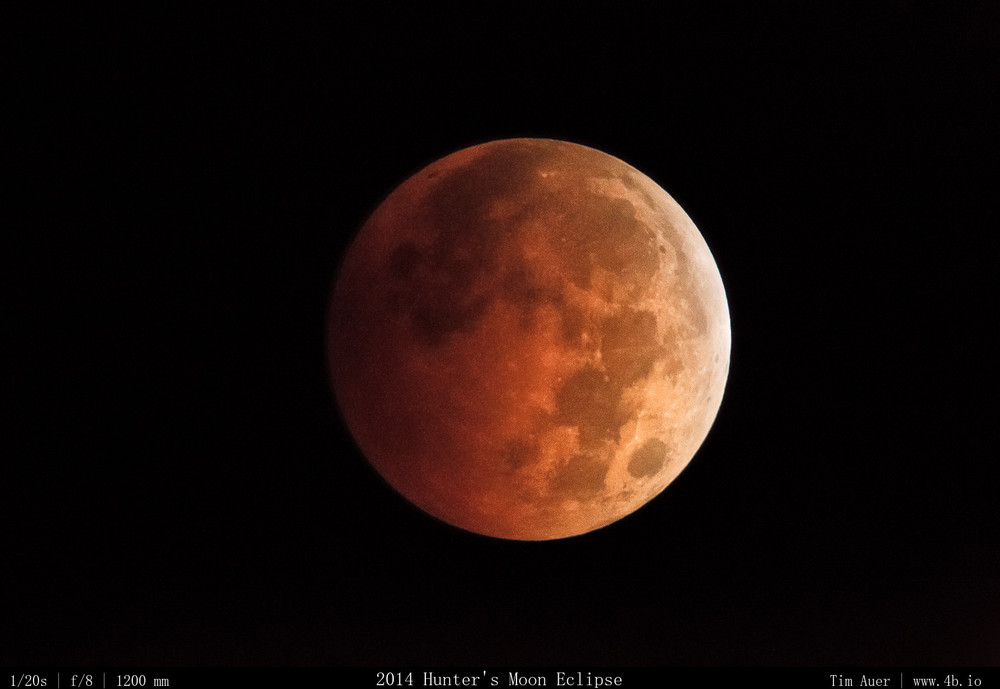
I know I have said before, but I’ll say it again: the moon is bright. It is the second brightest object in the sky, behind only the sun. Even a sliver of a crescent moon is significantly brighter than the the sky’s third most luminous object, Venus. When photographing a regular full moon, the dark sky that surrounds it can be deceiving to camera and observer. This makes it more of a challenge to properly expose. In most cases, you need a fast shutter, and will need to under expose significantly to capture the details in the moon’s face (if not shooting in manual mode). The opposite is true for a lunar eclipse. The strategy to use here is the technique used for shooting the Milky Way on moonless nights.
– 1D4 – bad ISO performance compared to 6D and 1DX, but has advantage of 1.3 APS-H crop sensor for additional “reach. This turned out to be a bad choice because good ISO capability is helpful to capture the dim moon.
– 600mm f/4 II + 2x III extender = 1200mm, but with the 1.3 crop on 1D4, this combination would be equivalent of a 1680mm lens on 35mm. This would help fill the frame nicely!
– Gitzo 3 series tripod with RRS Panning head and 15 lbs weight tied to the hook. This is a critical step to stabilize the support. With 1680mm of equivalent optics, the slightest vibration wrecks havoc on any image.
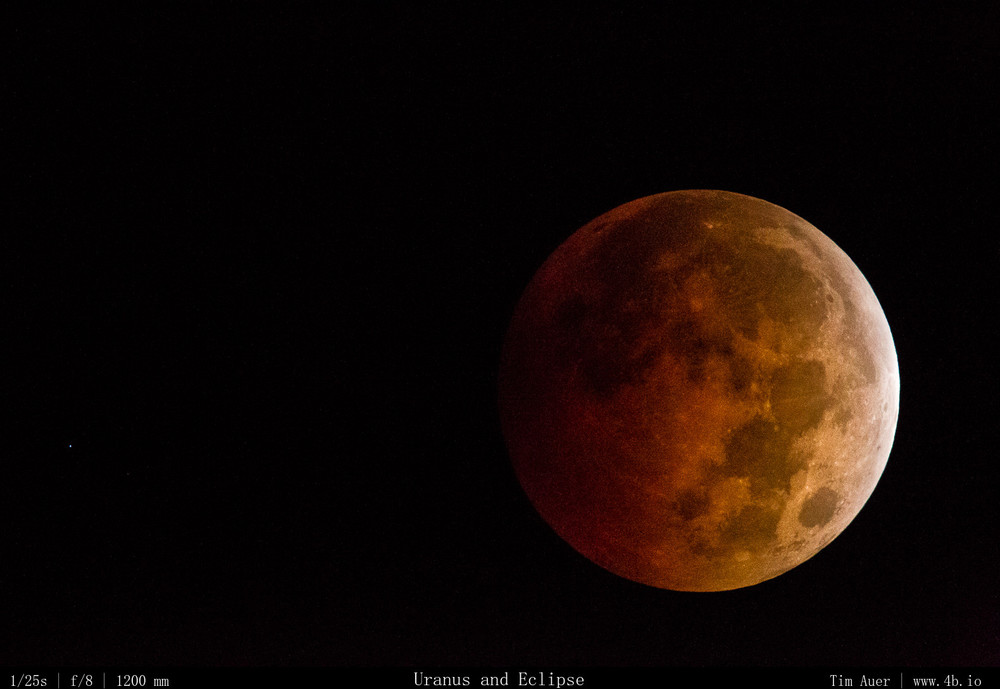
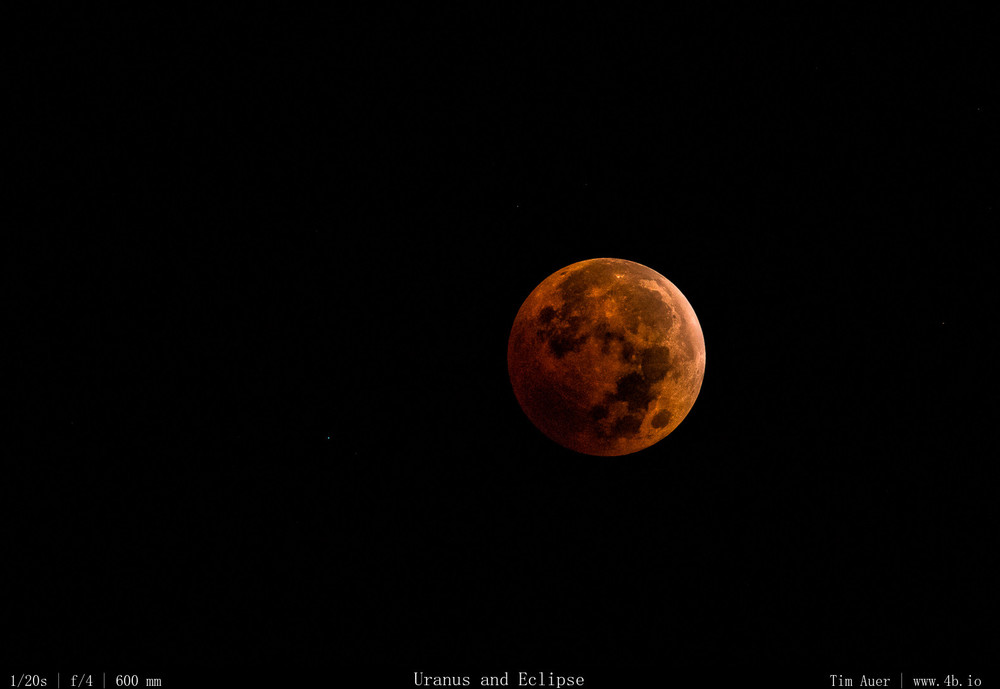
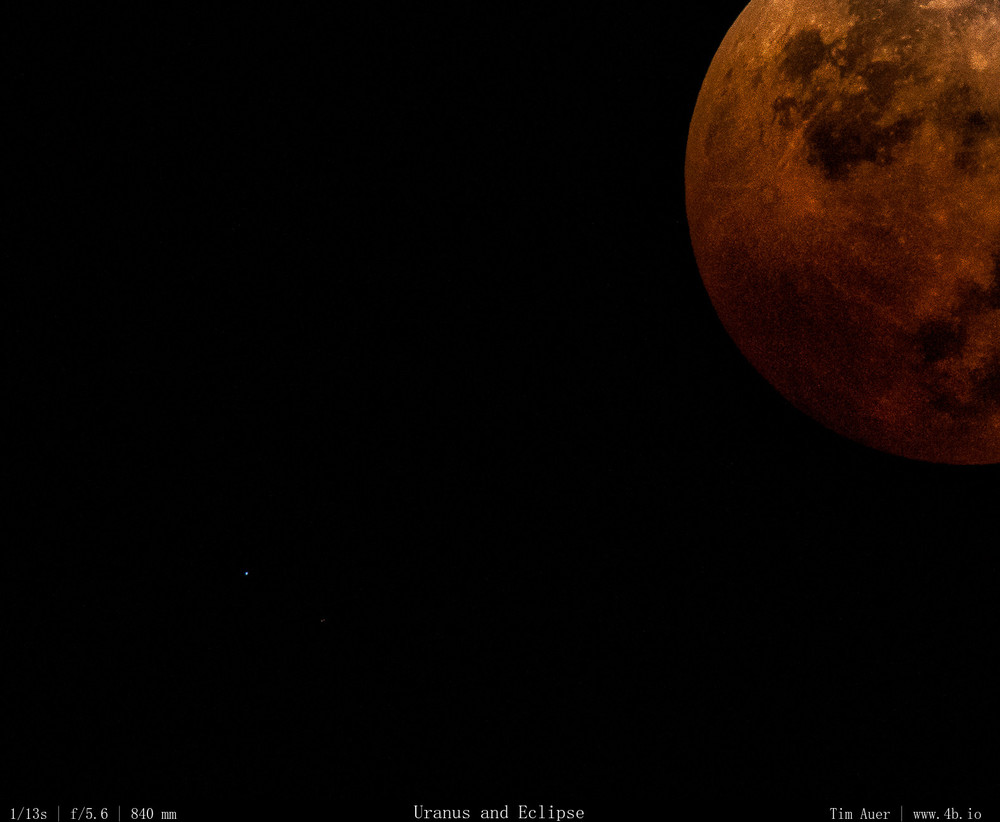
After using this set-up, I quickly realized that I needed more light. The f/8 (with 2x teleconverter) just wasn’t fast enough. I removed the extender and opened the 600mm to f/4. Then lost some optical reach by switching bodies to the 6D. This would give me cleaner high ISO performance and some more resolution (20MP vs 16MP) for cropping. I tooks some shots with these settings, before taking a few clicks with the 1.4x extender.
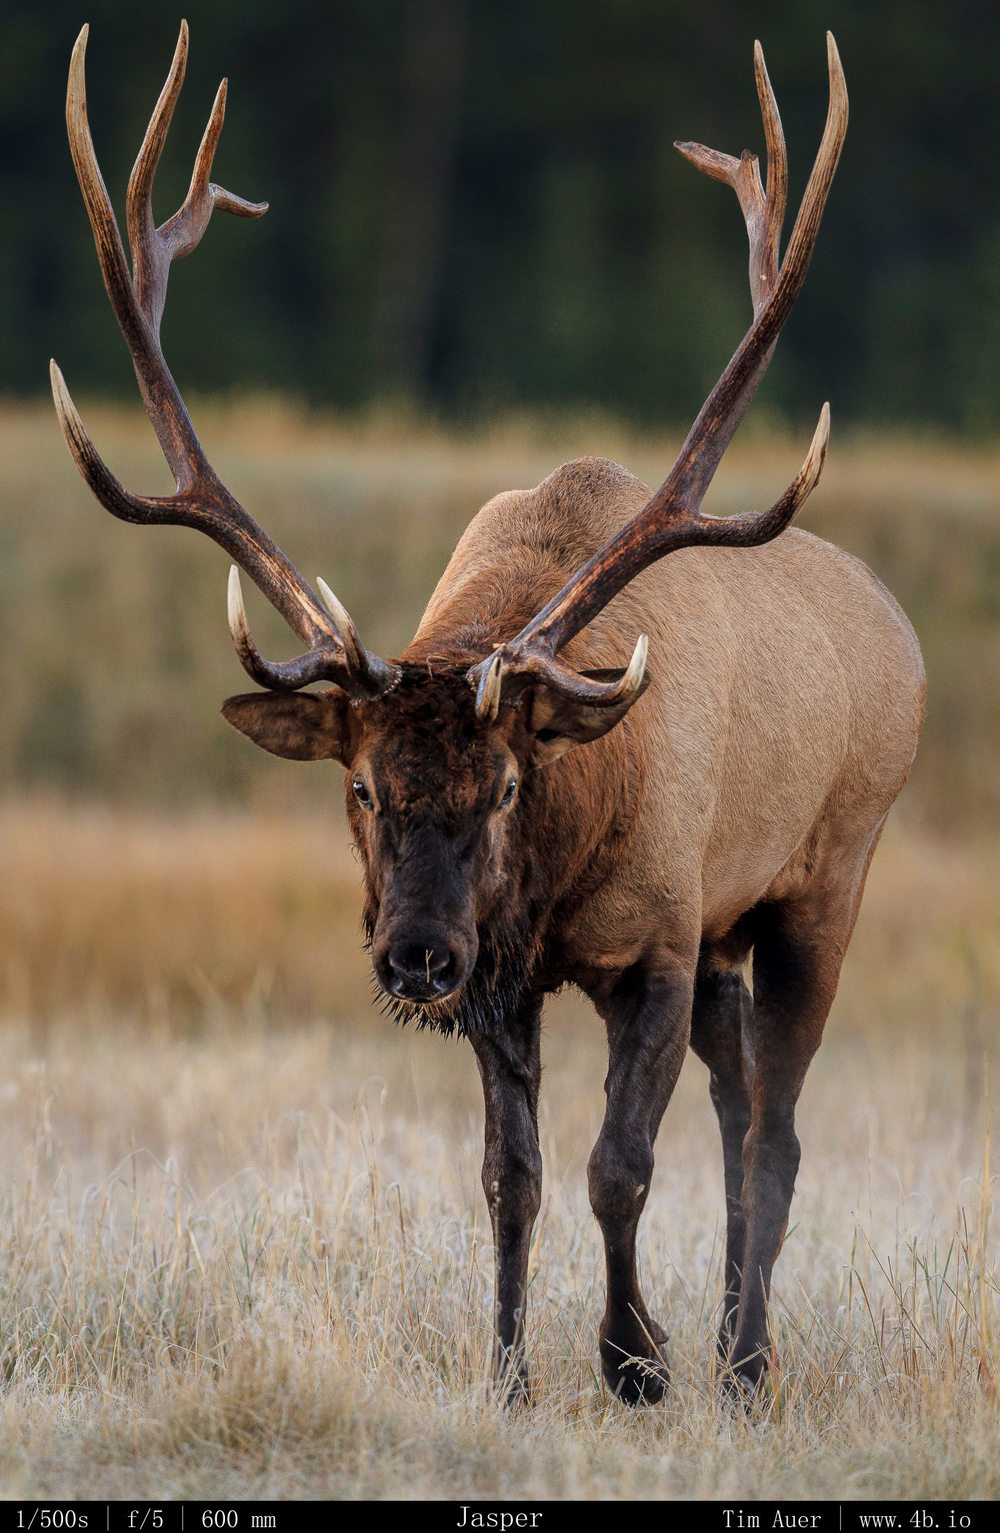
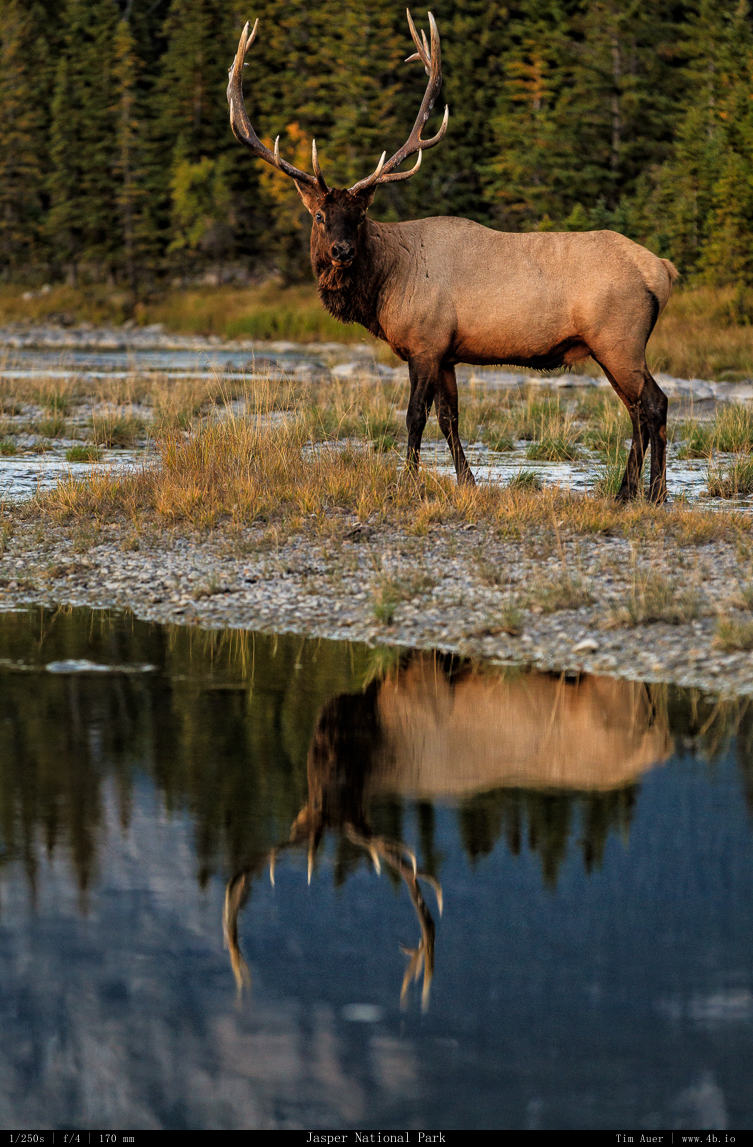
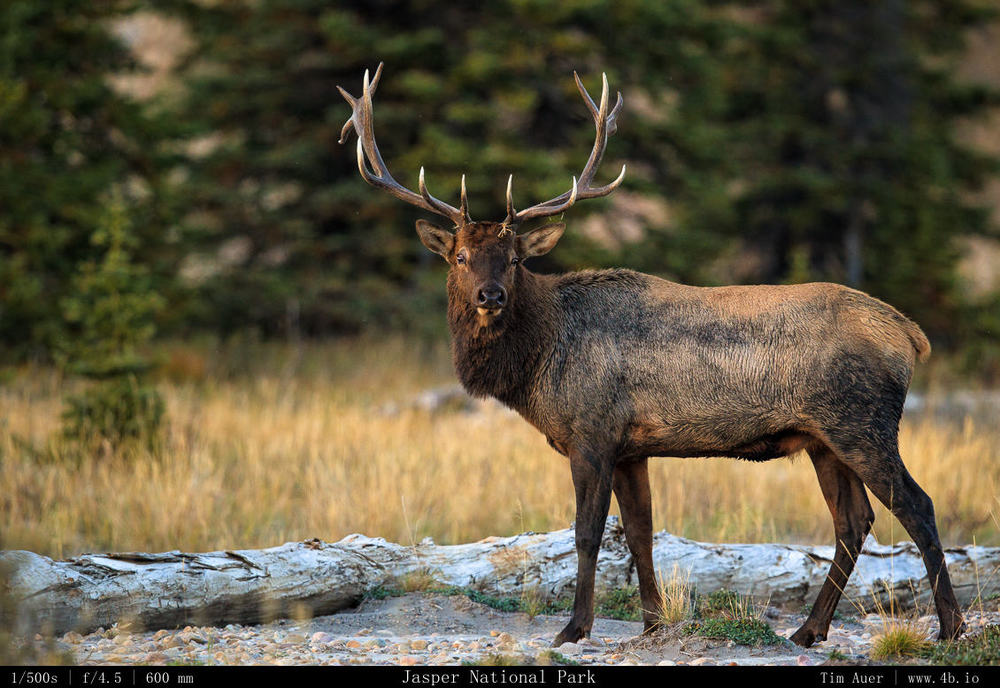
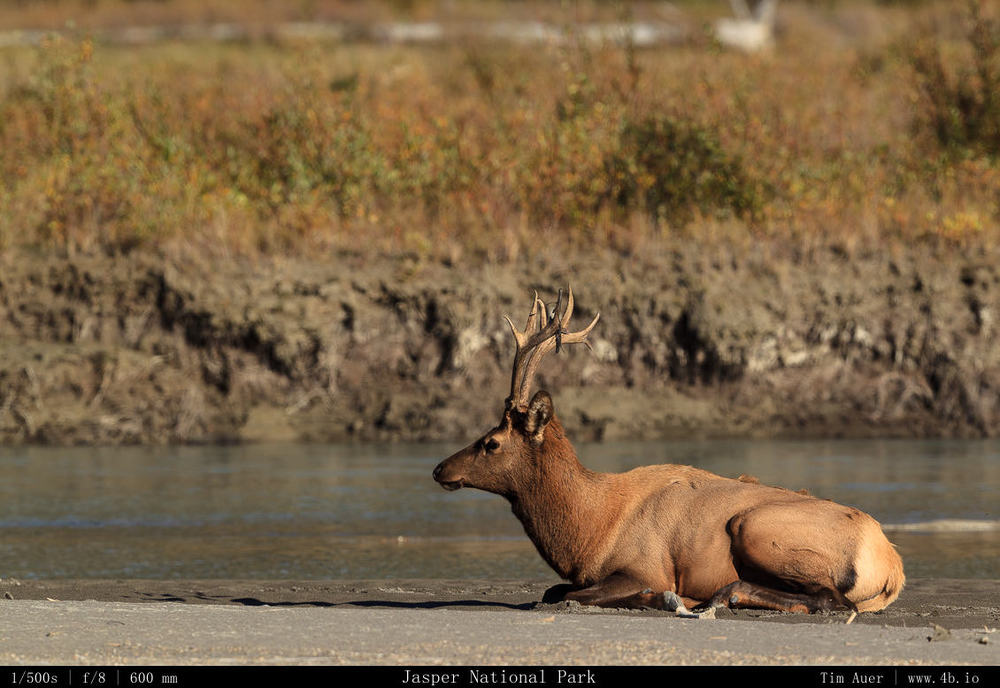
I arrived to Jasper at 9:30 the next morning, found a campsite in Whistlers, and met up with Joey and Sarah in the afternoon…and began to find some elk….
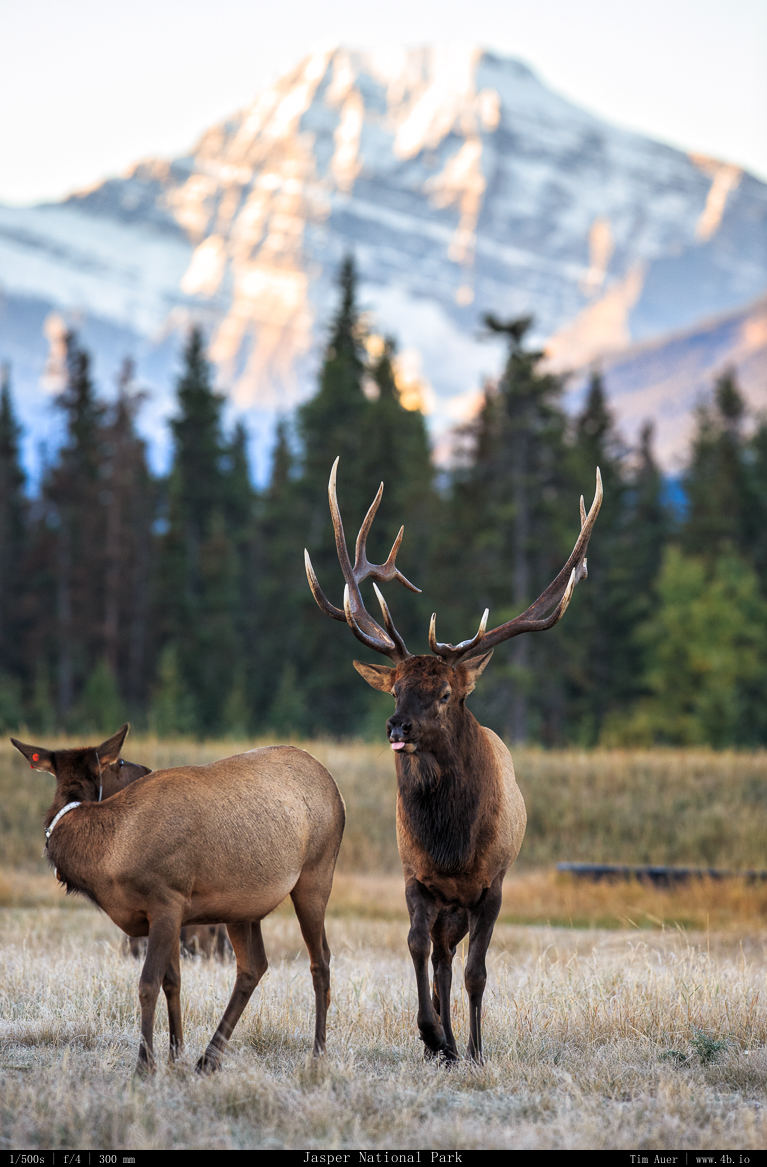
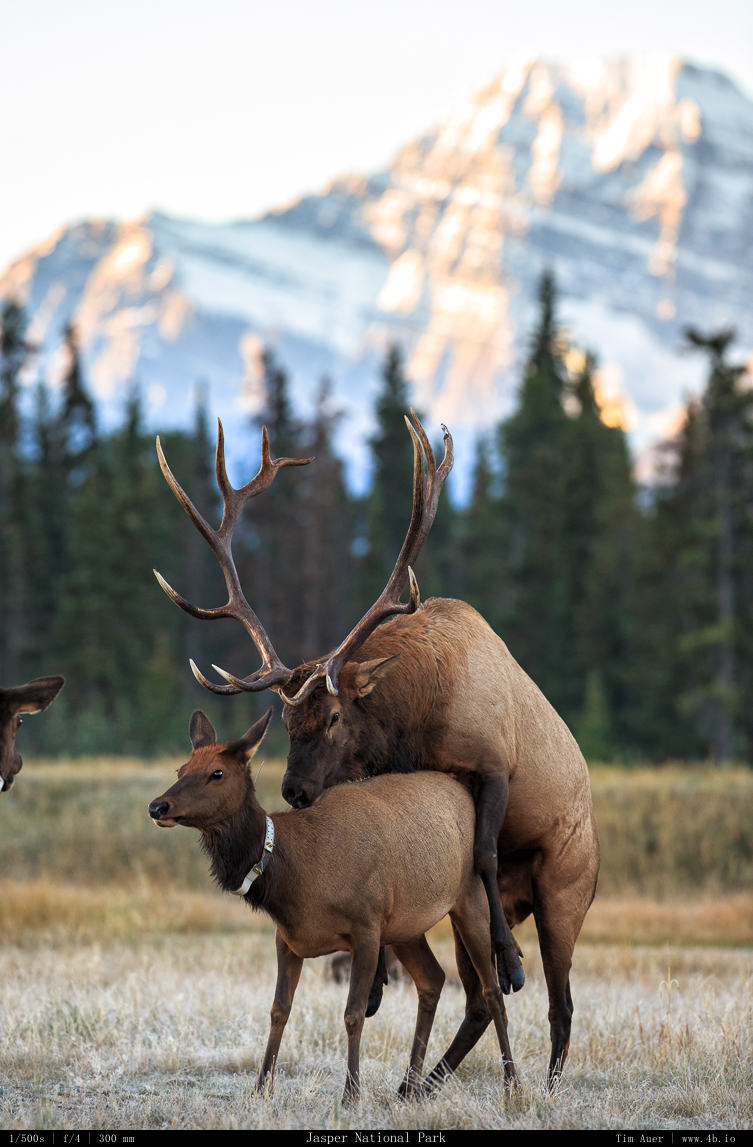
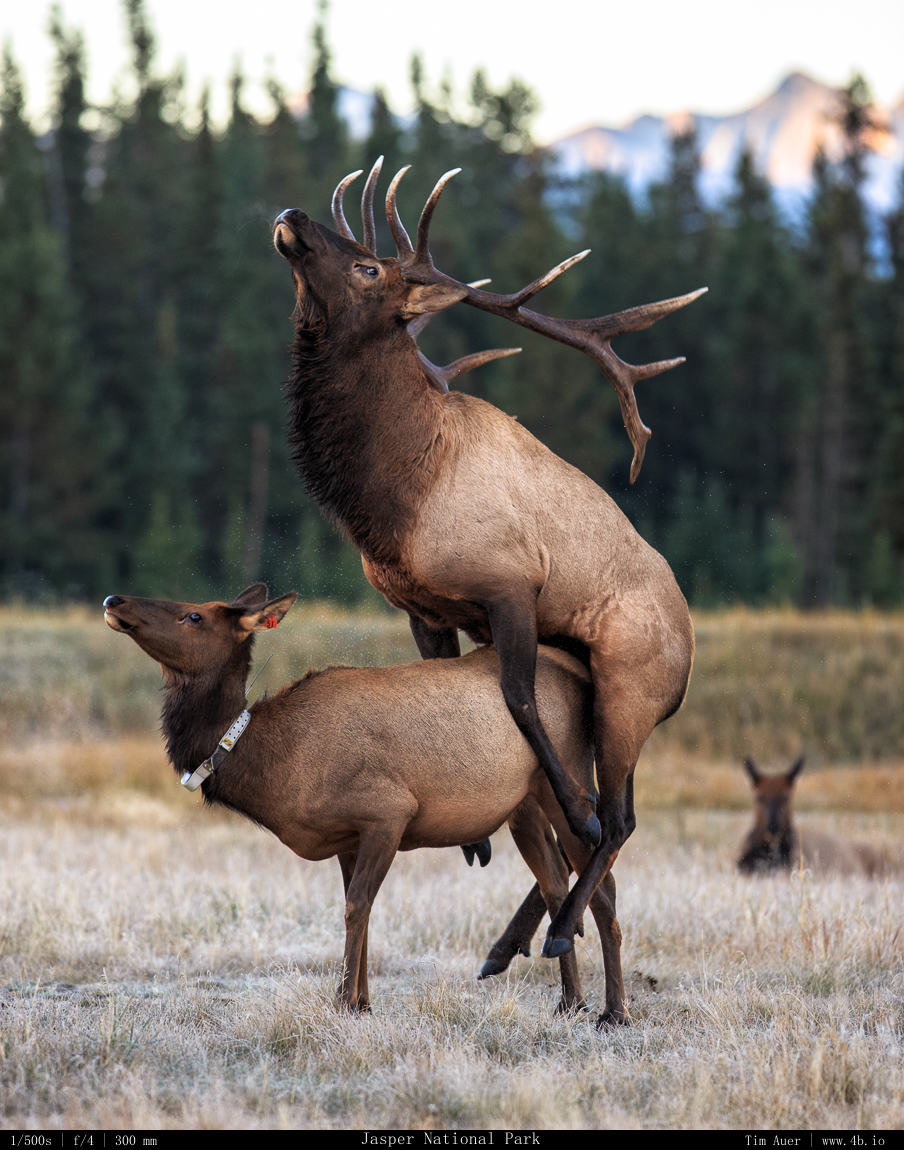
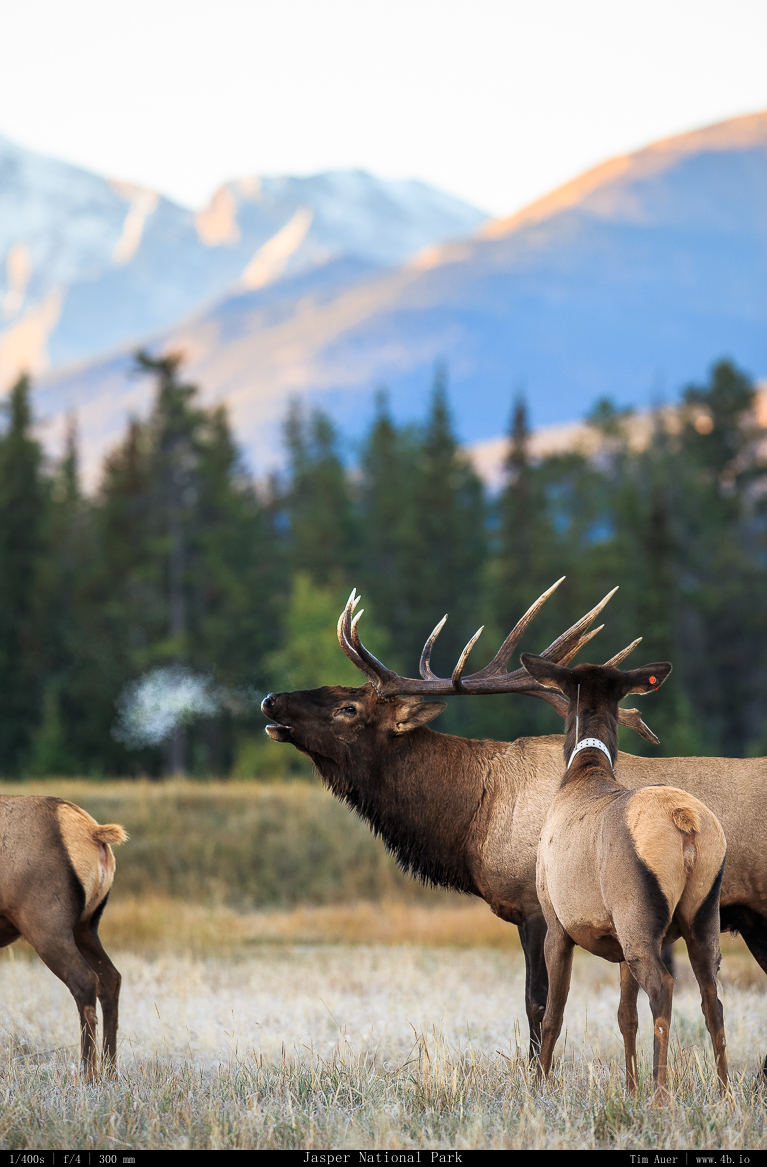
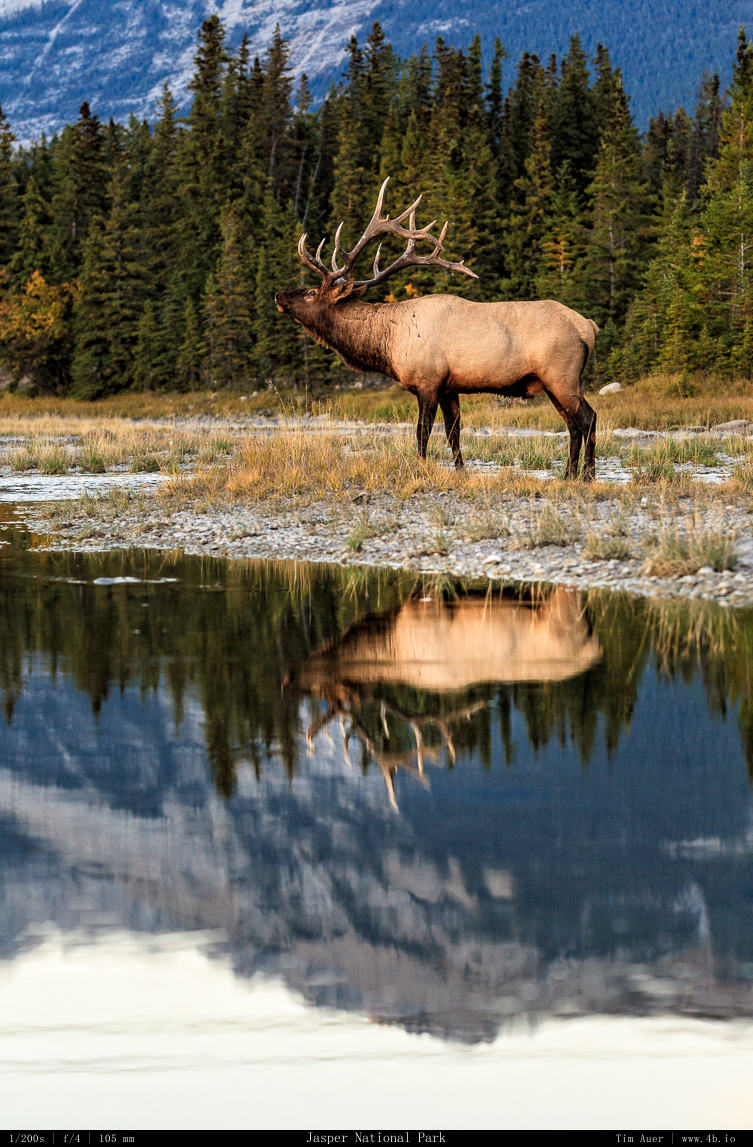
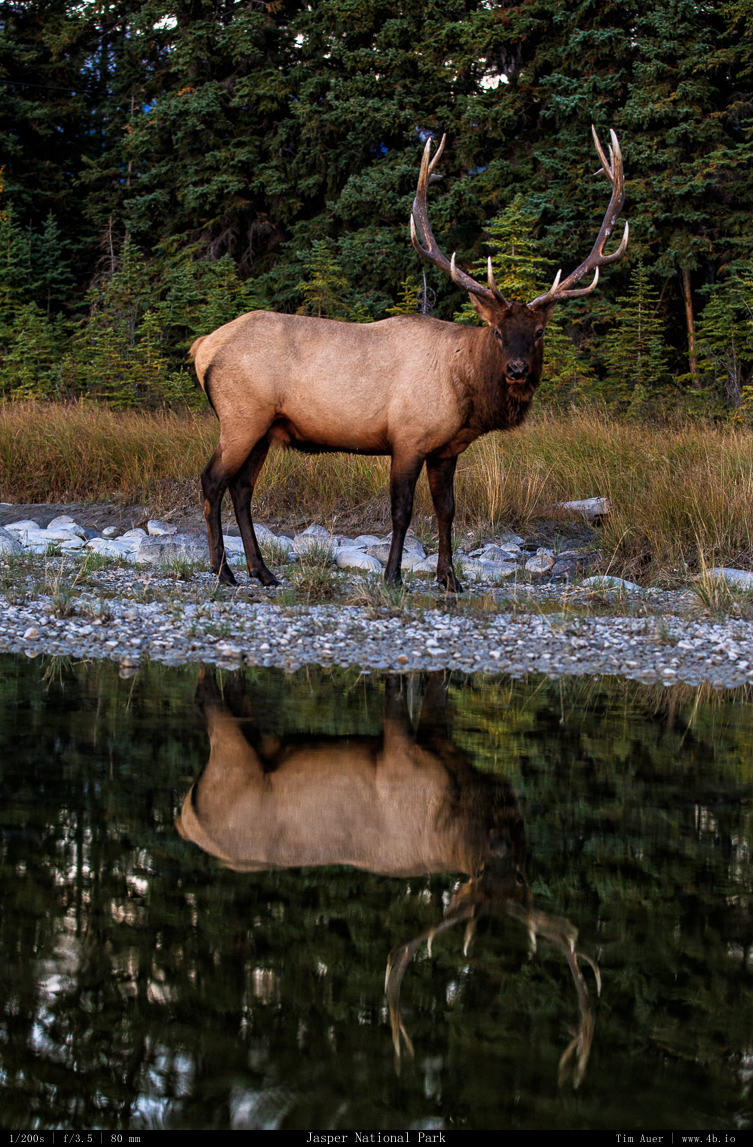
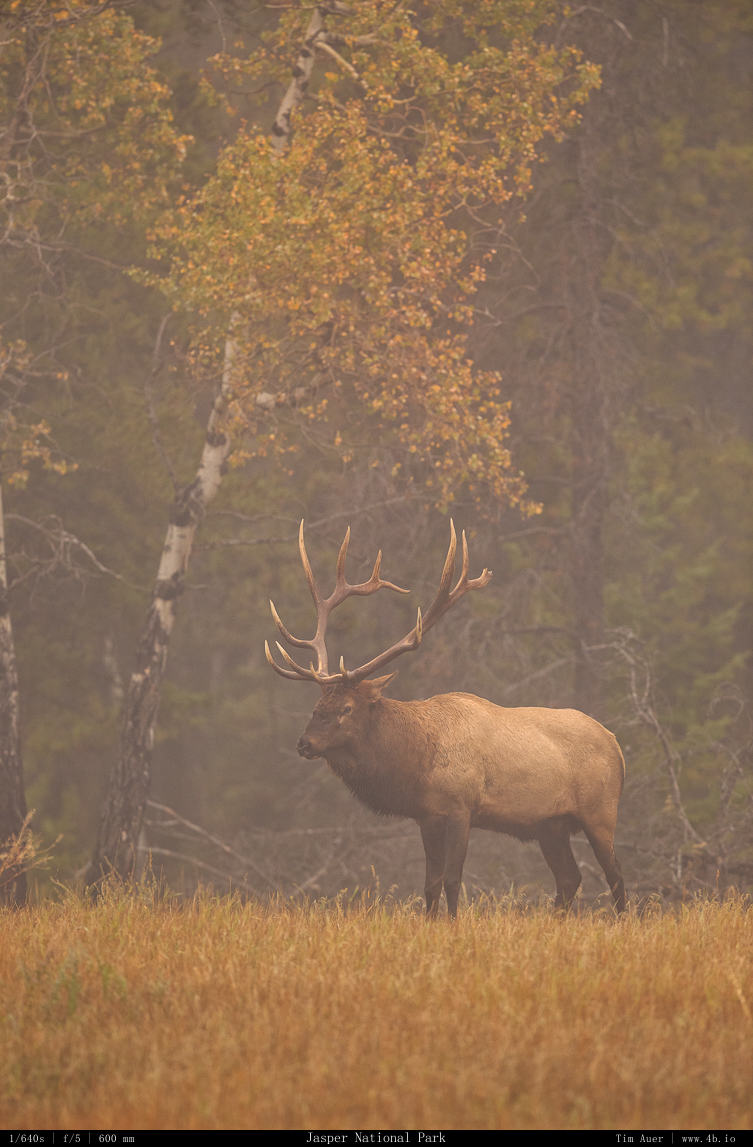
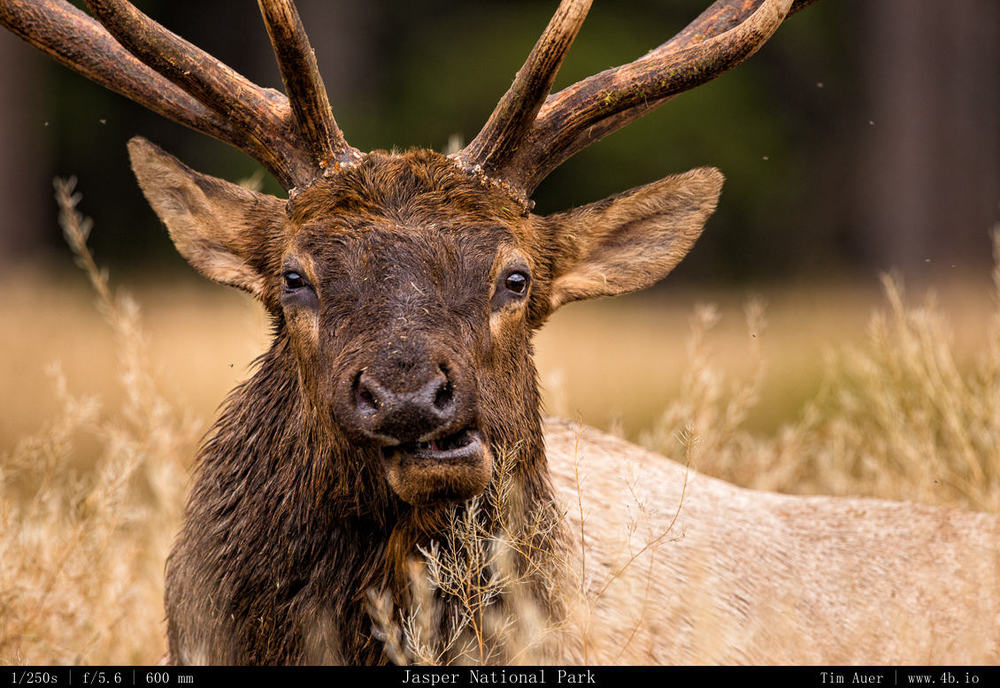
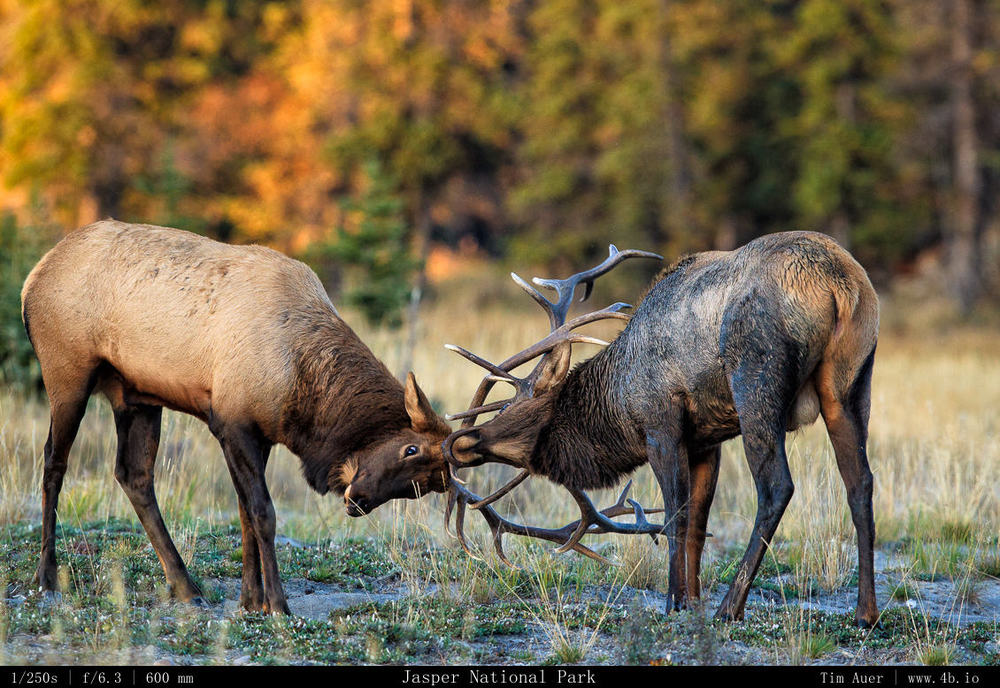
Out of all the days in Jasper, Sunday 9/21 was the most productive on all accounts. I saw and photographed my first “real” rutting action at the Lagoon at sunrise. Then at sunset, we were on a different bull along in the Athabasca River, near the Jasper Fairmont. Out in the flood zone, we were in the middle of it all, 3 or 4 competing satellite bulls bugled in various directions, near and far, agitating the alpha with the harem. He didn’t get lucky down by the river, but the light and action there was phenomenal. However, after calling it quits, as we walked back to our cars, we came upon this bull getting lucky with a cow on the lawn of the Jasper Fairmont Lodge. Two matings in one day, I was beginning to feel spoiled!
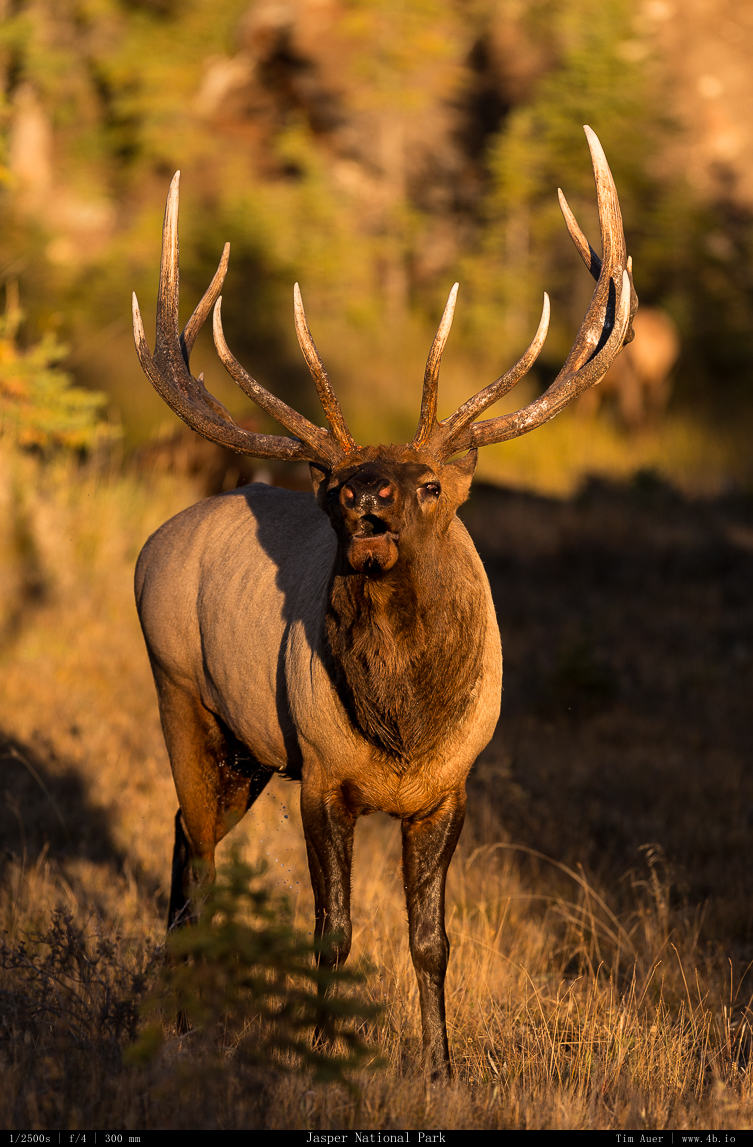
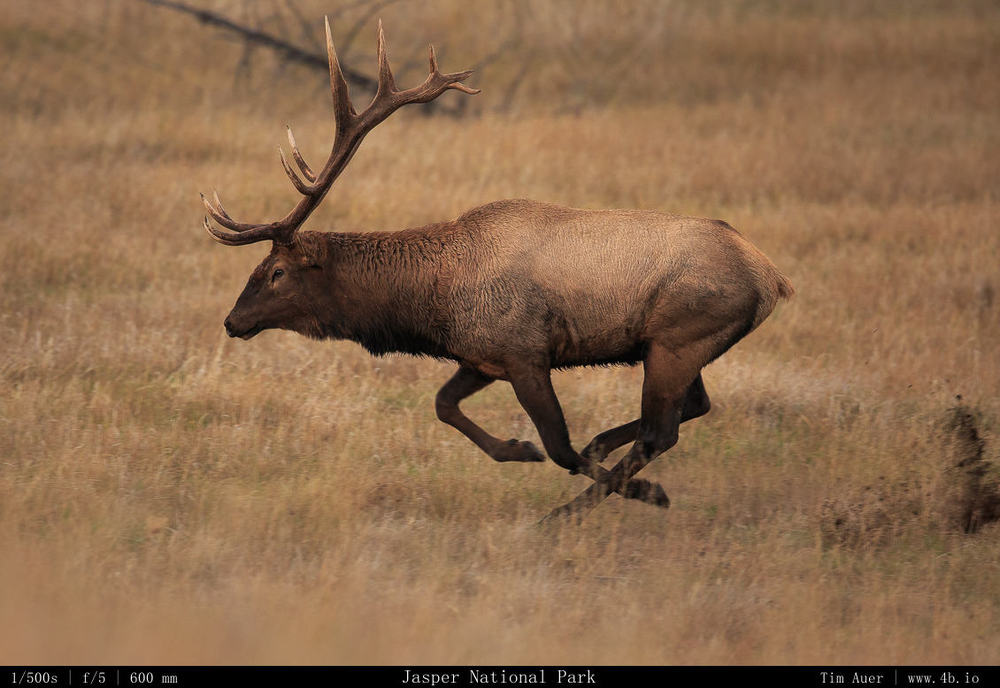
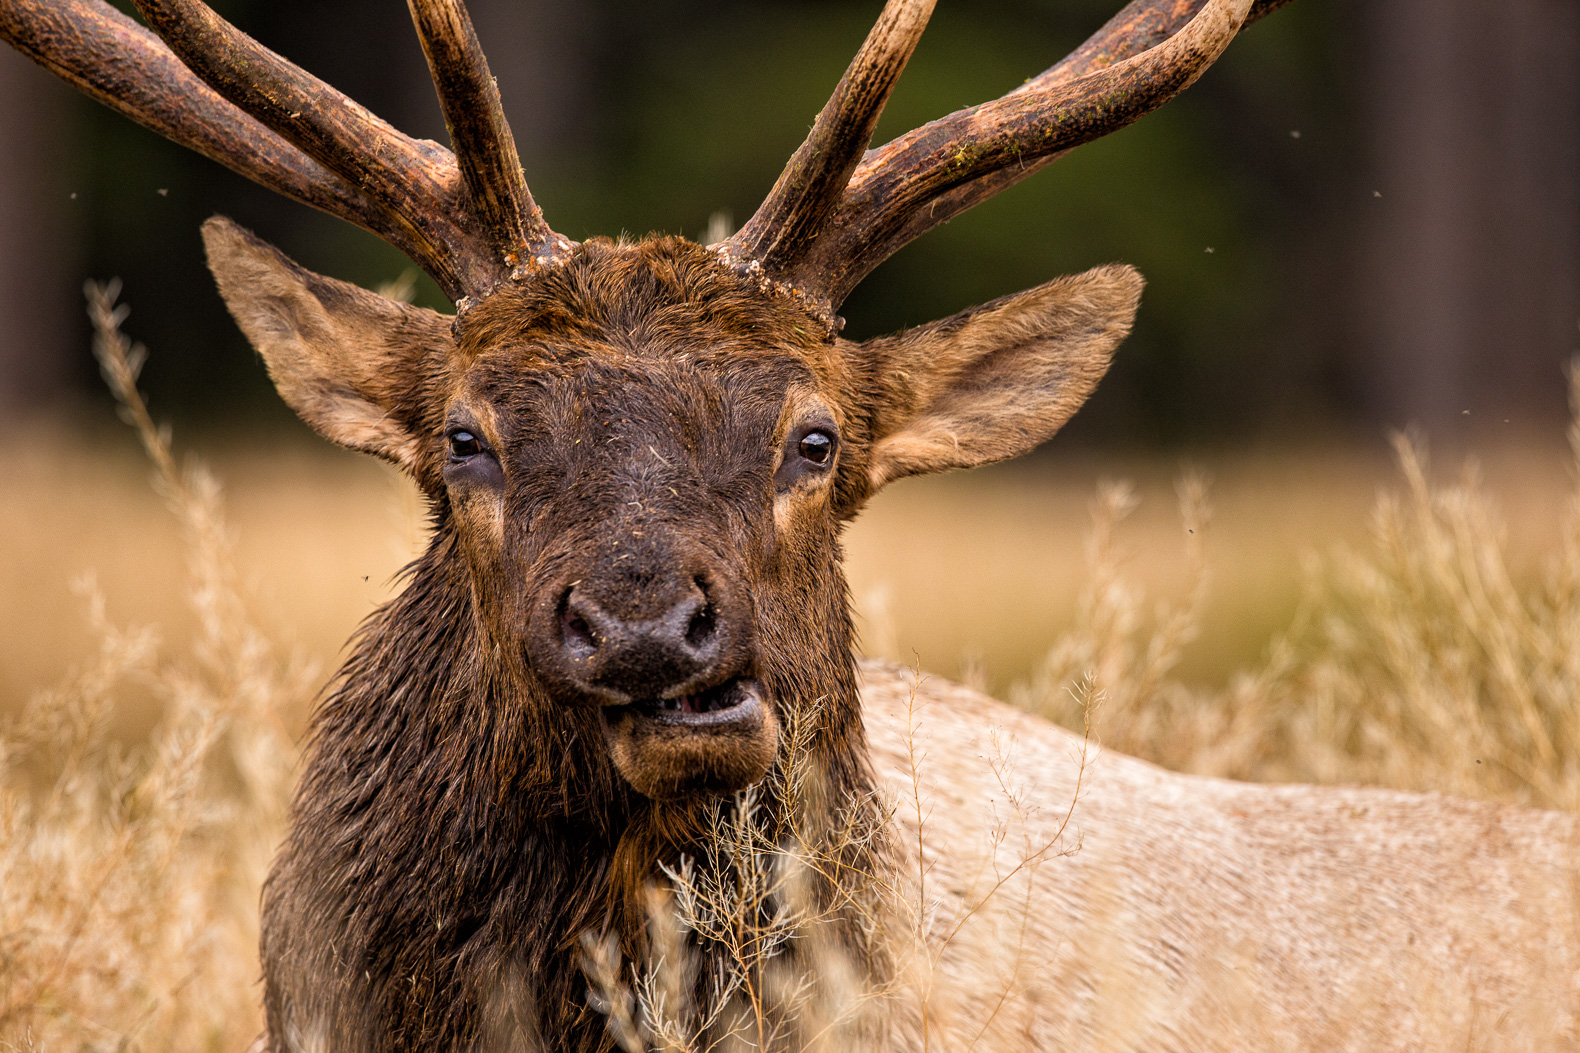
I can honestly say that photographing these hormonal elk may be equally as dangerous as bear photography. The fact that they are deer may lull you into a false sense of security. Its true that elk doesn’t have the teeth and claws to maul, but they are well equipped to rake and stomp. Joey’s advice on the matter was to always have an exit strategy when going in close, never leave yourself exposed.
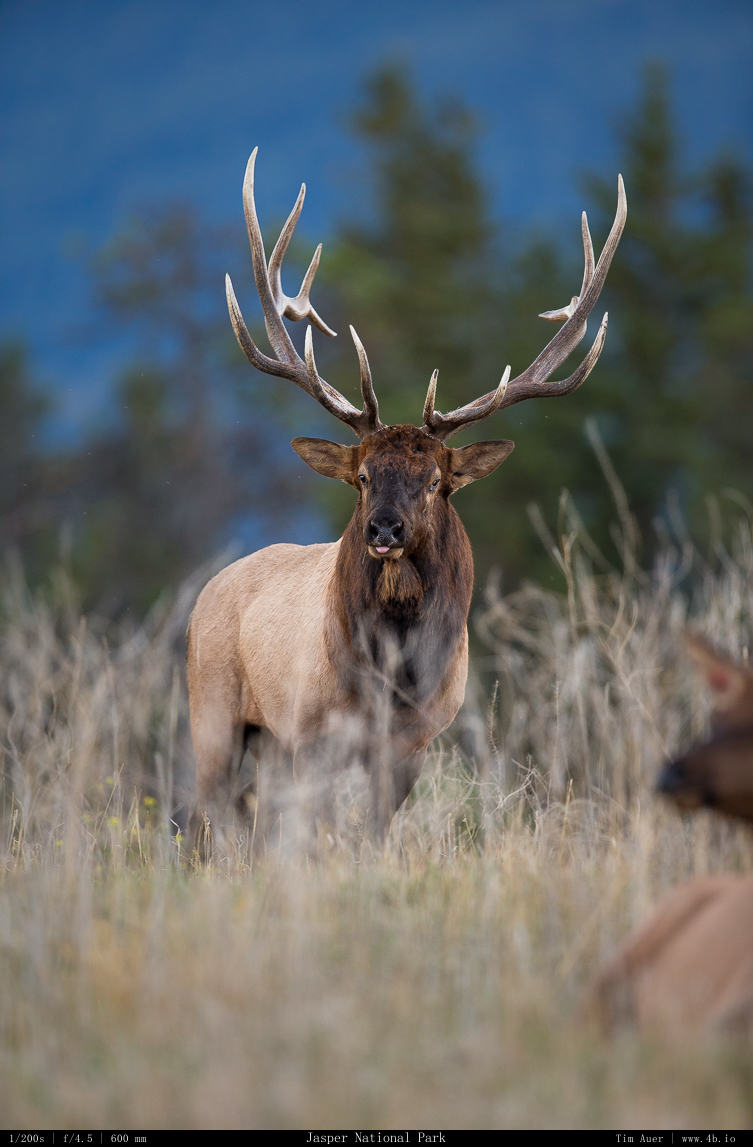
This was sage advice. These hormonal beasts were fickle and prone to irrational spurts of sudden aggression. At one point while viewing a bull and his harem, the bull casually got closer to a group of us. We reacted immediately by increasing the space. On both sides of the bull’s path were stone piles, about 4m high with stones the size of basketballs. On my side, two of us scurried up one of the piles, while the man across the path scrambled up the other one. As the bull slowly passed us by, he suddenly charged at the other man, who fortunately still had room to scramble even higher.
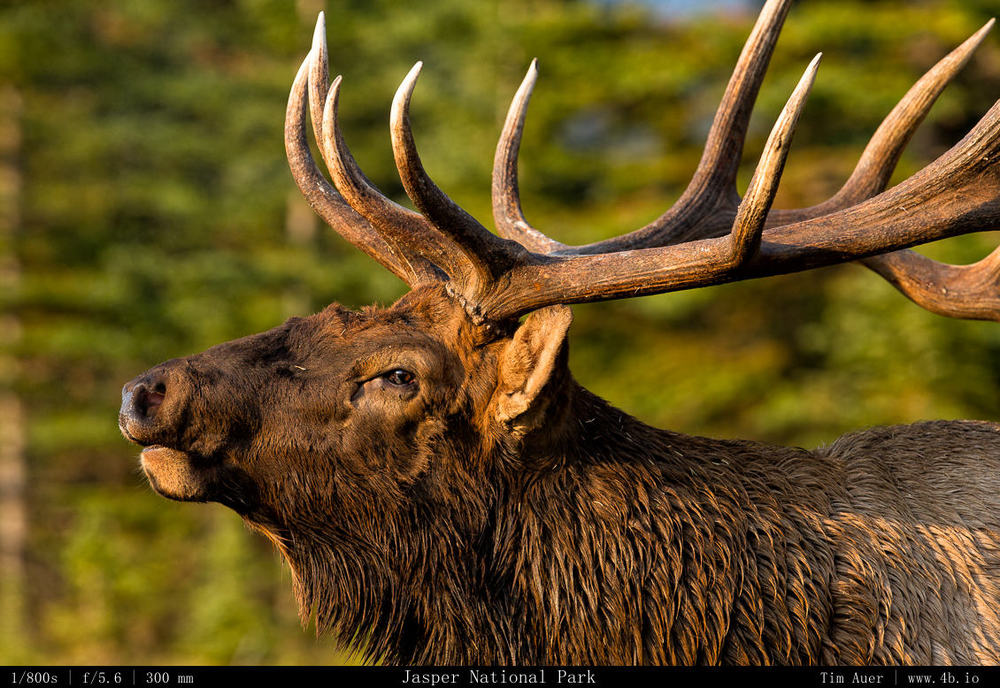
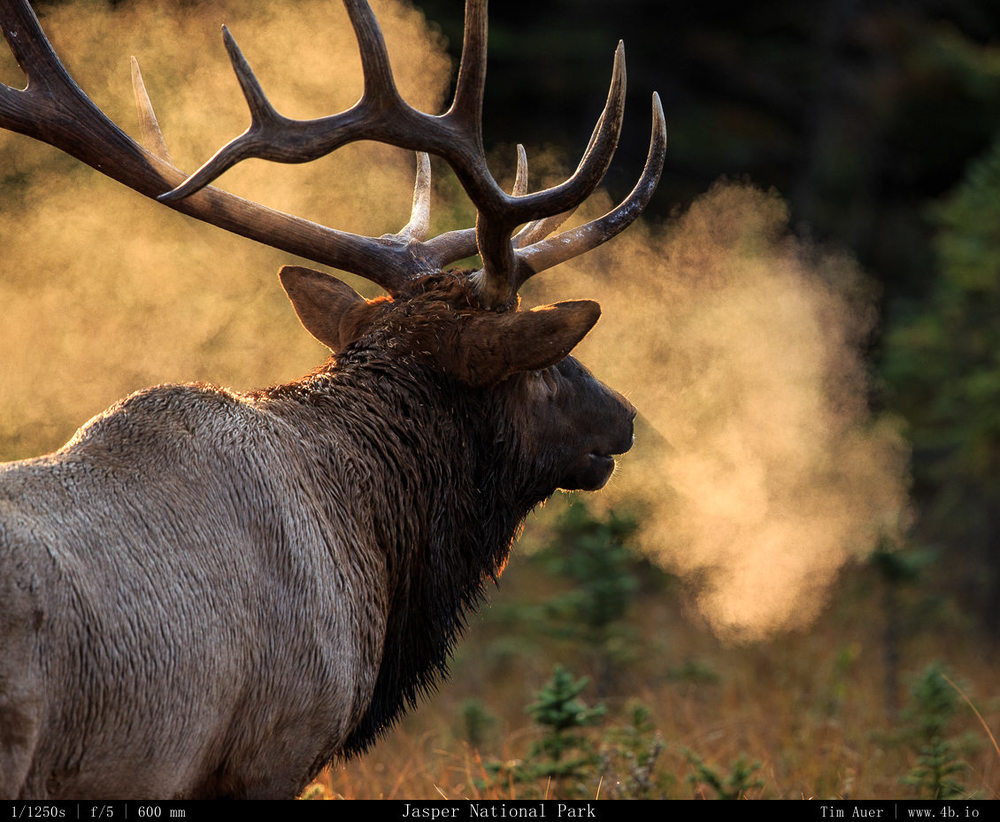
In terms of photography, the conditions in the morning were better for moody shots with backlit smokey bugle vapor puffs. The evenings were better for dramatic and rich light, but no smoke breath. It was also much colder in the morning, around the freezing point, while the afternoons were still hot from the day’s heat.
People
Each wildlife trip has its own unique way bringing a variety of people together, and Jasper was no different. Wildlife is unpredictable, and it is the people involved that distinguish a good trip from a great one. As is often the case, wildlife photo trips are made special by the beautiful locale, wildlife and people that are there. When you have good people to chat and connect with during the lulls in action, I find the overall productivity will increase. And the people who participate in the Jasper Elk Rut may have the strongest sense of community that I have yet experienced. The crowd was a nice blend of full-time and retired professionals and semi-pros, skills ranging from beginner to expert, and and non-photographers alike. The collective knowledge of this group was impressive. Many were veterans of the Jasper elk rut, people who understood elk. Many of my most inquisitive questions were not only entertained, but graciously answered….which is not something that normally happens!
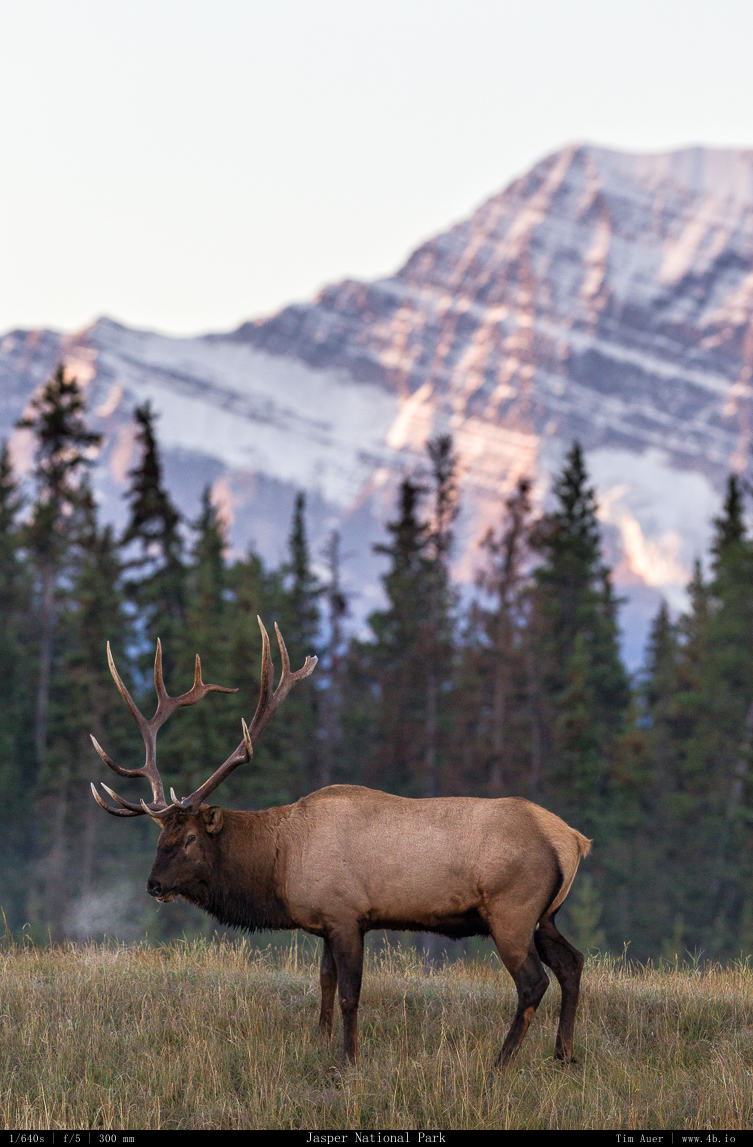
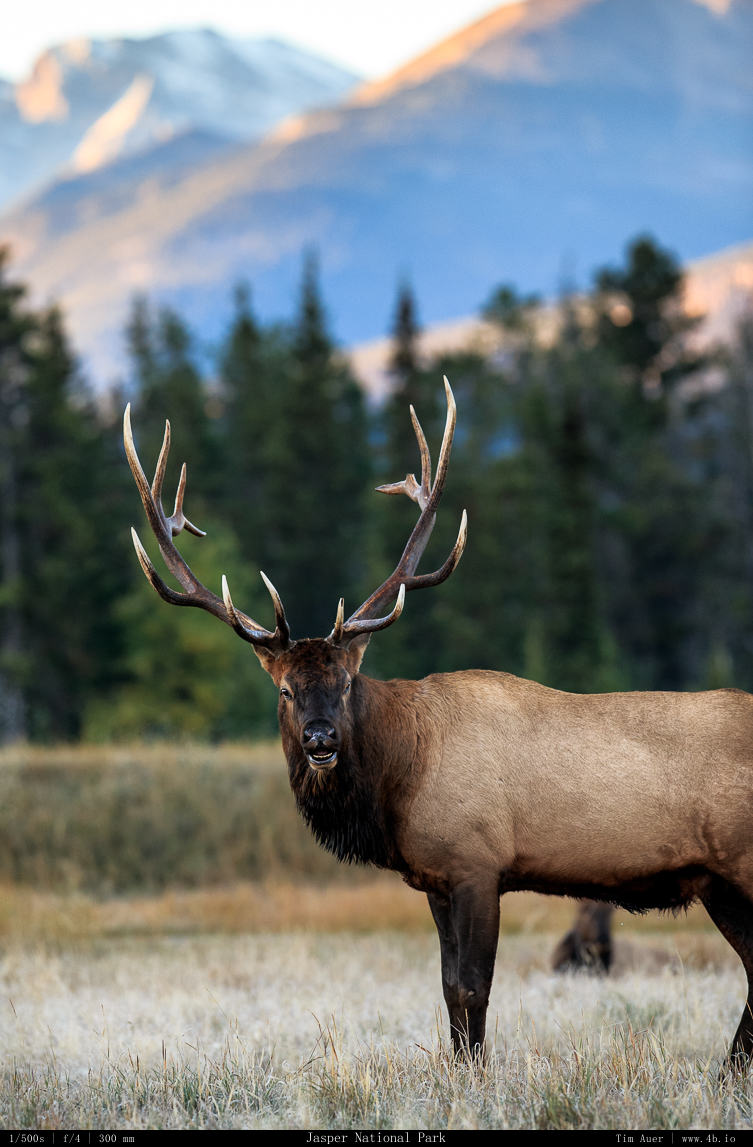
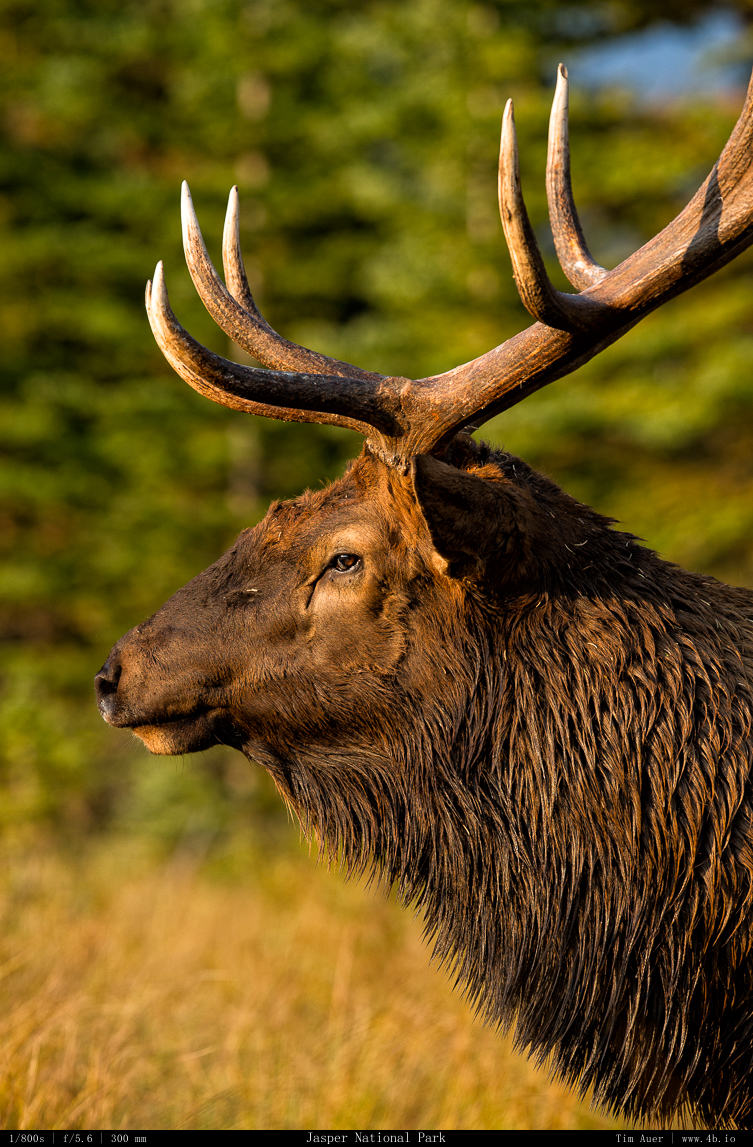
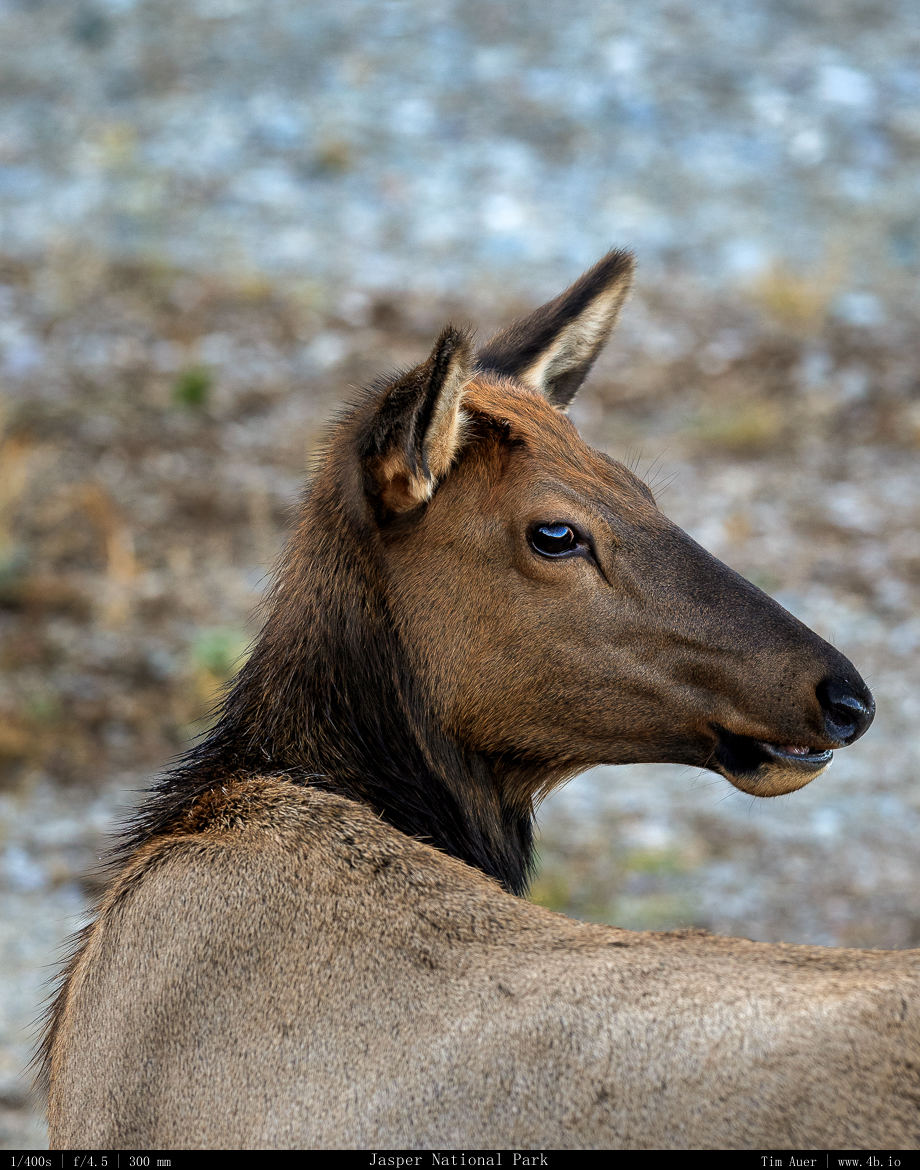
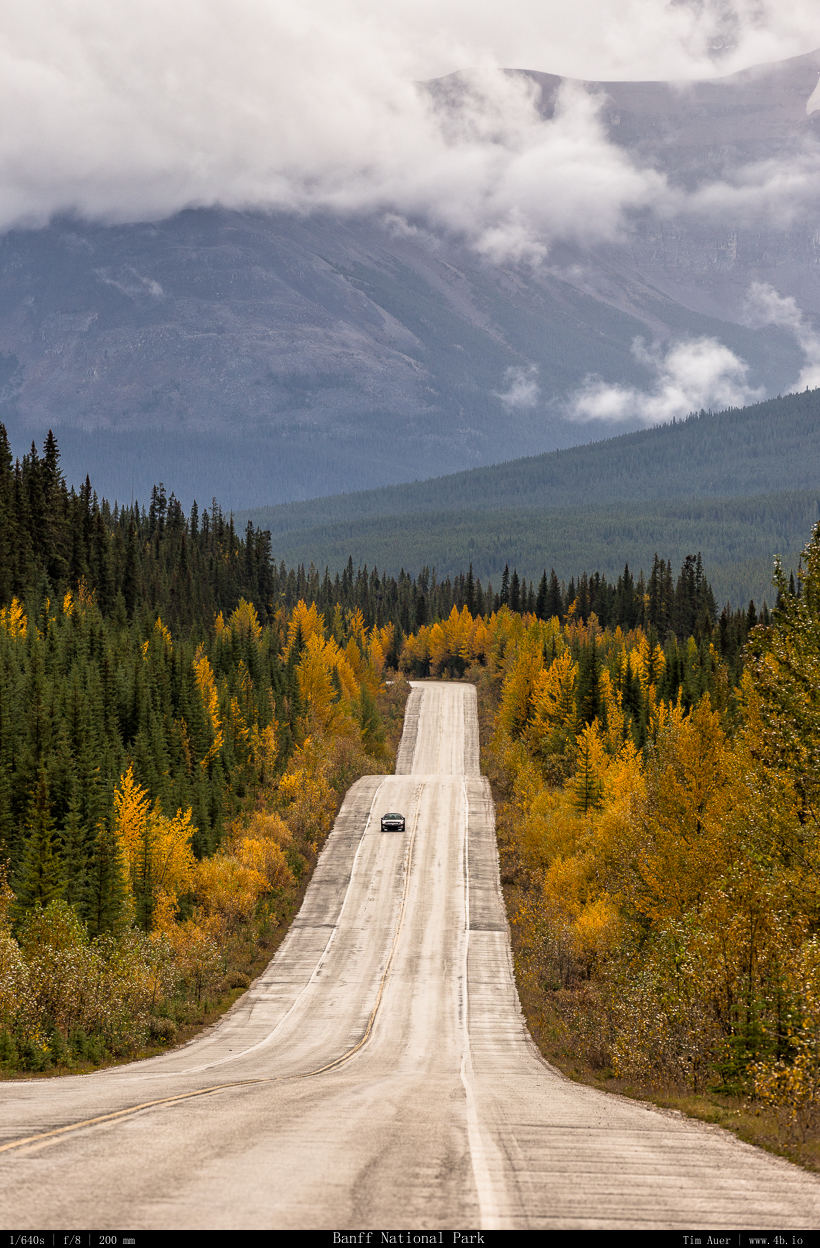
The Canadian Rockies, a magnificent place to visit any time of the year, rarely disappoints those who visit. For my most recent trip, I was fortunate to experience the jewel of the North American Rocky Mountains during the autumn elk rut. For most of the year, elk keep to themselves and live relatively benign, and quiet lives. Not so during the elk rut. Bull elk dash back and forth, vocalizing and clashing violently with other bulls and careless photographers; defending harem and territory….
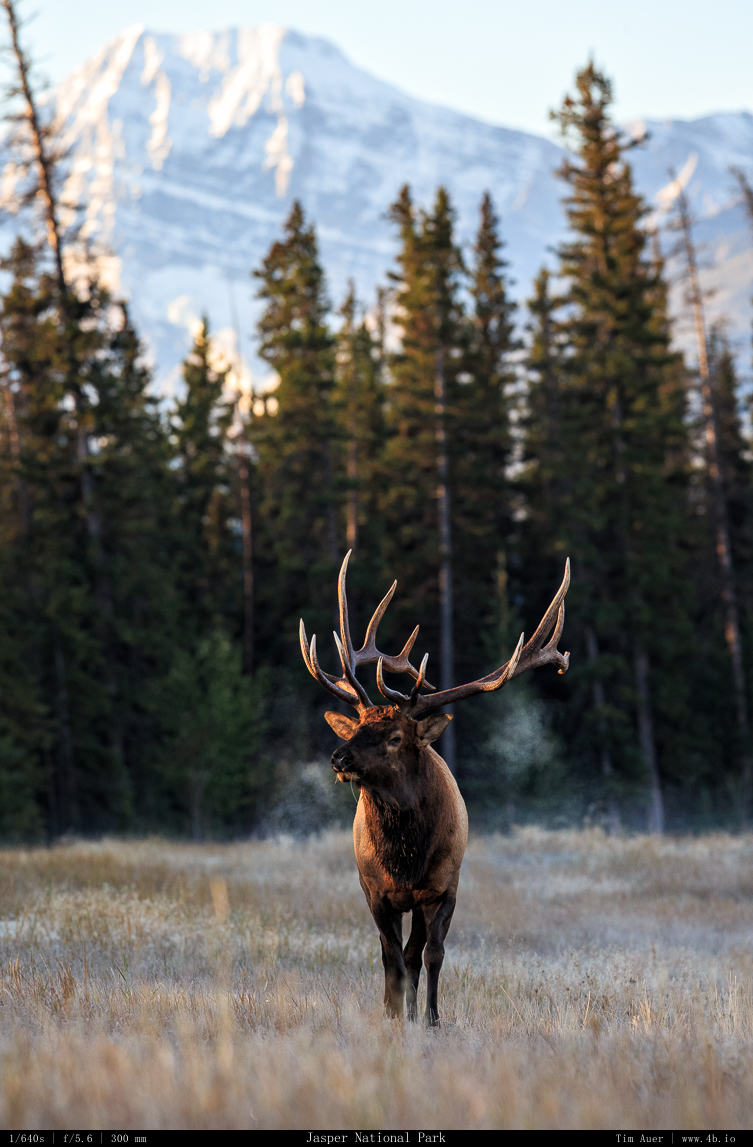
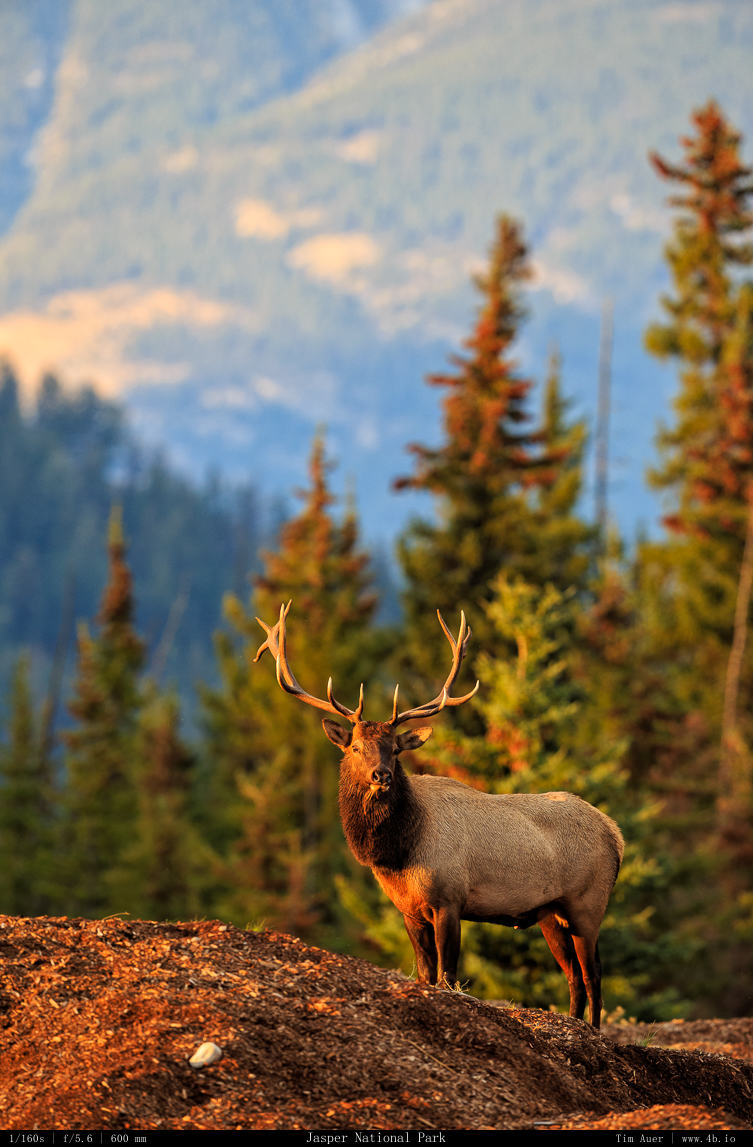
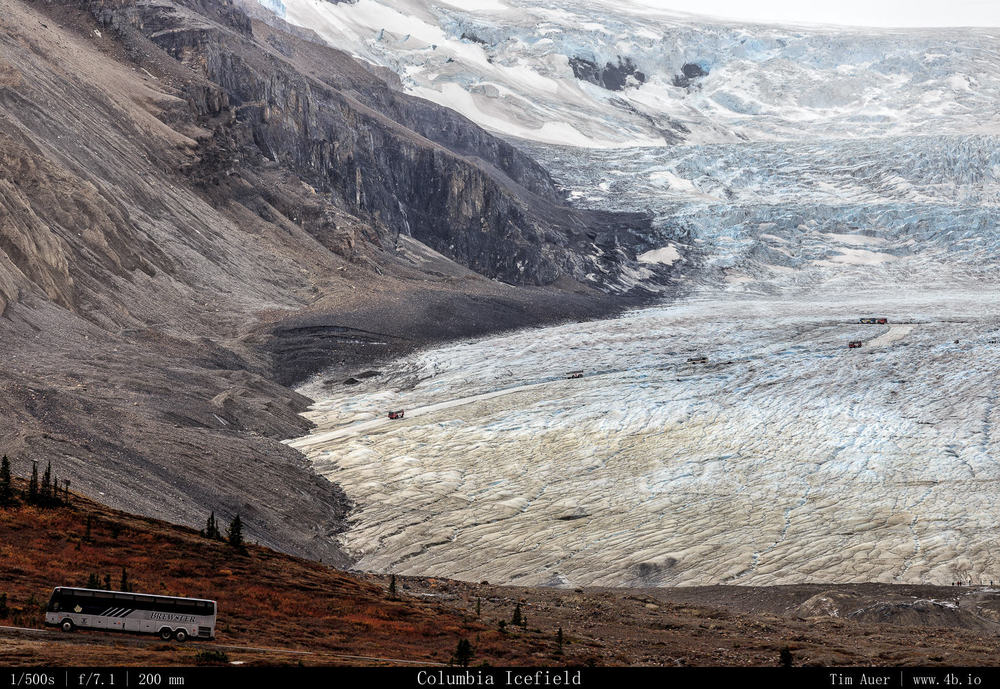
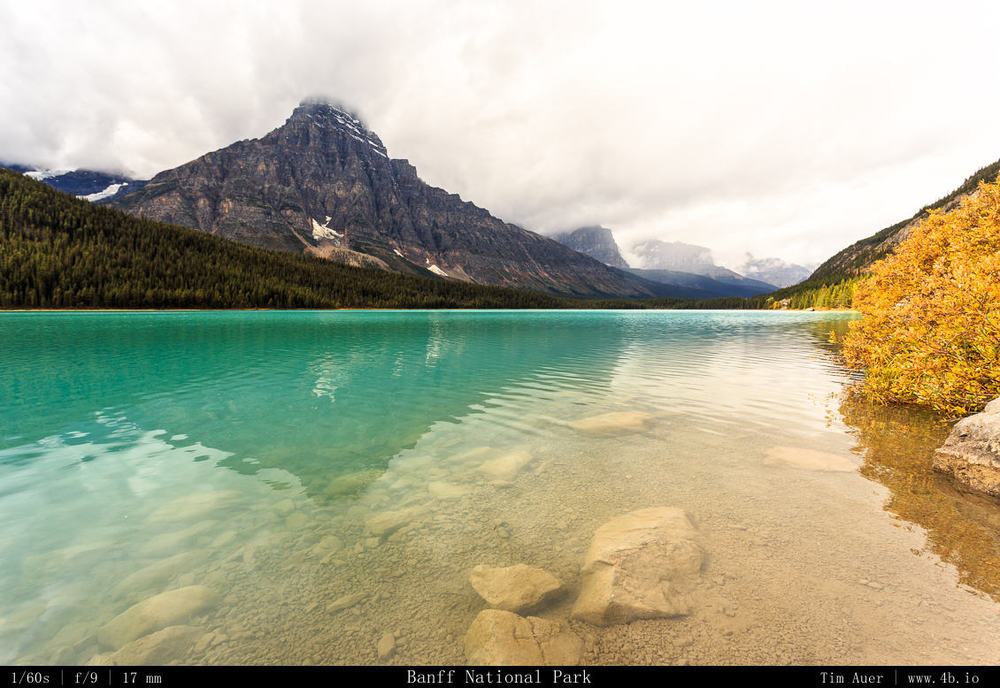
Snow Striped Peaks, a signature of the Canadian Rockies
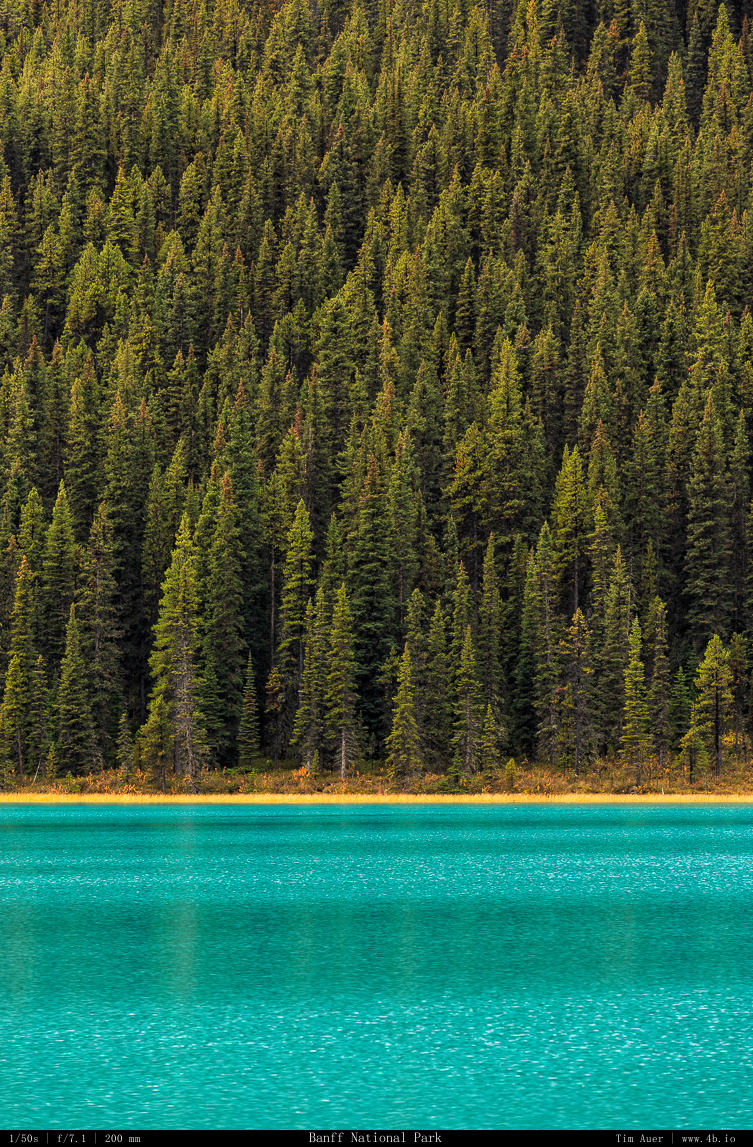
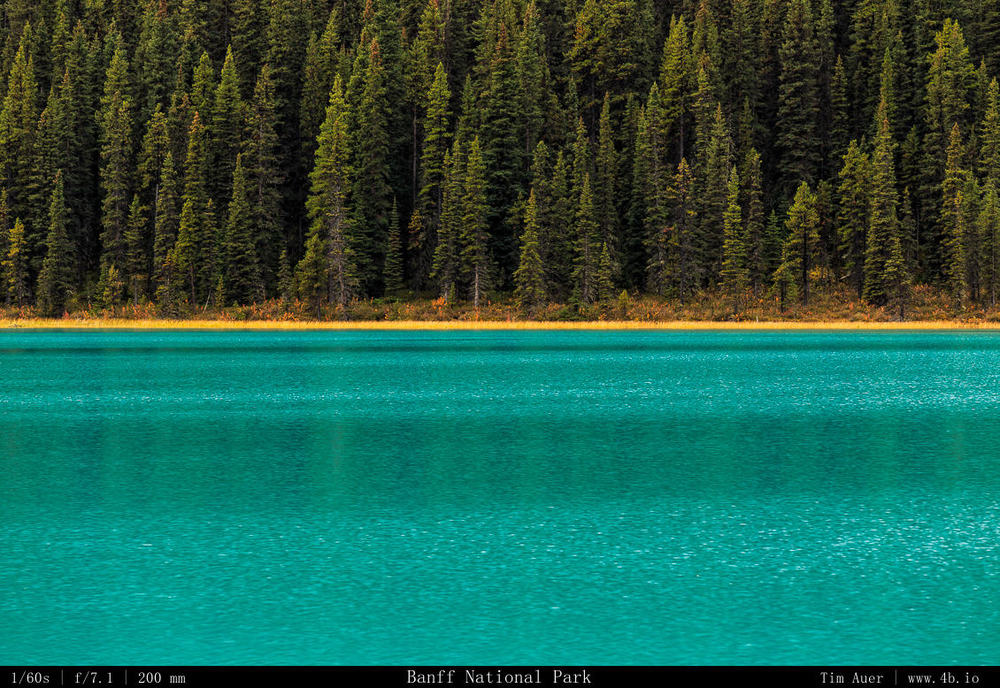
Their bugles bounce off the nearby peaks and aretes in an attempt to intimidate and impress. In turn, impressed cows will present themselves to the crazed bull for mating. Yellow larch and aspen trees and turquoise glacial silt add a splash of vibrancy to the landscape with snow striped mountains.
Getting there
I landed in Calgary at around midnight Friday night/Saturday morning, hopped into my rental car and headed west for what would be a long weekend in the Canadian Rockies. Following the Trans-Canada Highway, I reached the Banff entrance gate in just over an hour. Another hour beyond the park boundary was Lake Louise. With no time to waste, I didn’t stop. I had night photography on my mind, and needed to find a spot to do some shooting. At Lake Louise the Trans-Canada Highway intersects Alberta Highway-93, also known as The Icefields Parkway.
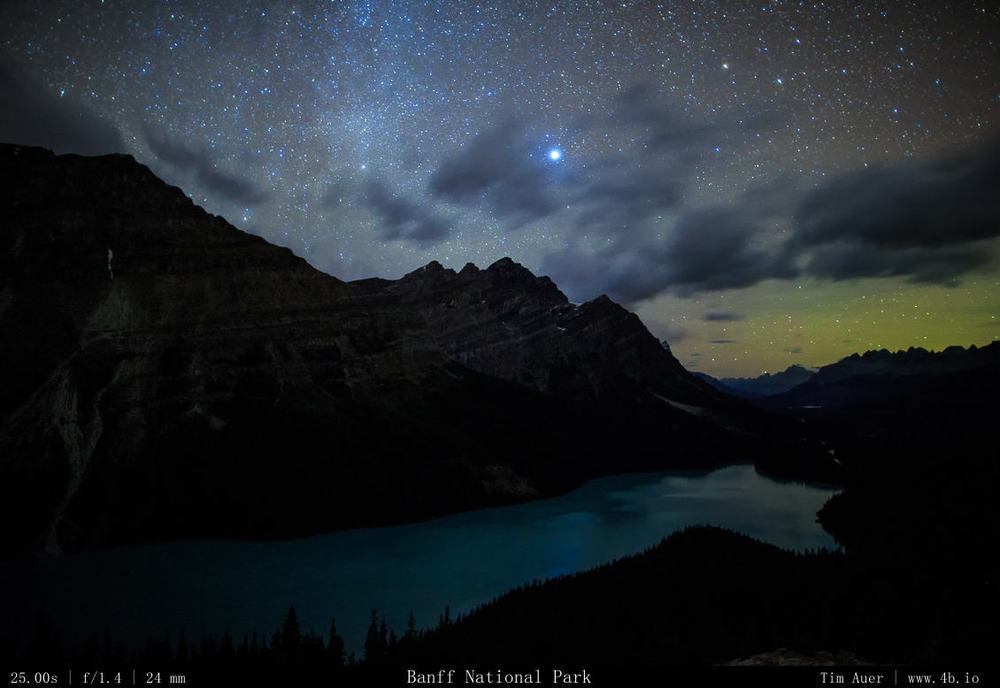
Looking north, Vega and traces of a distant aurora, or airglow, difficult to know for sure
Following this road north I made my way to Peyto Lake, and took a stab at doing night photography on the moonless, but clear night. After a full day at work, plane ride to Calgary, and 3 hour drive into the rockies, I wasn’t feeling particularly ambitious for a night photo session. Plus I was here for the elk, so I took it relatively easy this first night, only shooting for 90 minutes. At Peyto Lake, there was a hint of the Northern Lights to the north and some clouds moving through the sky. At 04:00 I broke down my gear and sought out a quiet parking lot to take a nap in, which I came upon a few miles down the road. I would cover the final two hours of the Icefields Parkway drive to Jasper the next morning…
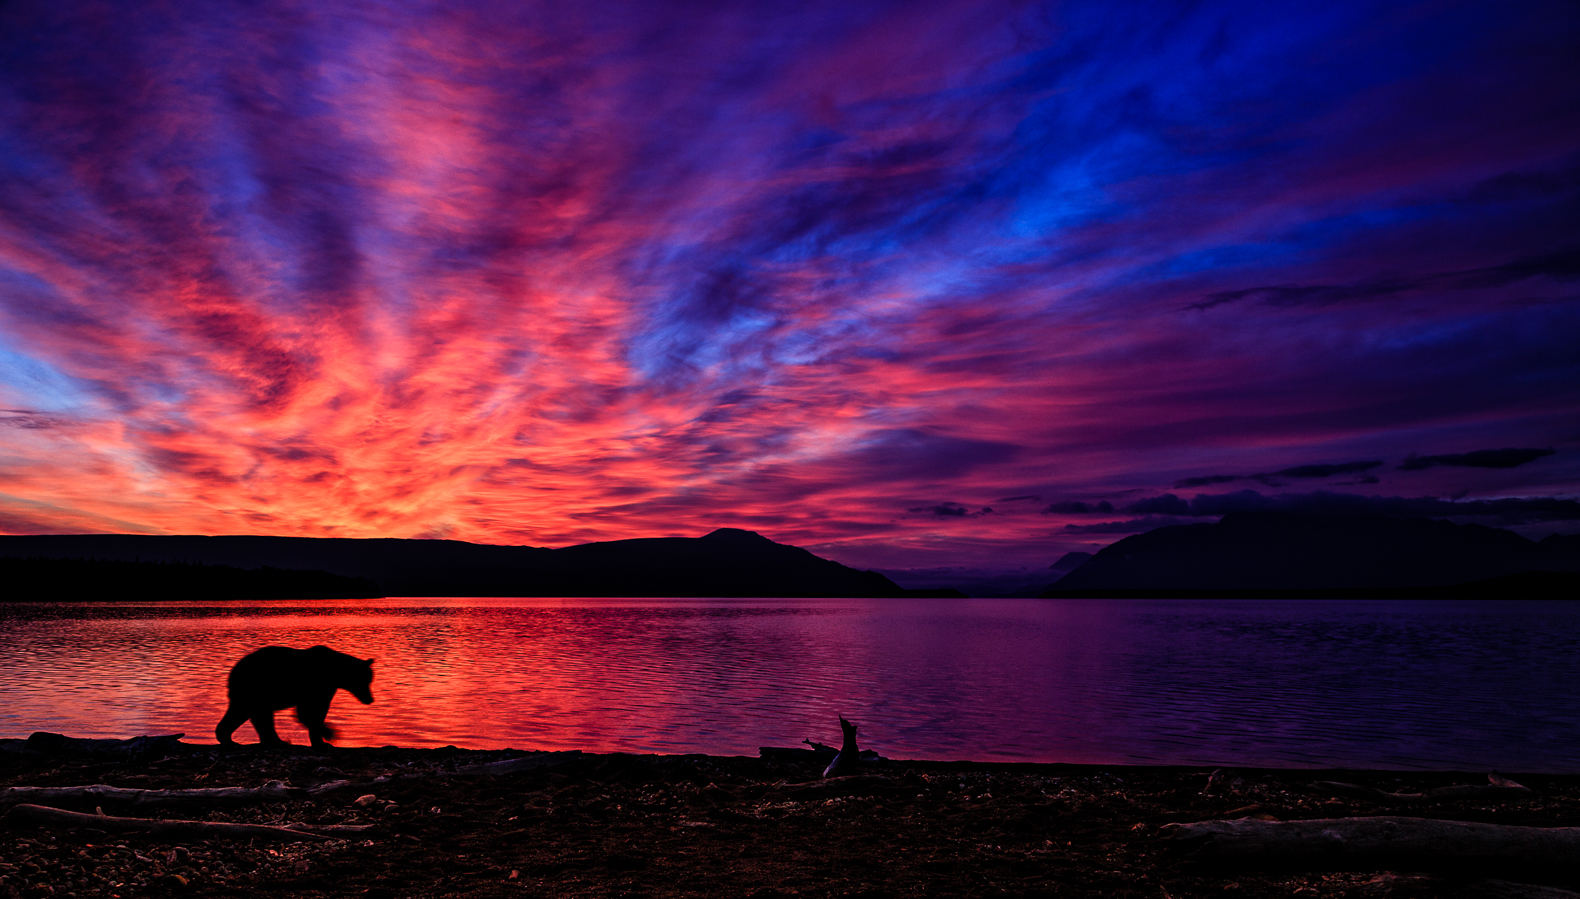
I will be spending a long weekend in Jasper National Park during the elk rut and looking for late season grizzly bears. Extremely excited to be back in the Canadian Rockies, Jasper is a jewel in crown of North America.
Gear
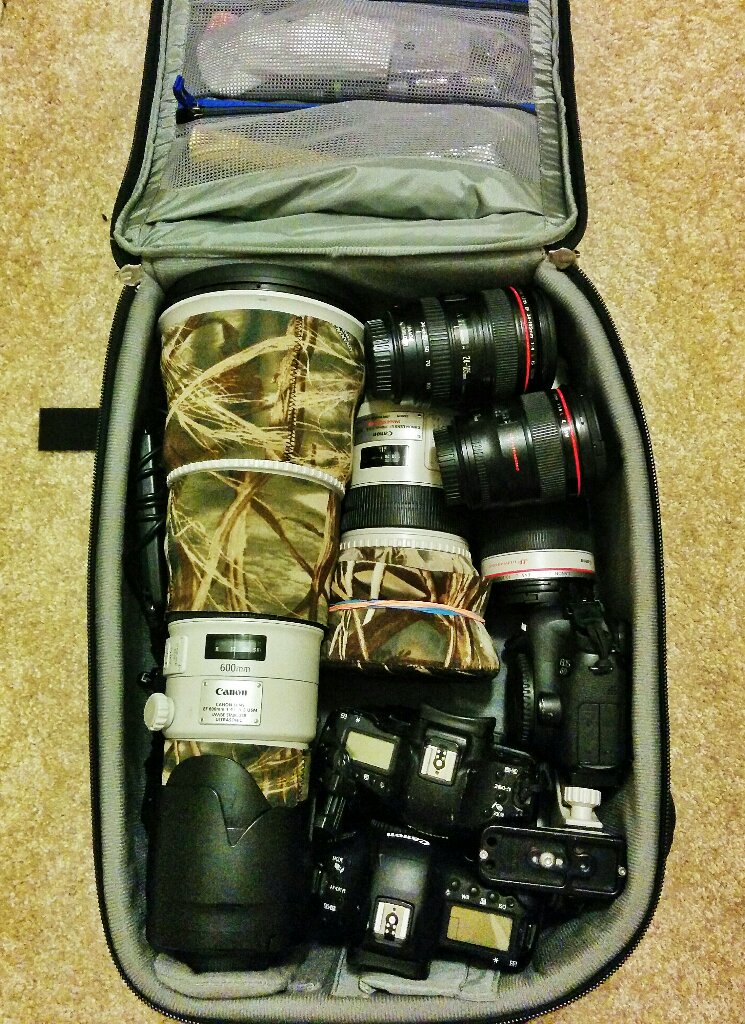
In terms of gear I am going heavy:
Canon 1D-X Canon 1D-IV Canon 6D
600mm f/4 IS II 300mm f/2.8 IS 70-200mm f/2.8 IS II 24-105mm f/4 24mm f/1.4 II 17-40mm f/4
2x Extender III 1.4 Extender III 25 Extension Tube 12 Extension Tube
2 intervalometers SureFire G2 Nitrolon Torch
6 LP-E4N Batteries 6 LP-E6 Batteries
And the amazing thing is that all of this and more fits into my Think Tank Airport Accelerator bag.
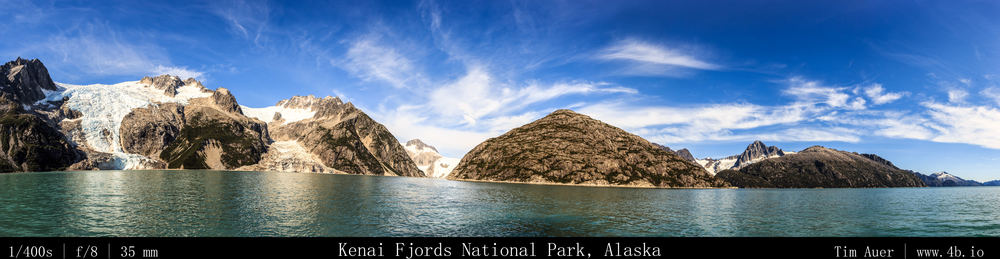
I had been shooting several multi-exposure panoramic shots and when we reach the center of this fjord inlet, the captain was polite enough to do a 360 degree rotation. While this view is not a 360 degree panorama, it is about 220 degree.
This is a 32 frame panorama stitched together in CS6 with dimensions 22841 x 6455.
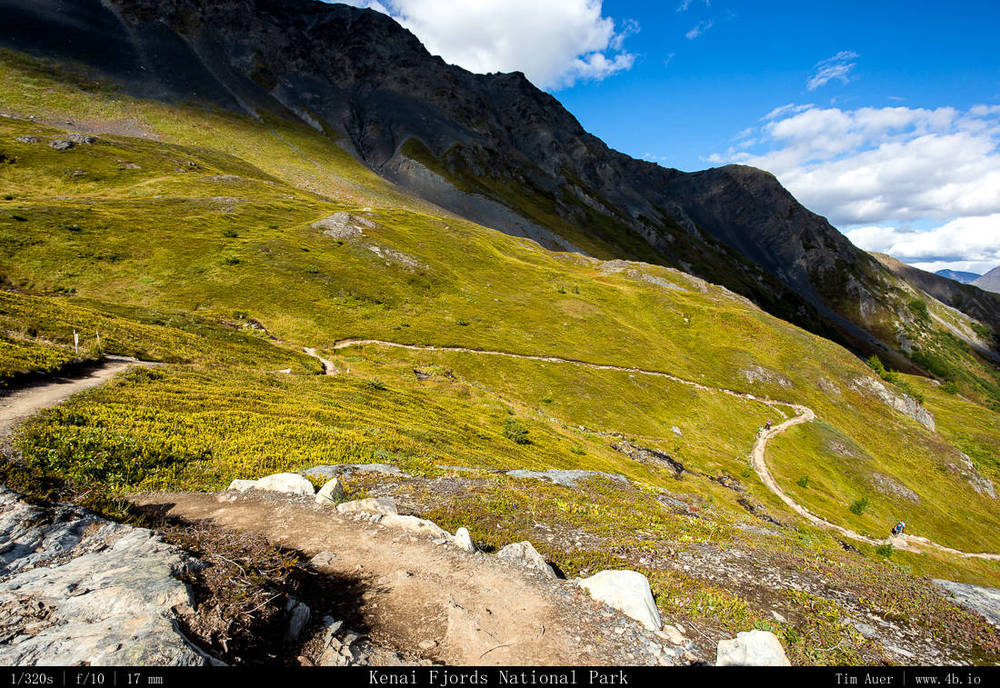
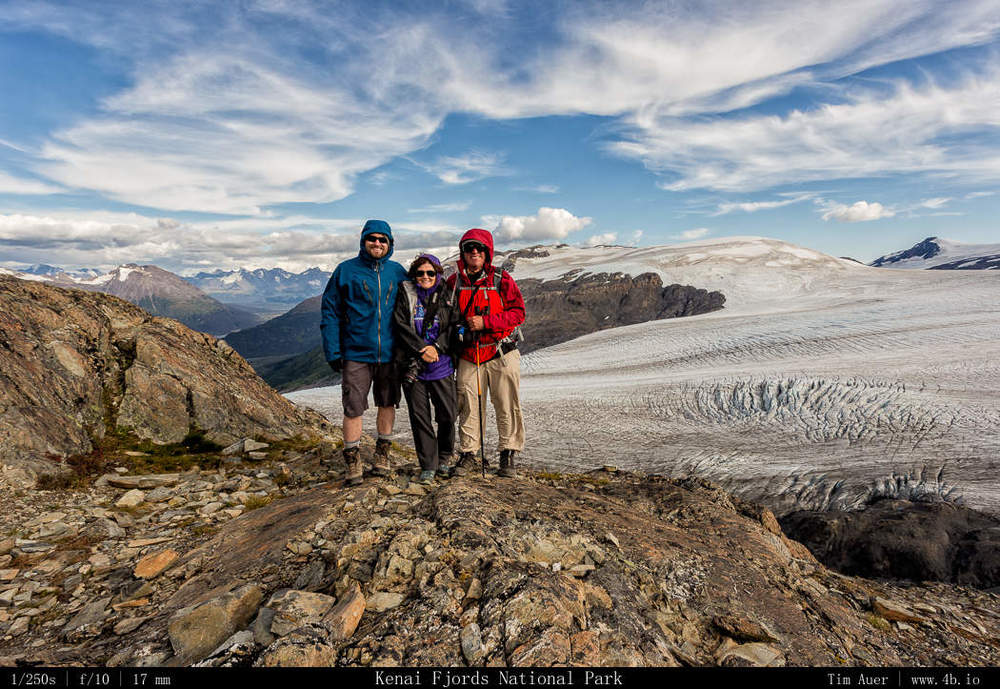
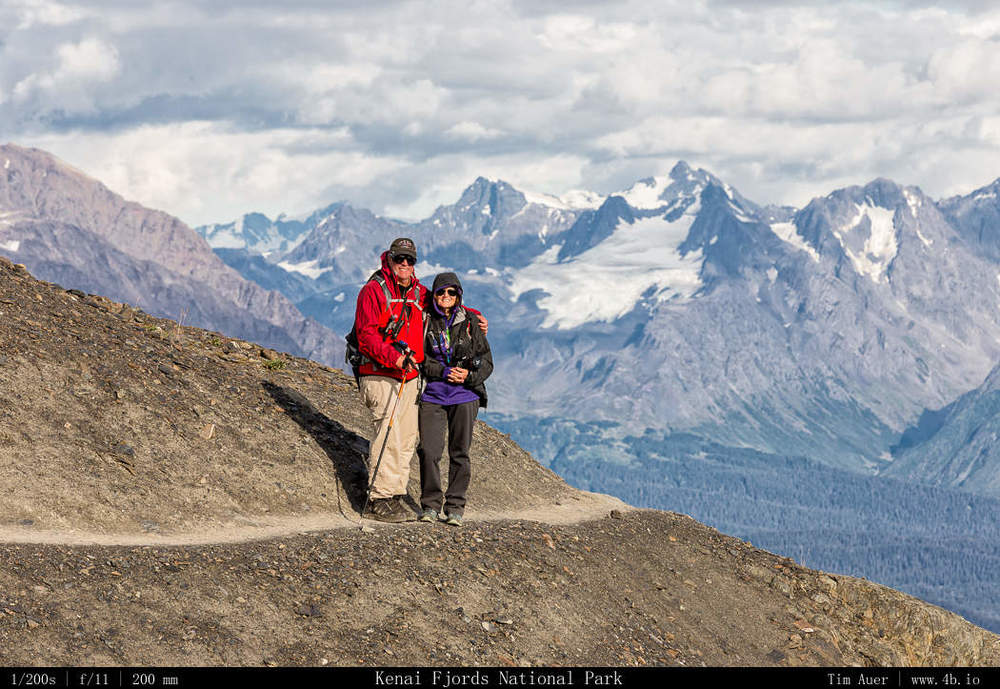
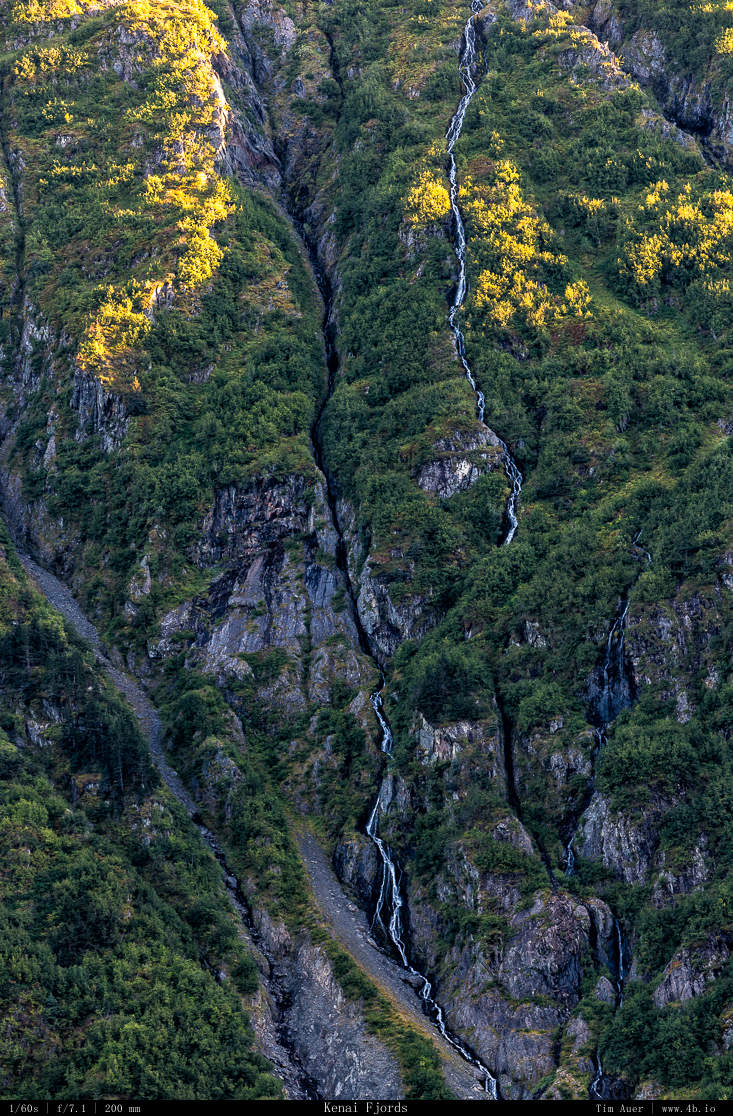
The September Alaska photo expedition began in Anchorage where my parents, who were on their way back from a week in Denali, picked me up. The time here was spent hiking, hunting for wildlife, and taking a boat ride to view Fjords from the sea.
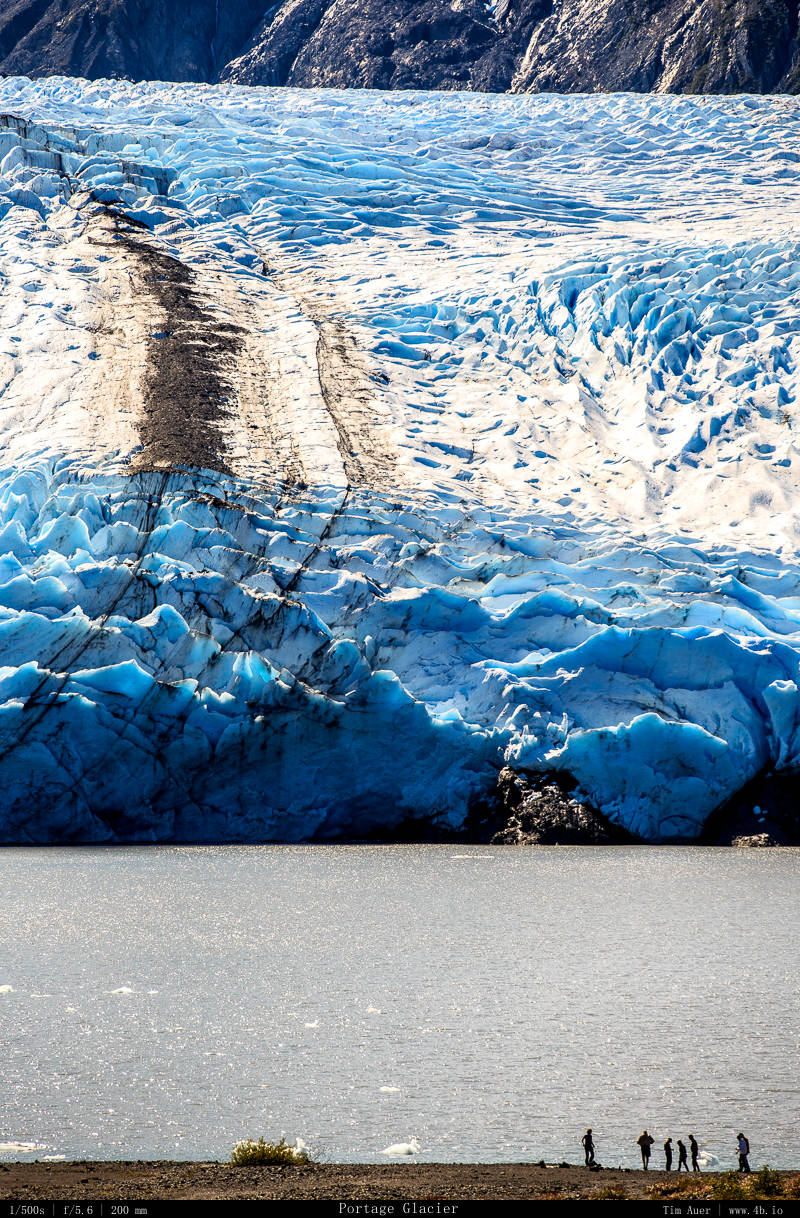
Day 1- Anchorage to Whittier, Portage Glacier hike Day 2- Seward, Exit Glacier hike. Kenai Fjords National Park Day 3- Seward, tour of Northwestern glacier and fjord. Kenai Fjords National Park
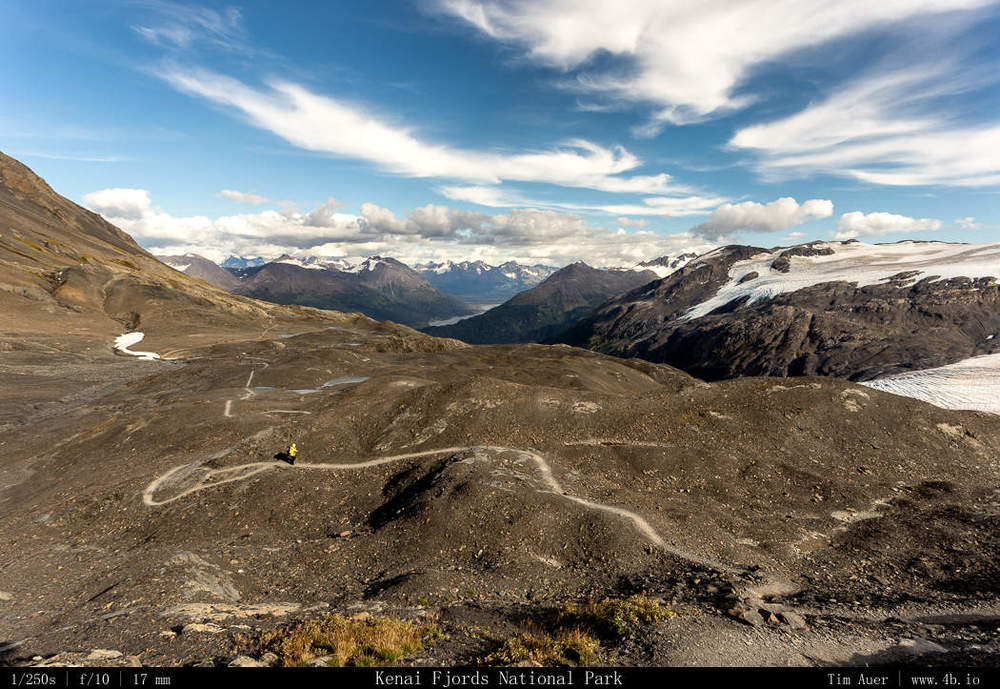
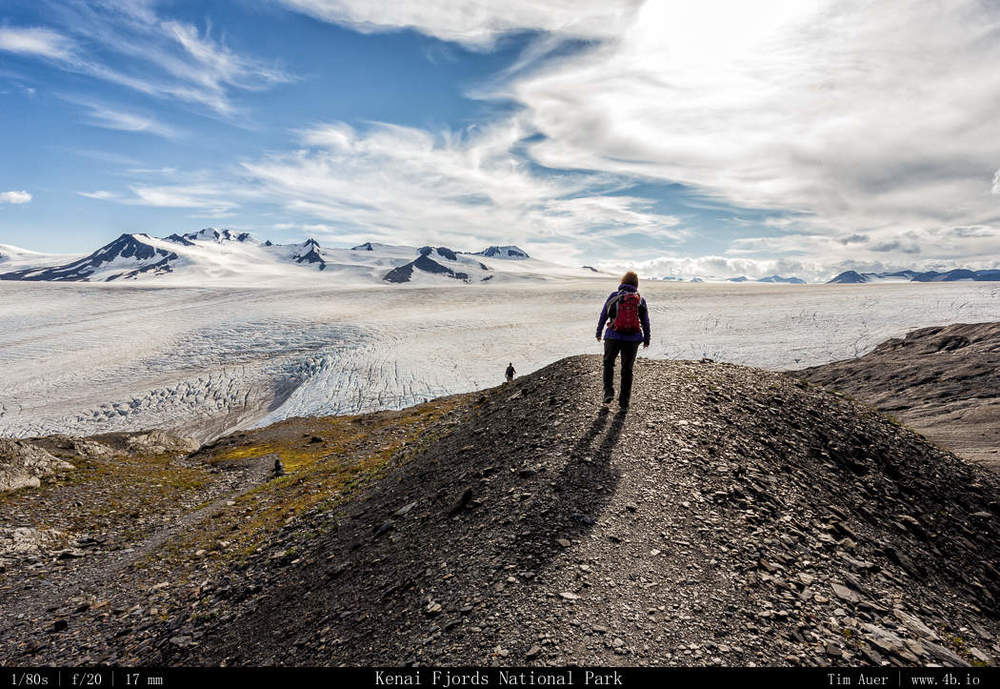
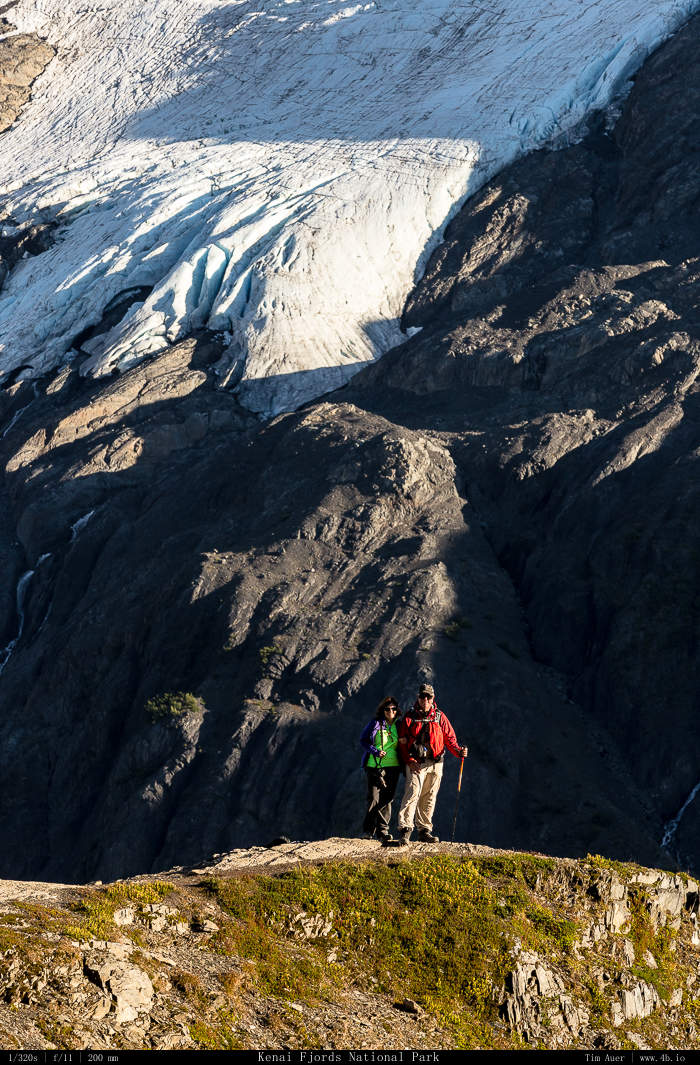
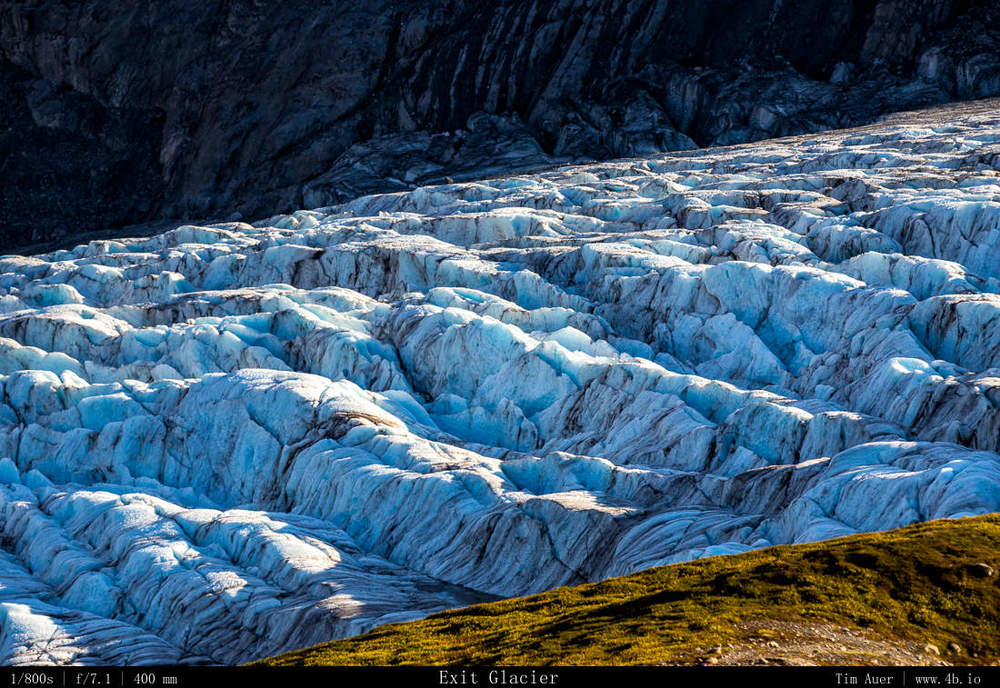
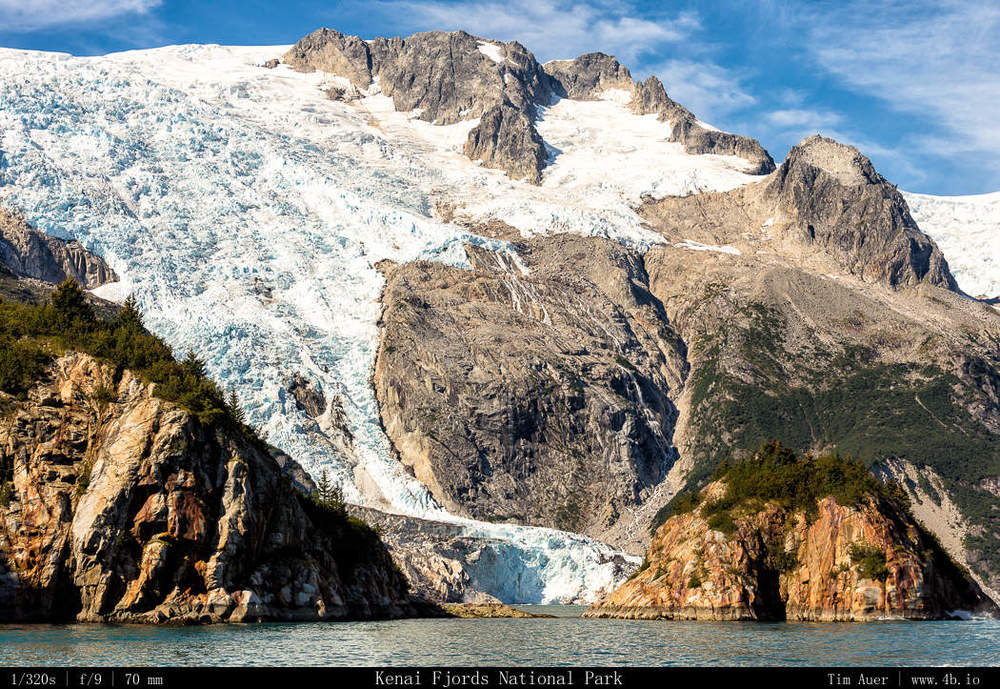
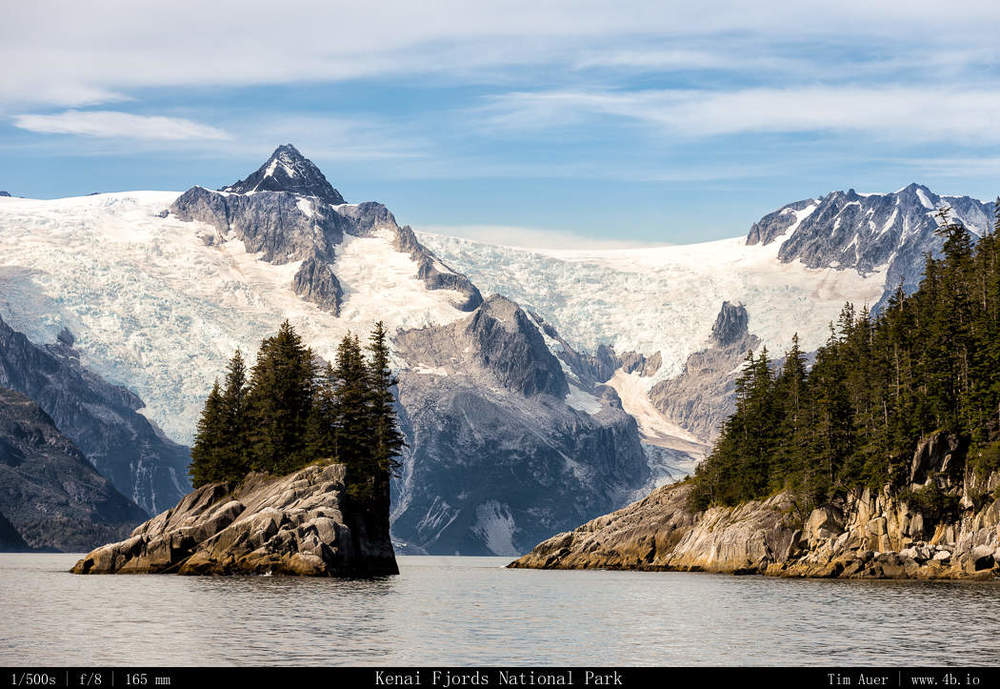
The definite highlights of this portion of the trip was the Exit Glacier hike to the Harding Icefield in Kenai Fjord National Park. This is a beautiful, but relatively strenuous, 8-9 mile dayhike with a 3000 foot elevation change. However, the rewards for this trek are plenty. Wildlife dotted the hillsides, and the view of the Harding Icefield is spectacular. Ice stretching to the horizon as far as you can see, with mountain peaks poking through.
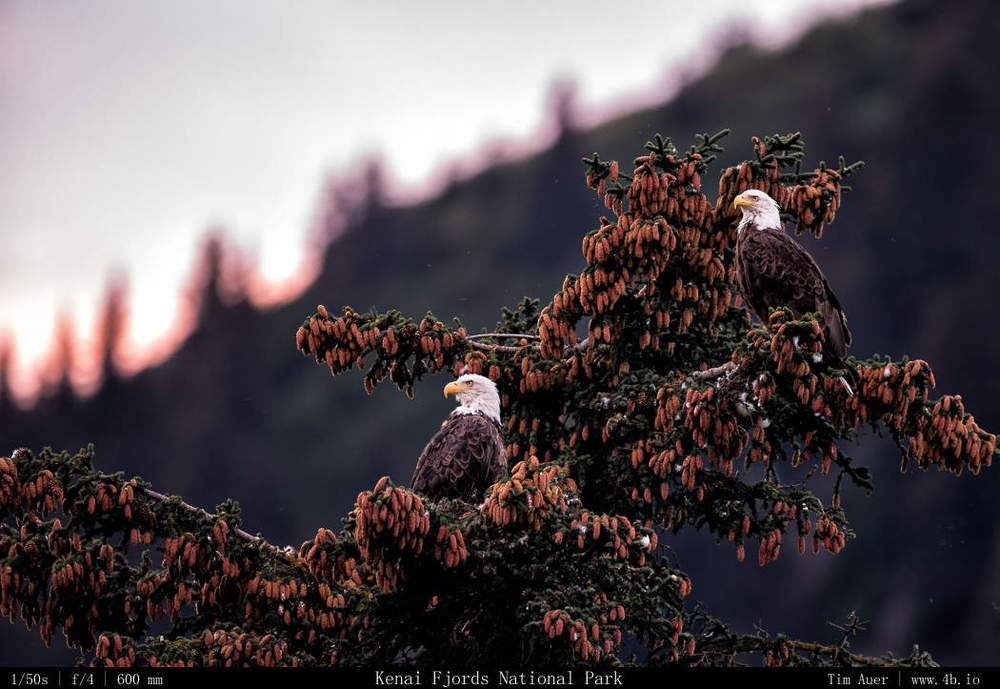
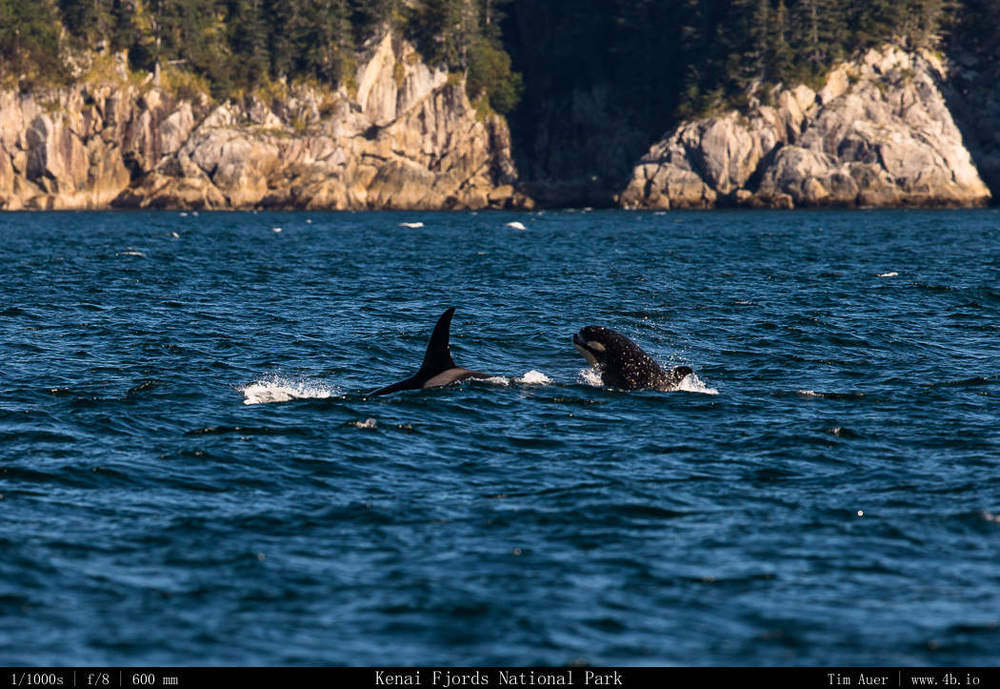
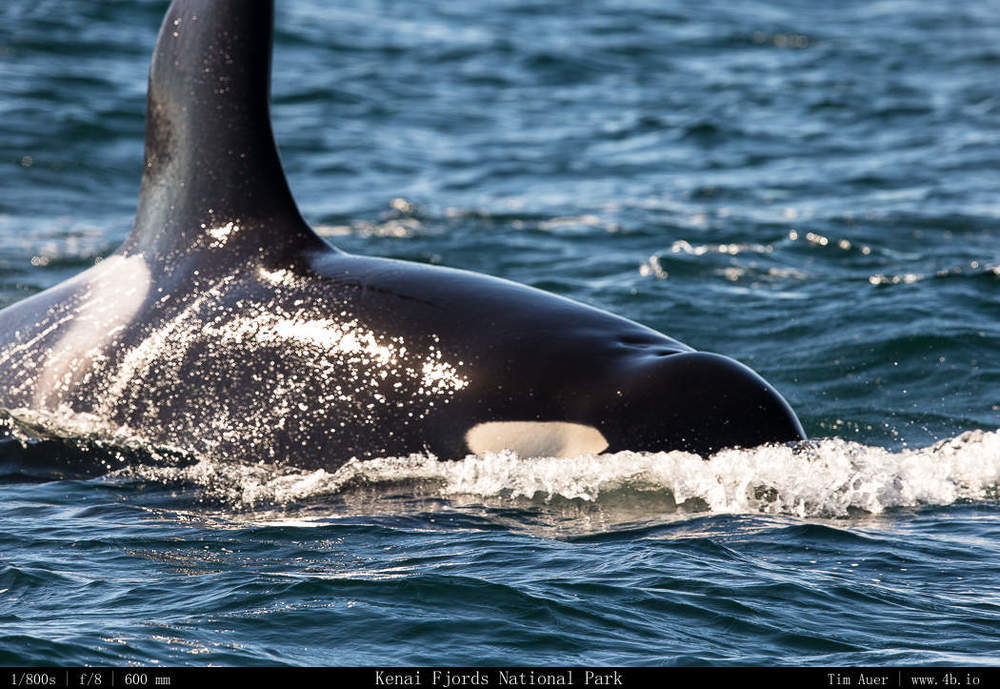
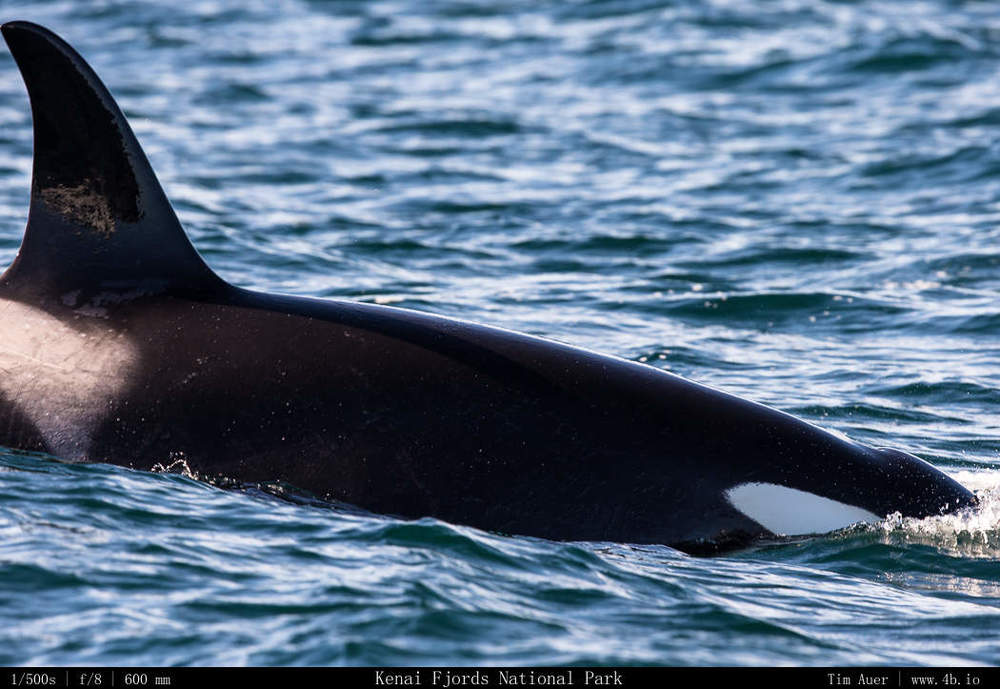
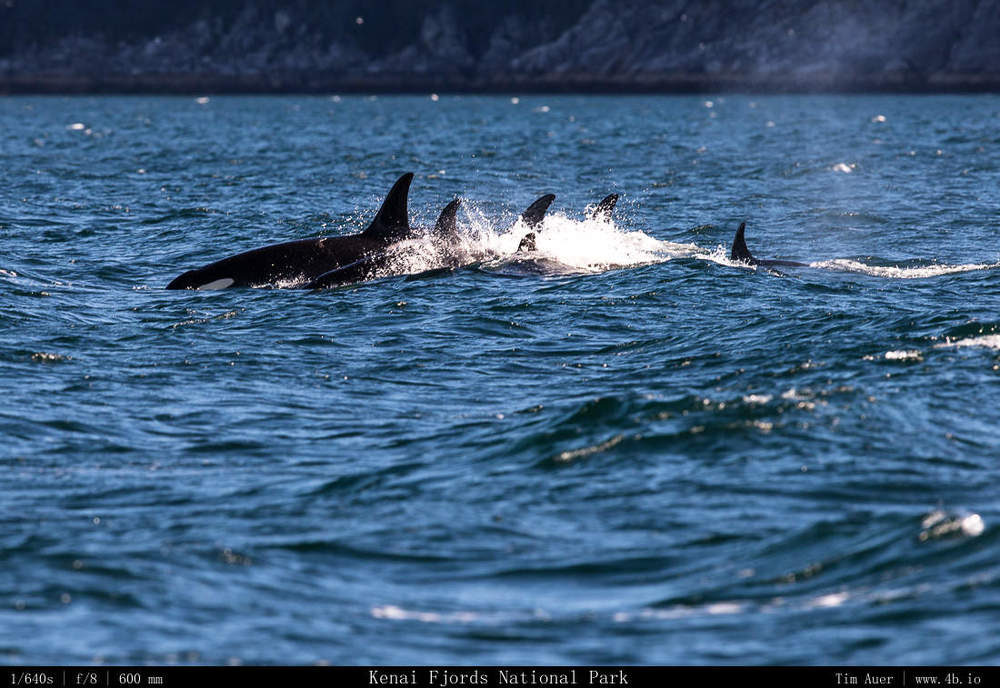
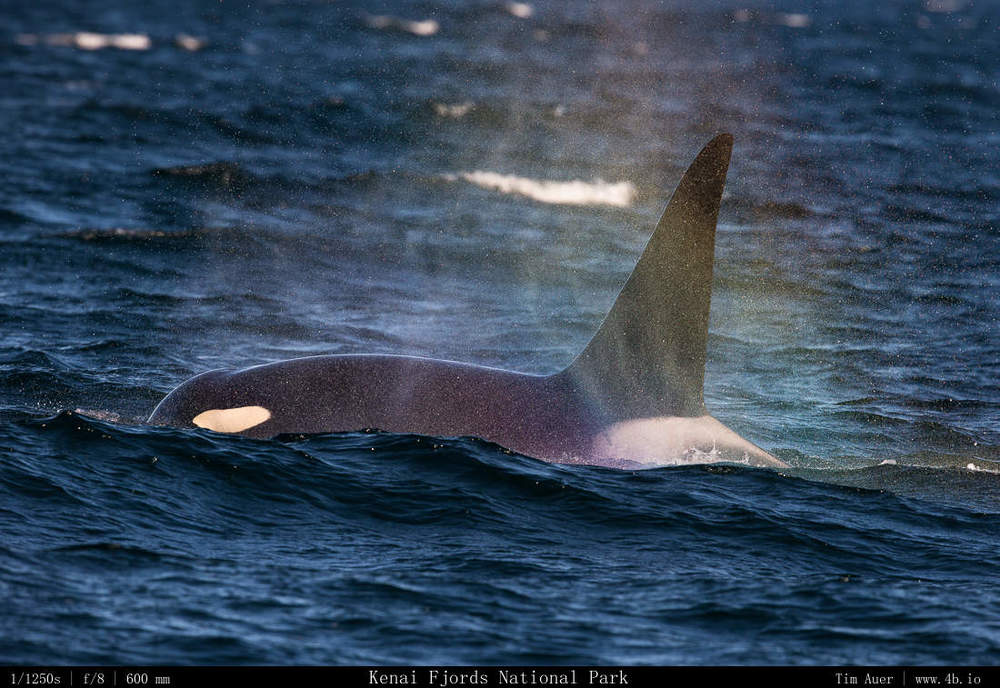
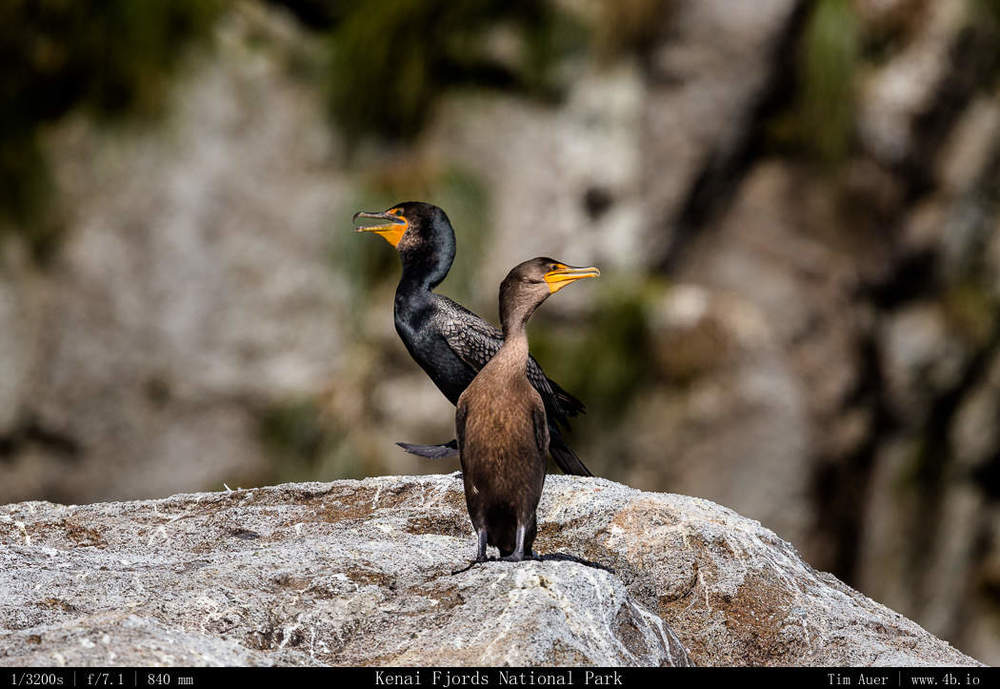
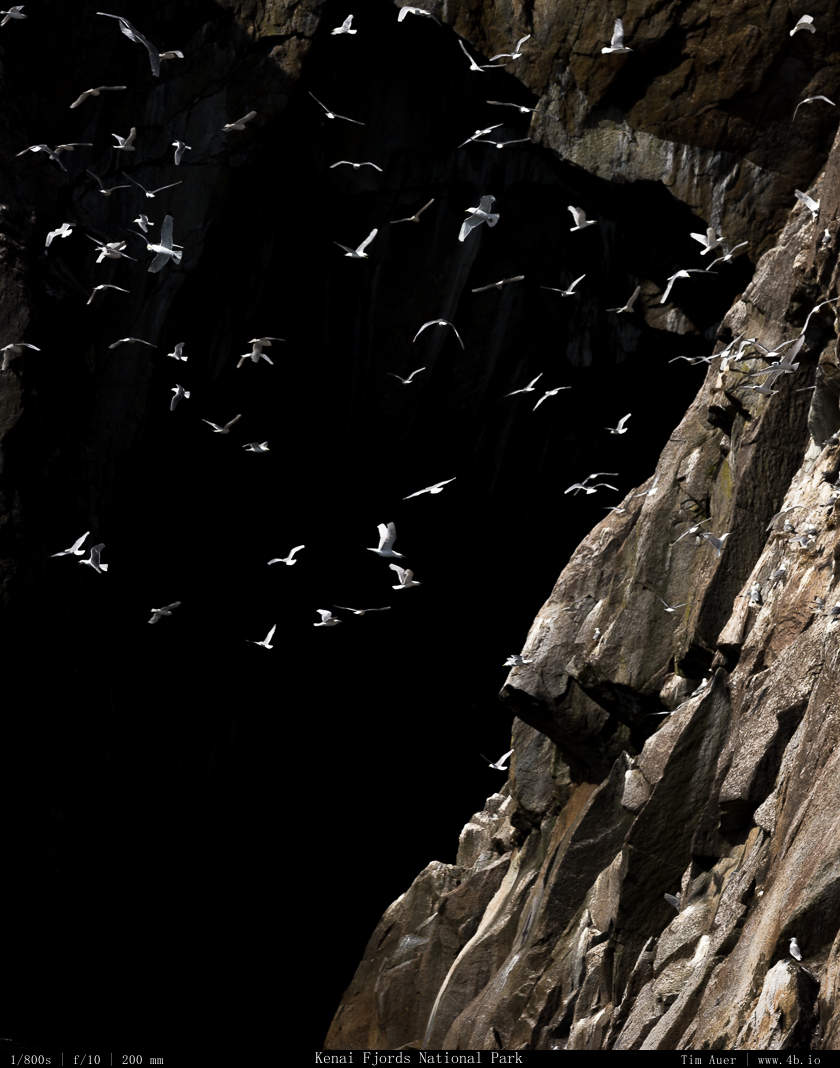
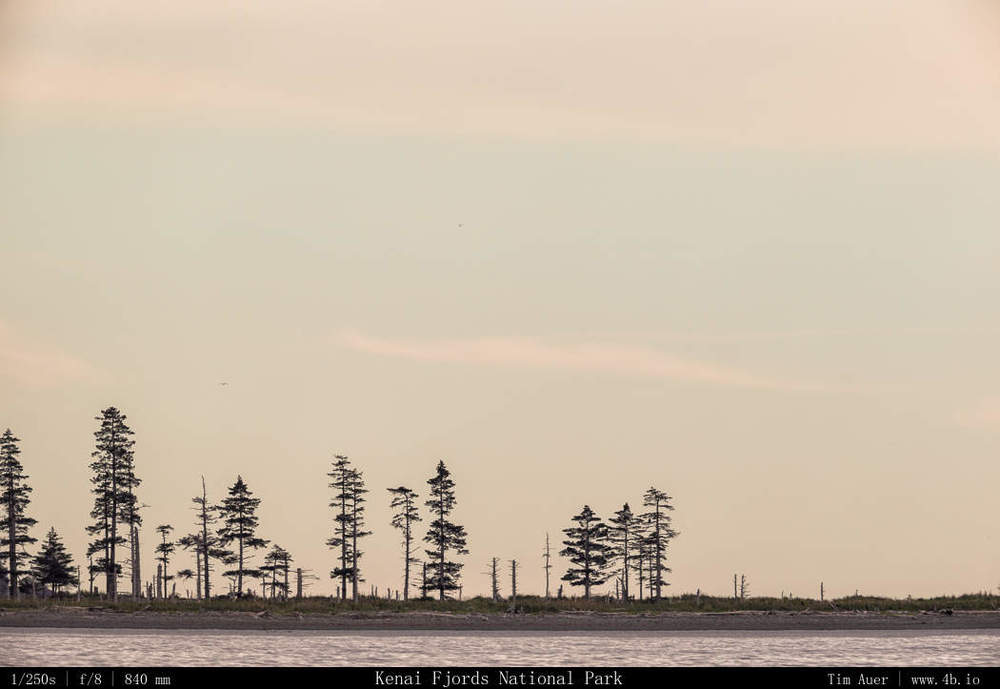
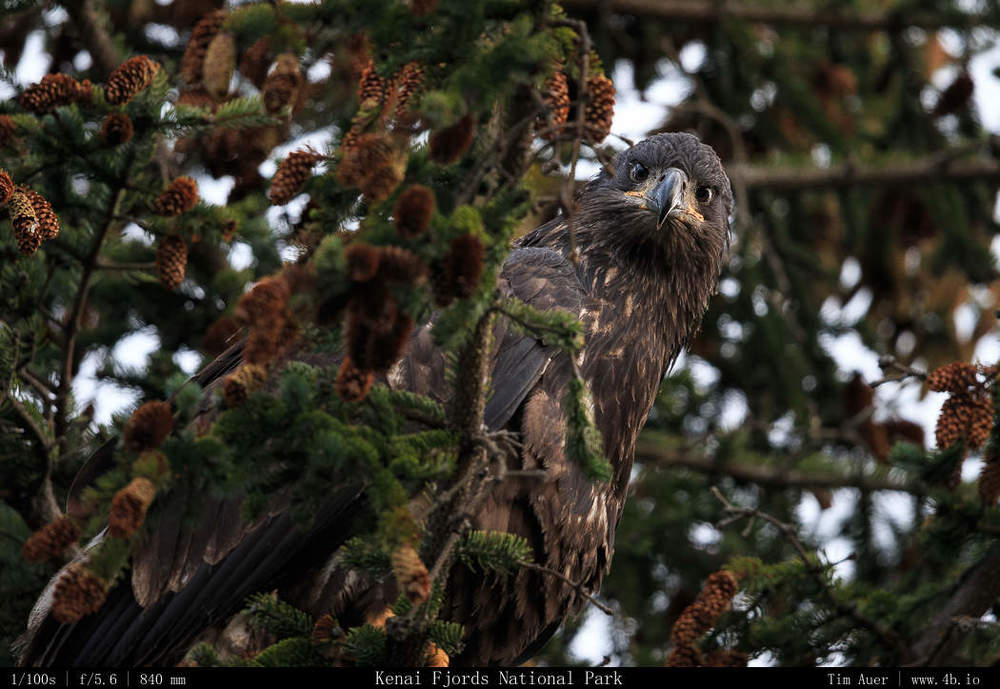
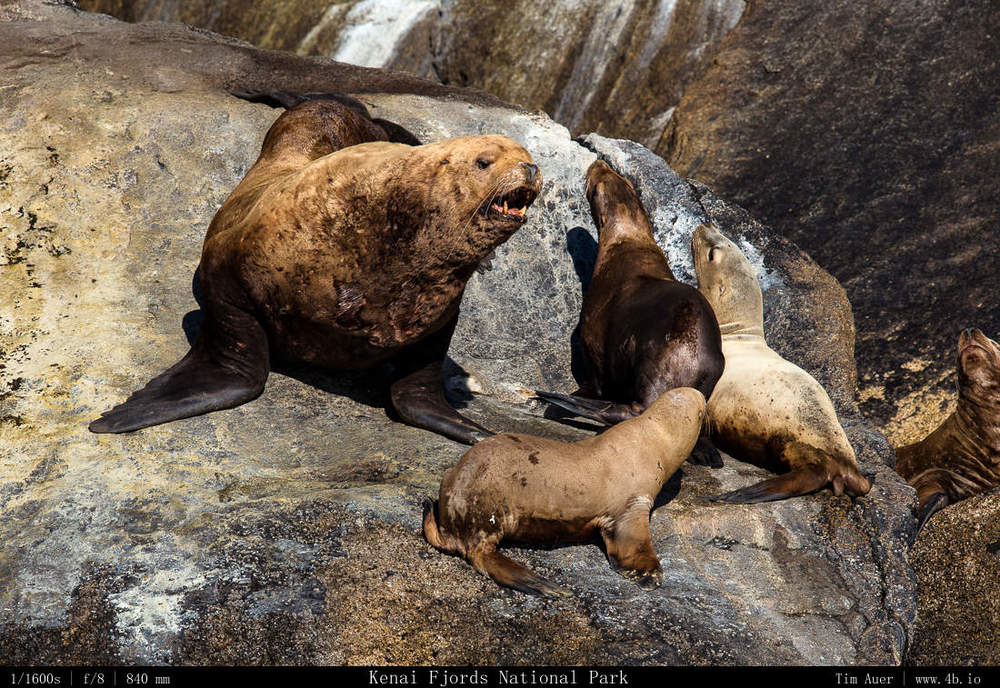
The next day was a Kenai Fjord boat tour. 9 hours in length, it leaves Resurrection Bay and hugs the coastline all the way down to Northwestern Fjord/Glacier. The views afforded from a seaside vantage point were spectacular. This is one place that is best experienced from the water (unless you are an expert glacier traverser). The only way to improve on this boat experience is to go by kayak, gliding silently between the icebergs and camp on some isolated beach. Wildlife was also abundant. Wildlife photography from a boat is typically never easy, and when you are using a fixed 600mm lens with 1.4x extender, the challenges are increased even further. But despite this, I was able to get get some decent bird, seal, sea lion, and orca photos. However, my mom was able to capture a couple orca breaches! Very jealous of that!
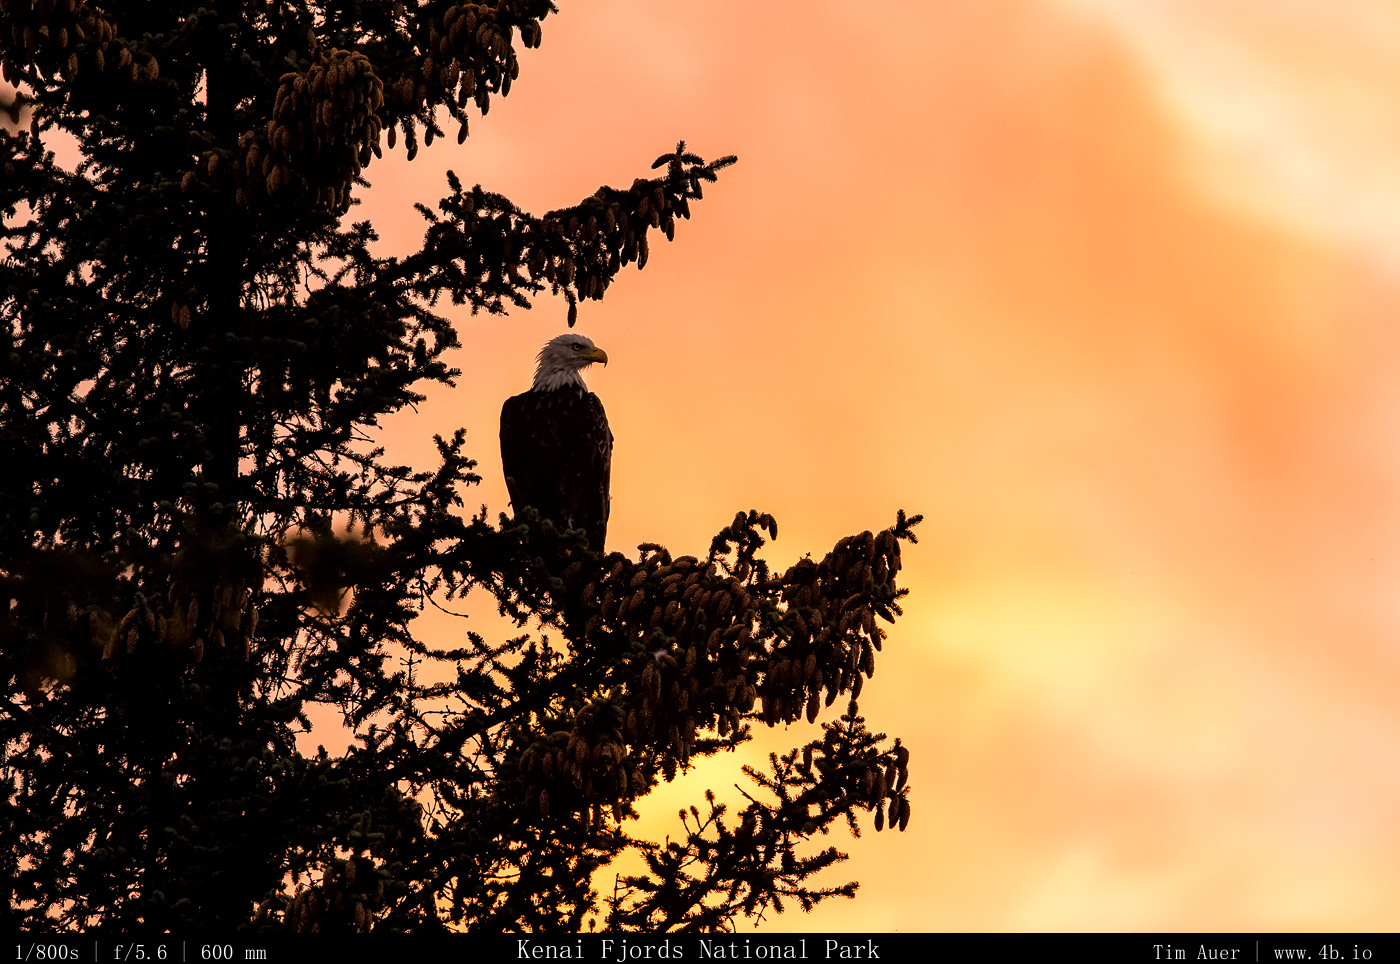
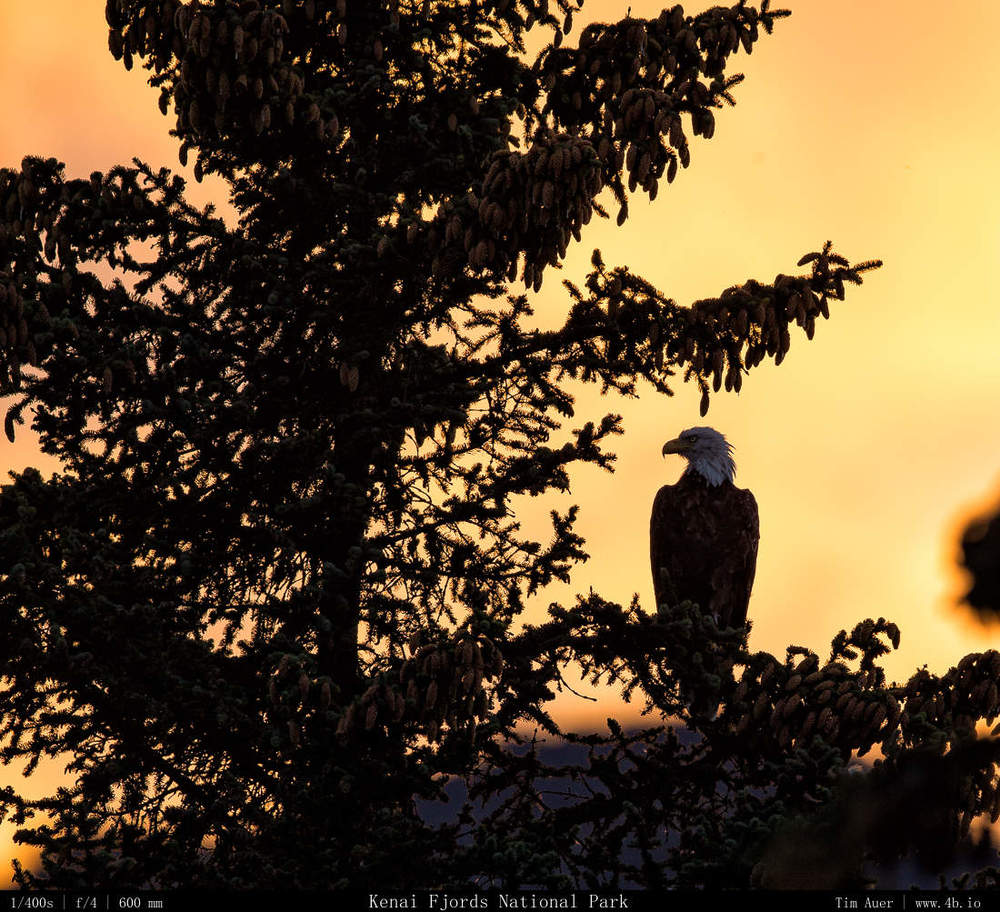
The Seward area is tucked into a bay surrounded by seaside mountains, therefore there isn’t much sunrise or sunset light getting the ground, save for the highest peaks. But each night I was take walks and use this period of gentle light to search for eagles in the surrounding areas. I was even able to use the fiery sunset colors with some eagle “headshots”.
The annual Perseid Meteor shower are set to peak in the coming days….but the shame is that the full moon will likely wash out all but the most brilliant Perseid meteors this year. So instead going deep for meteors this year, I am staying local and concentrating on using some new techniques for an interesting supermoon Yosemite landscape.
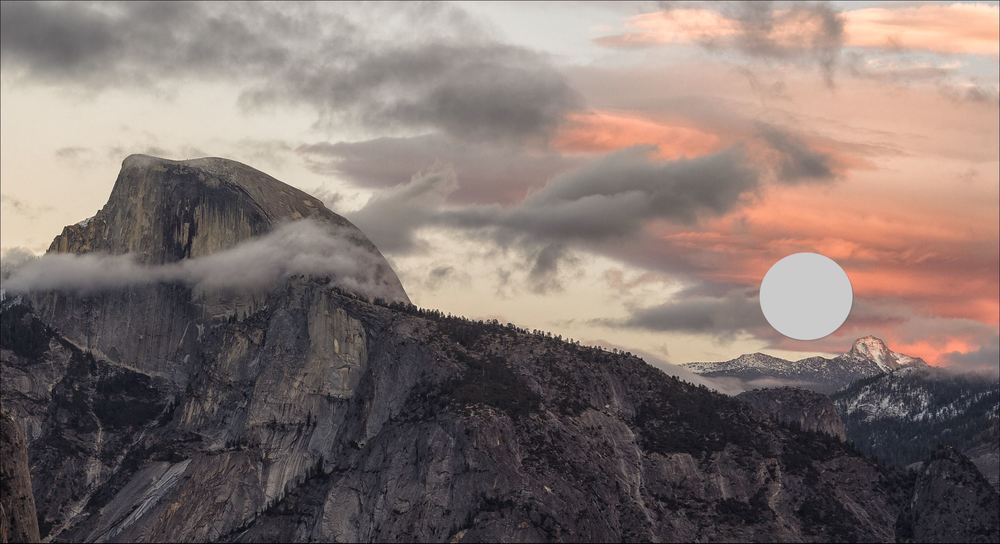
The goal is to capture this supermoon rising to the right side of Half Dome, hopefully using a panning/stitch technique and a big 300mm F/2.8 lens or the 70-200 F/2.8. The panning method is a bit more complex, as it requires several carefully aligned images to make the full composition.
There are a lot of considerations here.
First is the focal length. I will likely have a few set-ups going to make sure I can capture what I want.
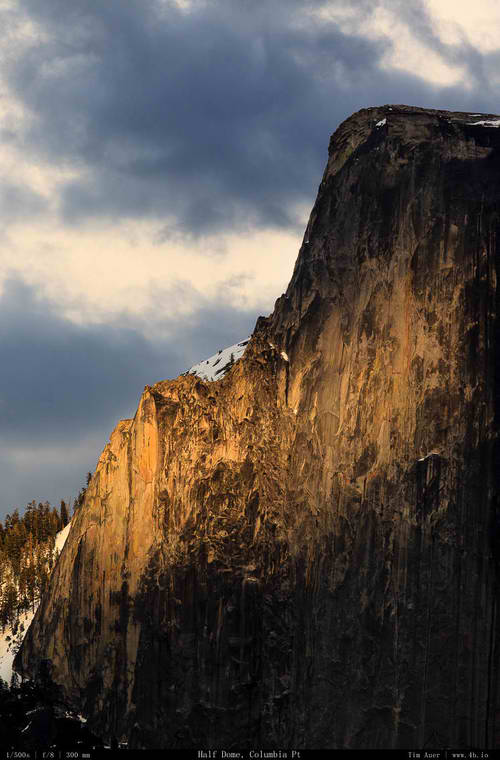
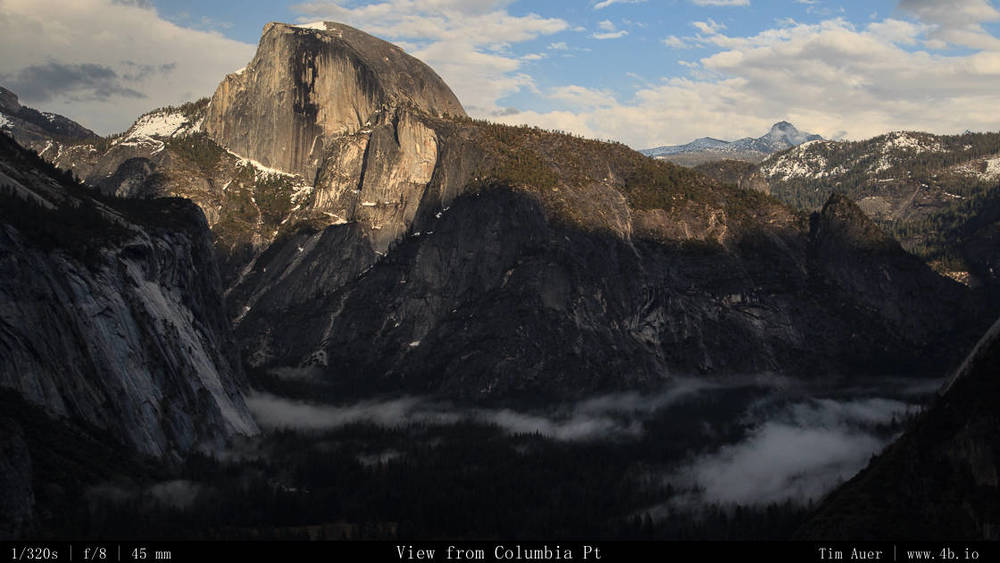
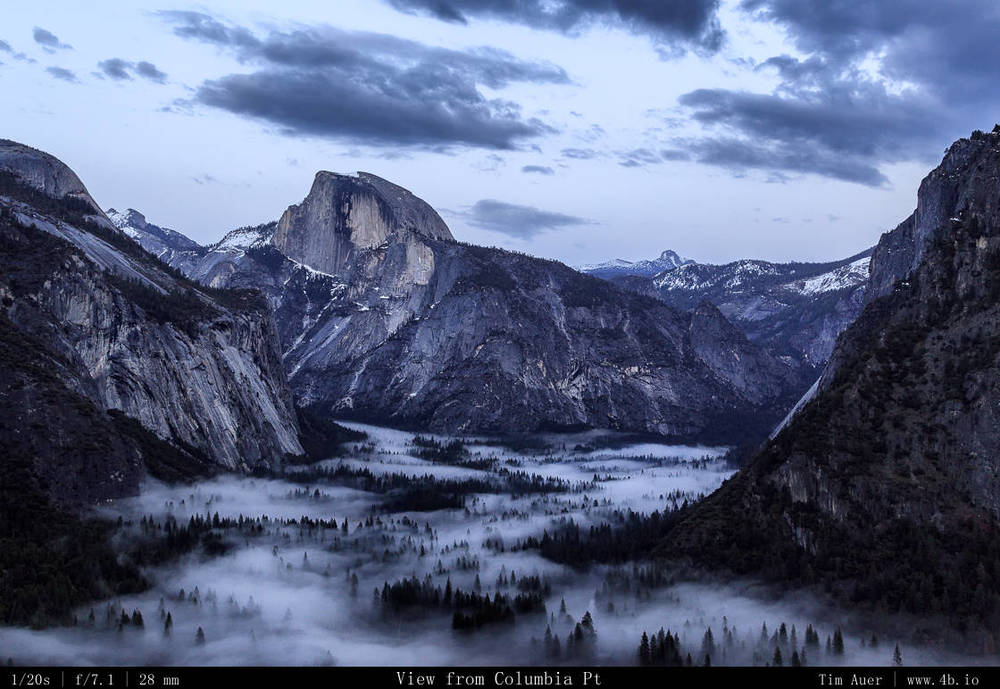
View of Half Dome from Columbia Rock with a 300mm…Tight.
Ideally, I would be at a position that is far enough away to let me use my 600mm without having too much atmospheric haze to muddy the image. That is what I would prefer. But this won’t be possible, as there is no terrestrial position within the boundaries of Yosemite National Park that I am aware, which provides such leverage. In fact, the spot that I am considering will be tight with a 300mm.
But I am insisting on using a big lens in this composition. Everything depends on using the moon on horizon illusion to make the sphere look as big as possible. This means, I need as much focal length as I can manage.
The View
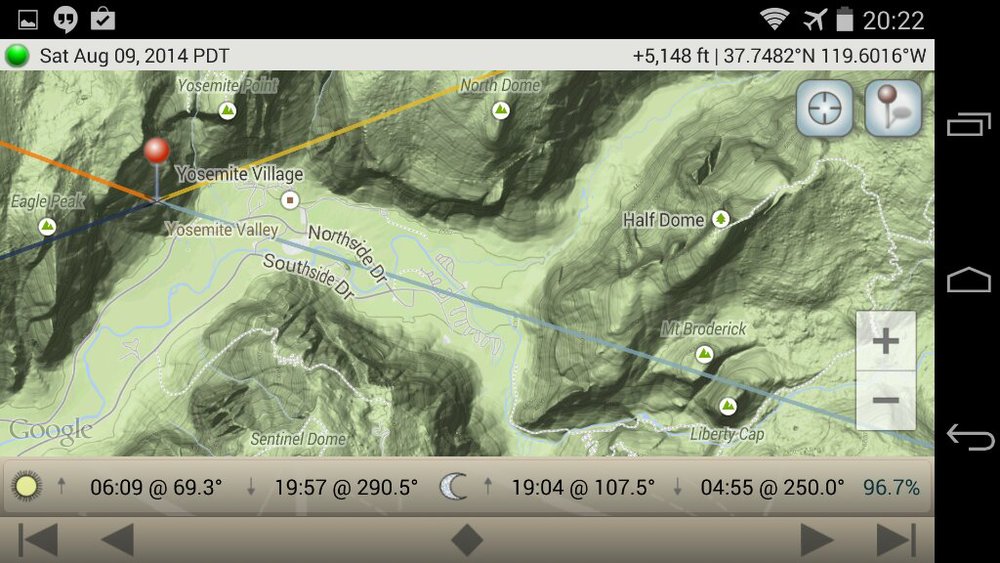
Ok, so the focal length is largely dependent on the position I am shooting. Given the trajectory of the moon, the Columbia Rock is a decent balance of distance and proximity. North Dome has a more direct shot to Half Dome, but is much to close to Half Dome’s face, besides the composition from Columbia Rock includes more of the Valley, it is a more interesting composition, in my opinion.
From Columbia Point, the moon should rise on the south western side of Half Dome, between Mt. Broderick and the Liberty Cap and slightly to the EAST of Mt. Clark in the distance.
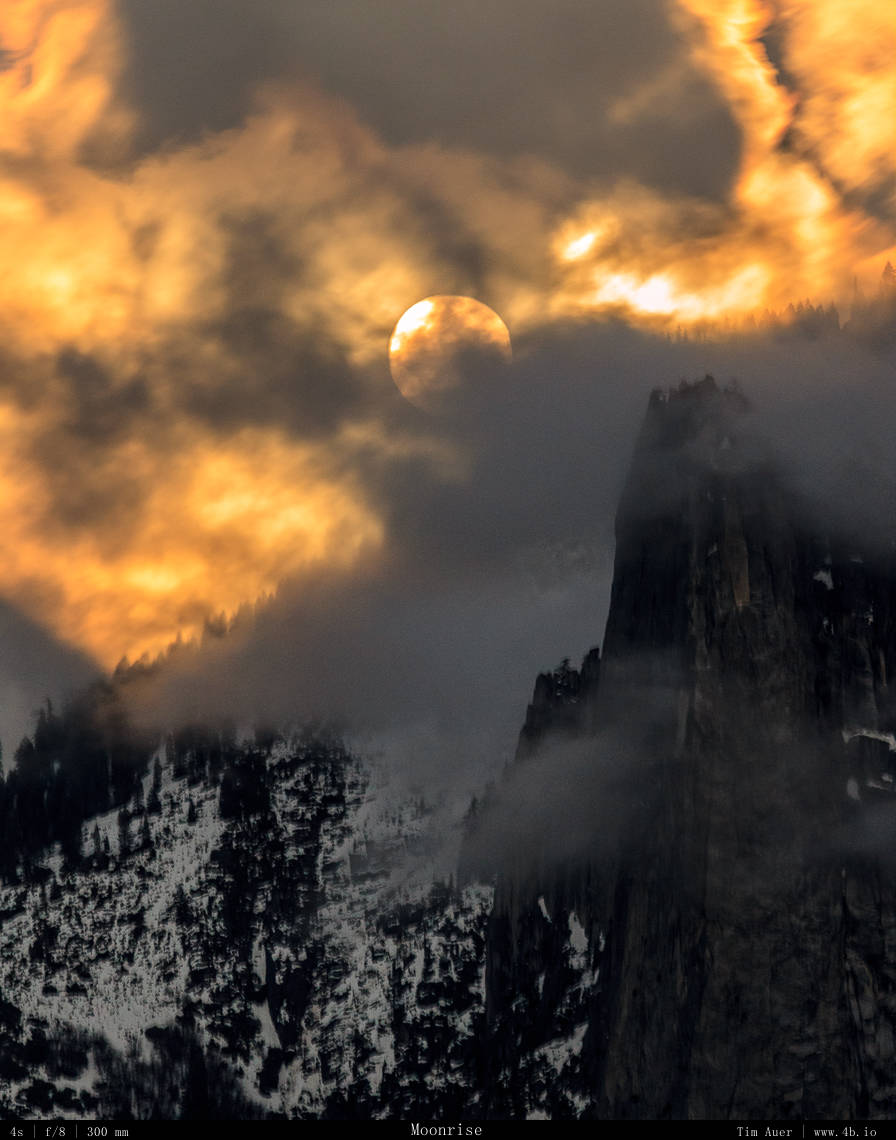
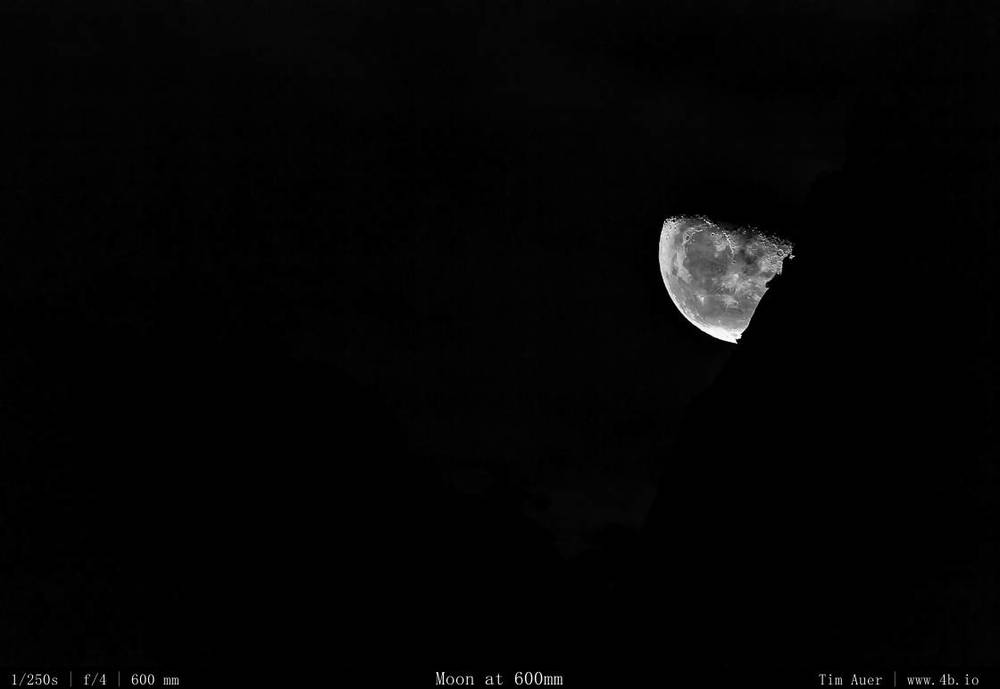
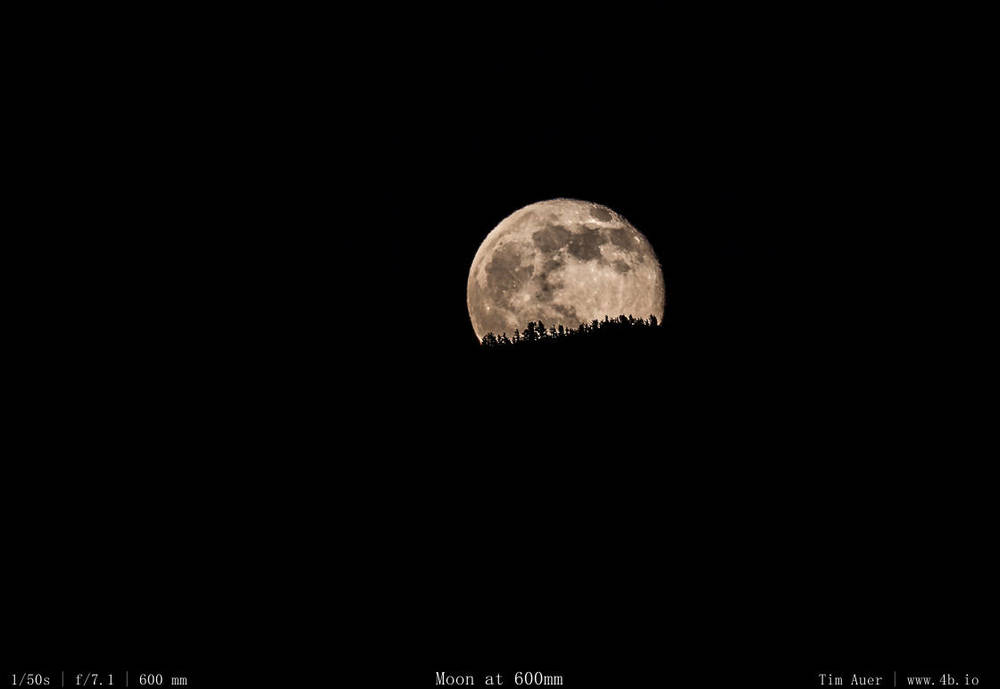
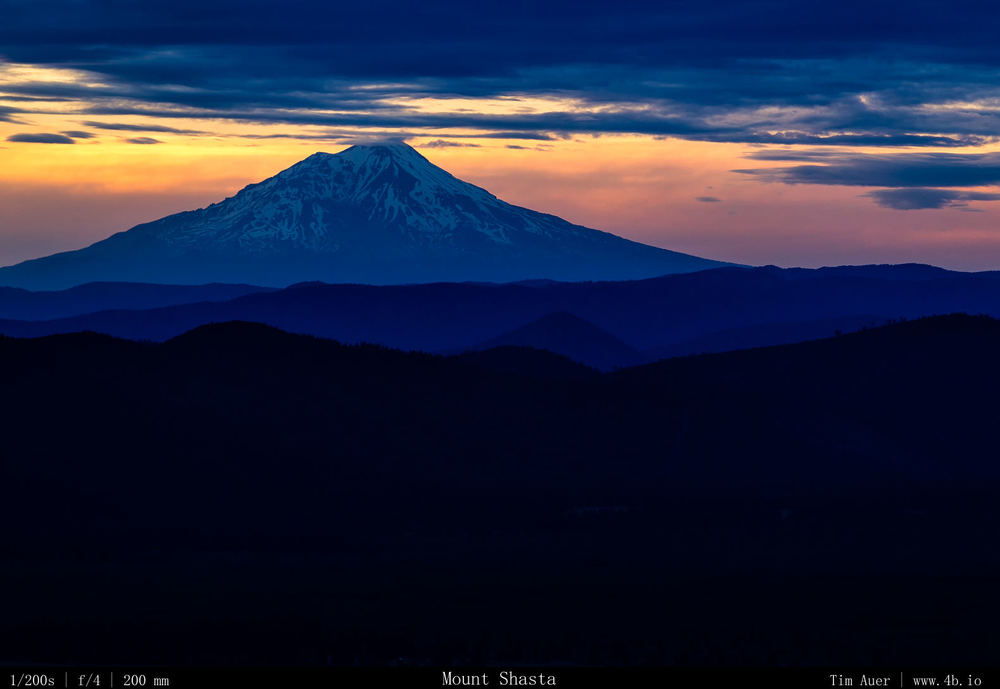
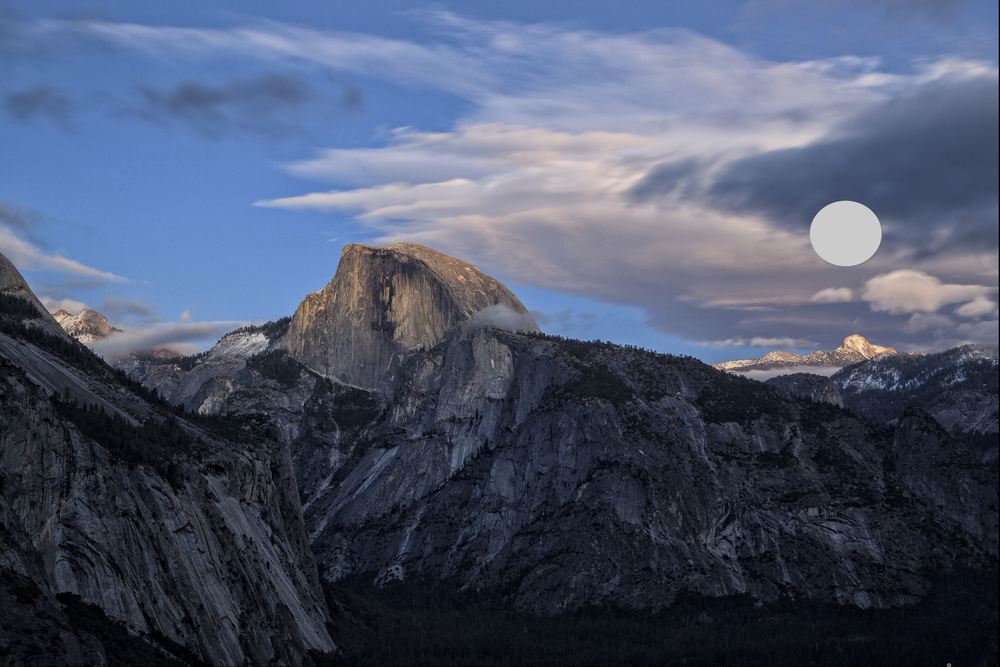
Roughly speaking, the image I hope to capture will look a bit like the images below*
*artistic rendition of the moon
The perspective of my desired image will be different from the ones depicted above, in fact if everything goes as planned, it should be more dramatic. Given the compression of the foreground and background that a 300mm offers.
Other considerations include establishing the nodal parallax point on my lens, so I can precisely rotate my body+lens and minimize the distortion. That will take some time, and be a good reason to set up early….
I searched through my image library for my countless “scouting” snapshots, that I have taken in Yosemite over the years. Being able to use this information in the future, is the only reason I snap so many photos at times. I am able to use them for scouting future photo projects, without having to drive back to Yosemite. Makes life a bit easier.
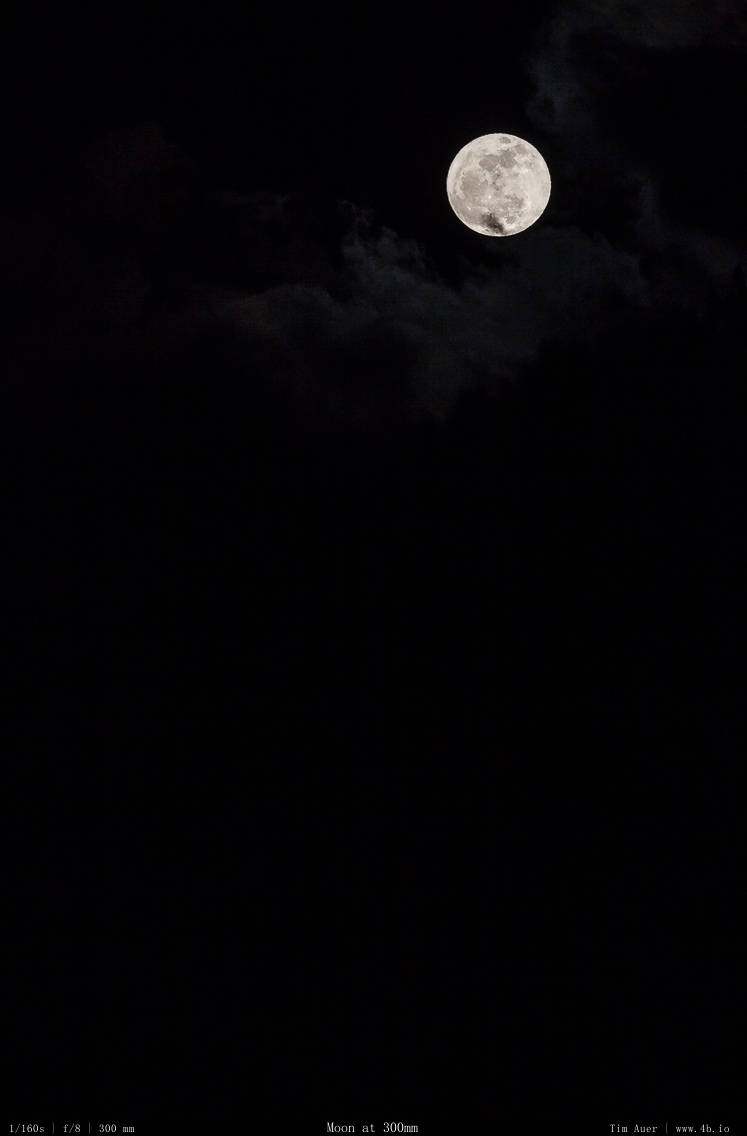
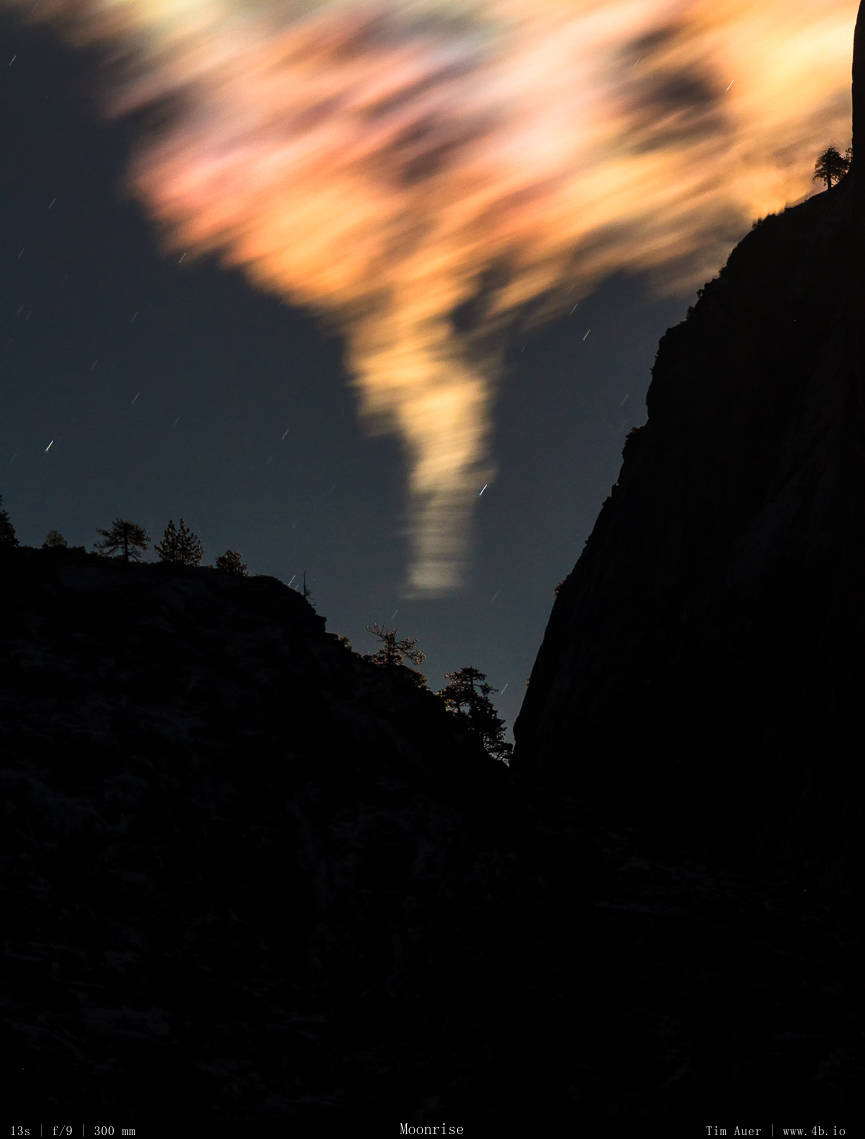
Attached are other photos in Yosemite using the 300mm, to show the perspective. All of these were shot with a Canon 1D4 which is a APS-H 1.3 crop sensor. For my set-up this weekend, I will have a bit more breathing room in terms of composition as I will be shooting on full frame bodies (1DX and 6D). But I will put the 14mm F/2.8 on the 1D4 to have that ready for the Perseids….The photos at 300mm basically show two things:
– The angle of view for a single frame using a 300mm lens from Columbia Rock.
OR
– The size of the moon when using a 300mm, 600mm lens, uncropped.
The composition will consist of as many vertical oriented images needed to capture the moon and half dome. By doing this, I maintain this perspective of getting a huge moon, the compression of a telephoto and perspective of a wider angle.
This leads to the next subject….attempts to salvage the Perseids from the supermoon! The plan for that will be to keep the moon at my back, and to use it for illuminating the foreground. About the only piece of good news is that the moon follows a southerly path across the sky, and the Perseids radiate from Perseus with is almost directly due north.
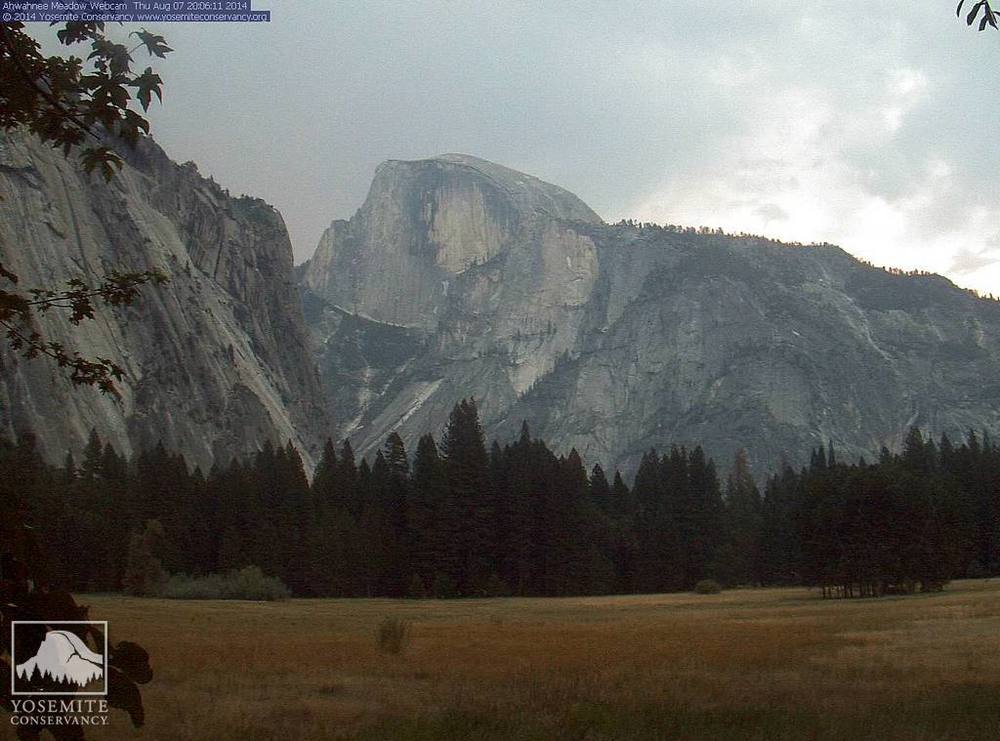
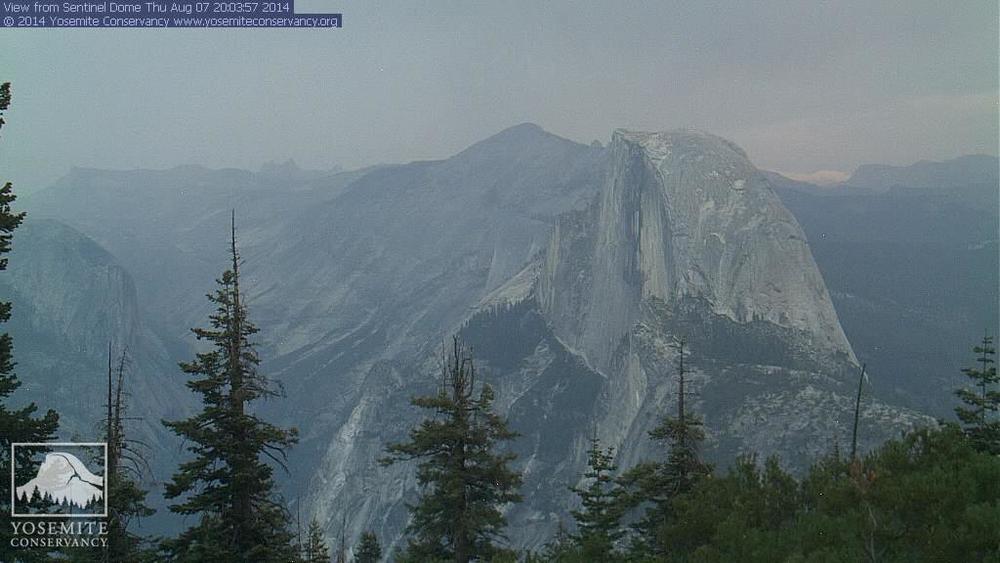
Scouting the Yosemite web cameras to check the conditions there. There might be some concern on that front too. The webcam tonight has shown some haze and clouds in the afternoons, and not the interesting kind of summer storm clouds. It almost looks like haze or smoke from a fire, but the fire report doesn’t appear to indicate this.
Lastly, it is going to be rough to carry all the gear I will need for this shoot. If I do decide to pull an all night and stay up near Columbia point for the Perseids, it won’t be the best vantage point, as the valley below has significant light pollution and the northerly exposure to Perseus is blocked by the Valley wall. Another consideration is to hike back down after moonrise, and rush to Glacier Point and shoot up Tenaya Canyon. There will likely be a significant amount of people there, so another idea is to hike down 4-Mile Trail a bit to get a more quiet shooting location. The full moon and white Yosemite granite make night hiking less of a problem here than most places in the world….


